How to Render a SketchUp Model
In fields such as architectural design, interior design, and landscape design, 3D modeling and rendering have become indispensable tools. With advancements in technology, rendering has evolved from a mere means of making design models more attractive to an essential communication bridge between designers and clients. For SketchUp users, learning how to render high-quality models can elevate your work from a two-dimensional plan to vibrant, lifelike 3D renderings, significantly enhancing the expressiveness and persuasiveness of your design.
SketchUp is popular for its simple and intuitive modeling interface, but its built-in rendering features may not always meet the demands of high-quality renders. By mastering some rendering techniques and leveraging third-party plugins, you can transform your SketchUp models into stunning visual effects, helping you better showcase your design concepts and provide clients with a true sense of space.

This article will thoroughly explore how to render models in SketchUp, covering everything from basic material and lighting setups to advanced rendering plugins and optimization techniques. It will guide you step-by-step to improve your rendering skills and create more vivid and realistic design visuals.
The Core of Rendering: Why is Rendering So Important
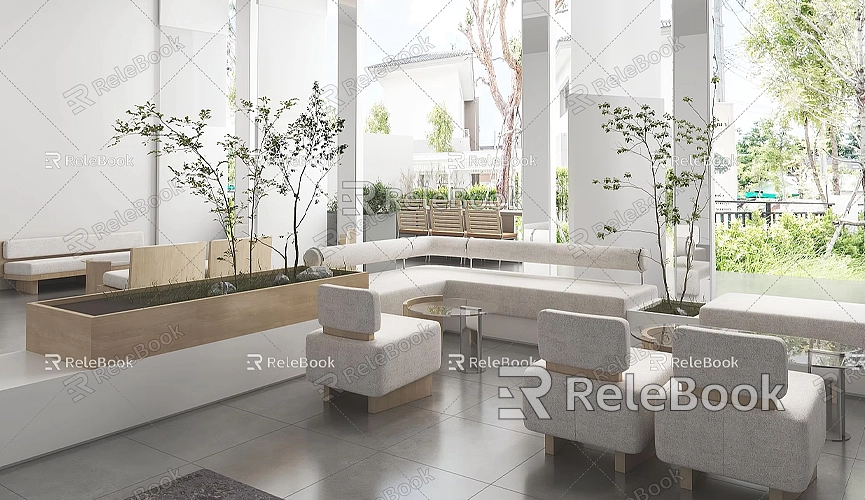
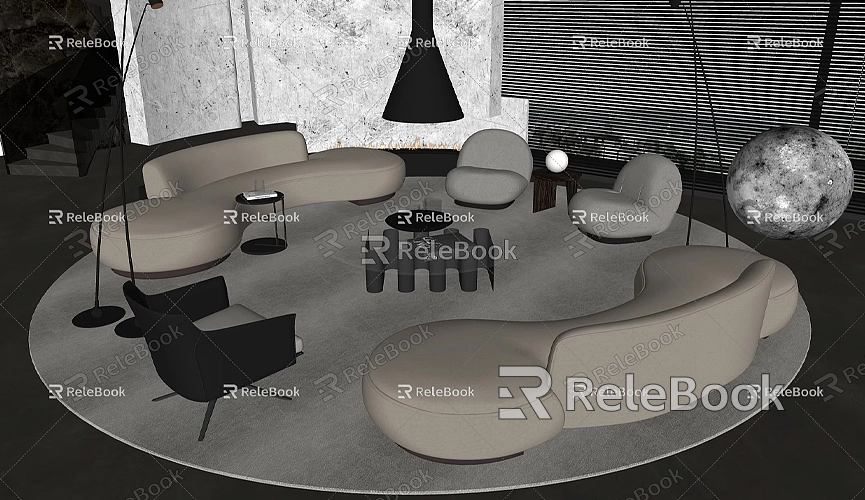
In the design process, rendering is not just a tool to make models "look good"; it is a vital bridge for communication. In many cases, especially in architecture and interior design, clients need to understand design proposals through rendered images before making decisions on whether to adopt a particular design. Compared to traditional 2D plans, rendered images can more intuitively present the lighting, materials, and atmosphere of a space, allowing clients to better perceive the design intent visually.
The rendering process involves transforming an abstract 3D model into an image or animation that can be clearly understood by human senses. During this process, designers adjust lighting, materials, and textures, as well as the angle and camera settings, to give the model more realism and visual impact.
For designers, rendering is not only the final presentation of their work but also a tool to check the design's feasibility. Through rendering, designers can identify overlooked details in the modeling process, such as insufficient lighting, material mismatches, or incorrect visual proportions of spaces. Therefore, rendering is not only an artistic creation but also a crucial basis for design decisions.
Basic Rendering Techniques for SketchUp Models
Although SketchUp has some basic rendering features built in, achieving high-quality renderings often requires additional techniques and third-party plugins. To help you better utilize SketchUp's rendering capabilities, let's first look at how to use basic tools for rendering within SketchUp.

Materials and Textures
The choice of materials directly impacts the visual effect of the rendered image. SketchUp’s built-in material library offers a variety of common materials such as wood, glass, and stone, allowing you to apply suitable materials to your model based on the project requirements. However, for higher-quality renderings, SketchUp’s default materials may not be sufficient. In such cases, you can download or purchase custom textures and material packs from online sources.
Materials not only determine the appearance of the model but also affect how light is reflected and refracted. For example, a smooth glass surface reflects light differently than a rough stone surface, and the choice of material directly influences the lighting and shadow effects during rendering. If you need rich textures and HDRI (High Dynamic Range Imaging) resources, you can download a wide variety of high-quality 3D textures and HDRI for free from the Relebook platform. The resources provided by Relebook not only enhance the detail of your design but also make your model look more vibrant and realistic.
Lighting and Shadows Adjustment
Lighting settings are crucial in the rendering process. Lighting enhances the realism of the model, affecting how materials are presented and the overall atmosphere of the space. In SketchUp, lighting adjustments are typically made through the “Shadows” tool. You can control the intensity, direction, and time of day of the lighting to simulate various lighting effects to achieve the desired outcome.
For instance, when simulating natural light, you can set lighting conditions for different times of day, such as morning, noon, or dusk, with the light direction and intensity changing accordingly. This type of lighting simulation can help showcase how a space performs under different lighting conditions.
Additionally, if you want to render more realistic lighting effects, you can use HDRI images. HDRI provides richer lighting information, allowing your model to achieve more natural lighting and reflection effects. HDRI images typically include high-quality light sources from the sky, environment, or specific scenes, helping to render more realistic effects than traditional lighting methods.
Camera Angles and Composition
The choice of camera angles is also critical in rendering. By adjusting the camera position, focus, and lens settings, you can highlight different details of the design and create various spatial impressions. SketchUp allows you to freely adjust the camera angle, position, and focal length to simulate different visual effects. You can capture model details from multiple angles to help clients better understand the design.
Moreover, good composition is one of the keys to successful renderings. Composition determines the visual center, spatial layers, and overall aesthetic of the final image. By carefully selecting the camera position and focal length, you can make the rendering more engaging, emphasizing the highlights of the design and avoiding cluttered visuals.
Using Advanced Rendering Plugins to Enhance Effects
While SketchUp provides basic rendering features, many designers opt to use third-party rendering plugins to achieve higher-quality results. These plugins offer more powerful features and finer control, allowing SketchUp models to achieve more professional and realistic rendering effects.
V-Ray for SketchUp
V-Ray is widely regarded as one of the most powerful rendering plugins in the industry, providing SketchUp users with ultra-high-quality renderings. The biggest advantage of V-Ray is its ability to simulate real-world lighting, shadows, material reflections, and other details, making the rendered image look almost indistinguishable from reality. It offers advanced features such as global illumination, ray tracing, and physical rendering, which help designers fine-tune every detail during the rendering process.
With V-Ray, designers can not only adjust lighting and materials but also handle complex reflections, refractions, transparency, and other effects. V-Ray supports multiple rendering modes, from quick previews to high-quality renderings, offering rich options to meet the needs of different projects.
Enscape for SketchUp
Enscape is a real-time rendering plugin that’s well known for allowing designers to see rendering results live during the modeling process. Enscape not only provides quick rendering capabilities but also supports Virtual Reality (VR) features, allowing clients to experience the design in real-time through VR devices. For projects that require frequent design adjustments, Enscape greatly enhances work efficiency.
Although Enscape's rendering effects may not be as detailed as V-Ray’s, it has become the preferred tool for many designers due to its efficient and intuitive interface.
Thea Render
Thea Render is a plugin that combines both physical rendering and artistic rendering, suitable for projects requiring high-quality renders. It supports global illumination, reflections, refractions, transparency, and other complex rendering settings, offering designers a wide range of rendering options. Thea Render's rendering engine can utilize both GPU and CPU, allowing users to choose the most suitable rendering method based on their hardware.
Thea Render is ideal for high-precision, detail-rich projects, as it can present every detail of the model in stunning clarity, making it the perfect choice for designers pursuing the ultimate rendering effect.
Rendering Optimization Techniques
Rendering isn’t just about creating visually beautiful images—it also needs to be efficient. For complex scenes and models, rendering can consume a significant amount of time and computing resources. Therefore, optimizing rendering time is an essential skill for every designer.
First, simplifying the complexity of the model is key to improving rendering efficiency. Reducing the polygon count and eliminating unnecessary details can significantly boost rendering speed.
Secondly, using proxy objects instead of complex models is another effective optimization method. Proxy objects maintain the appearance and detail of the model while reducing computational load during rendering, thereby improving rendering speed.
Additionally, adjusting lighting and material settings to avoid excessive light sources and overly complex materials can also help improve rendering efficiency. Finally, if you only need a quick preview of the rendering effect, lowering the resolution can speed up the process, with high-resolution output saved for the final render.
Rendering in SketchUp is both an artistic creation and a crucial part of design decision-making. From selecting appropriate materials and adjusting lighting and shadows to using third-party rendering plugins to enhance effects, rendering techniques can help designers present their ideas more clearly and showcase the true effect of the space to clients. In this process, high-quality textures and HDRI resources play a crucial role.
If you need high-quality 3D textures and HDRI resources when creating models and virtual scenes, you can download them for free from Relebook. Relebook offers a wide range of high-quality 3D resources that can significantly enhance the detail of your design. If you're looking for beautiful 3D models, you can download them from Relebook, where you'll find a vast collection of top-quality 3D models.
Through continuous practice and optimization, you'll be able to master rendering techniques, improve design effects, and increase work efficiency, ultimately creating more visually impactful and compelling renderings.

