How to Use Country Scene HDR Environment Textures in Blender?
Many designers often need to use HDR environment textures when showcasing outdoor landscapes or rural architecture. These textures can significantly enhance lighting effects, adding depth and detail to the scene. Blender, as a powerful 3D software, effectively utilizes these textures. Here, we will explore how to efficiently use country scene HDR environment textures in Blender.
1.Prepare HDR Environment Textures
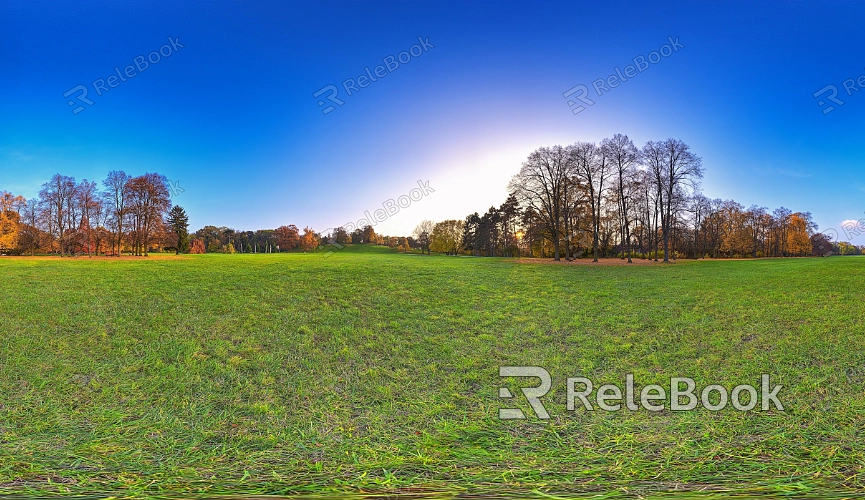
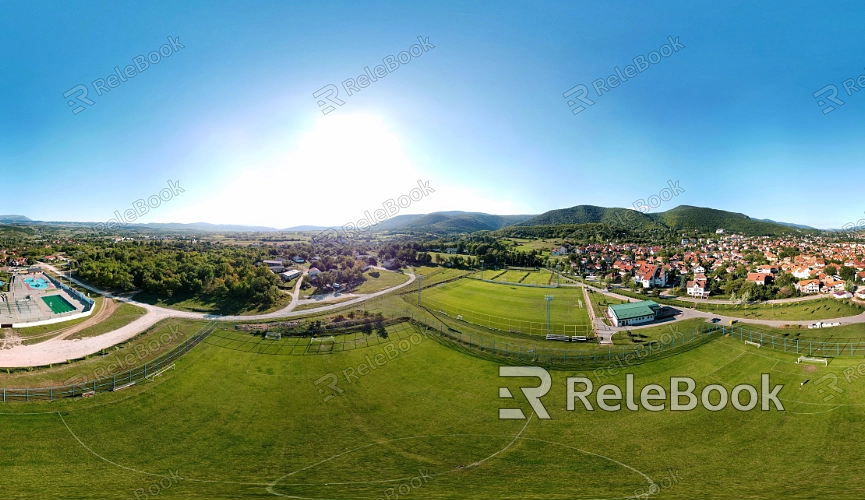
The first step is to find suitable HDR environment textures. Many websites, such as Relebook, HDRI Haven, and Texture Haven, offer a rich selection of resources.
Download Tips: Ensure that the HDR files you download are compatible with Blender, typically saved in .hdr or .exr format.
2.Import HDR Textures
In Blender, navigate to the “World” properties panel and locate the “Color” option. Set the color type to “Environment Texture.”
Loading the Texture: Click the “Open” button to select the HDR file you previously downloaded.
3.Adjust Lighting Settings
HDR textures will impact the overall lighting of the scene, so appropriate adjustments are necessary. In the “World” panel, you can modify the strength settings to achieve the desired lighting effect.
Detail Adjustments: You can simulate different lighting conditions by adjusting the “Strength” value, enhancing the scene’s realism.
4.Set Up Objects in the Scene
After importing the HDR texture, ensure that the objects in your scene are placed appropriately. Utilize Blender's “Render View” feature to see real-time effects.
Object Materials: Apply suitable materials to the objects in the scene to better reflect the lighting and improve realism.
5.Use the Node Editor
Blender’s node editor offers advanced control. You can use the “Shader Editor” to create complex material effects.
Node Setup: Connect the “Environment Texture” node to the “Background” node, adjusting its properties for more intricate lighting effects.
6.Perform Test Renders
Once your setup is complete, conduct test renders to evaluate the effects. Choose an appropriate rendering engine (like Cycles or Eevee) for the render.
Optimize Rendering: Adjust materials, lighting, and HDR texture strength based on the rendering results to achieve the best effects.
7.Add Post-Processing Effects
After rendering is complete, you can use Blender’s post-processing features to further enhance image quality.
Compositing Tools: Use the “Compositing” panel to add color corrections and blur effects, increasing the visual appeal of your work.
8.Save and Export Your Work
Once you are satisfied with the rendering results, remember to save your project and rendered images. In the “File” menu, select “Save” or “Export” to preserve your final output.
File Format: Choose an appropriate file format (like PNG or JPEG) for export, ensuring compatibility across different platforms.
By following these steps, designers can successfully utilize country scene HDR environment textures in Blender, enhancing the realism and detail of their work. This approach not only helps achieve better lighting effects during rendering but also improves the overall visual quality of the final project. We hope this article provides practical guidance for your use of Blender, aiding your creative process.
If you're looking to explore more high-quality HDR environment texture resources, be sure to check out Relebook, where you’ll find a wealth of 3D material options to support your design projects.
