How to Adjust HDR Space Texture Brightness in Cinema 4D
In space scenes, precise control of lighting can significantly enhance the visual impact of your work. However, due to the unique contrast between darkness and bright spots in outer space, adjusting the brightness of HDR space textures becomes crucial. Many designers working in Cinema 4D often encounter the need to fine-tune the brightness of HDR space textures to suit different scene requirements. This article will provide a detailed guide on how to effectively adjust the brightness of HDR space textures in Cinema 4D, along with useful tips and techniques.
1. Common Use Cases and Advantages of HDR Space Textures
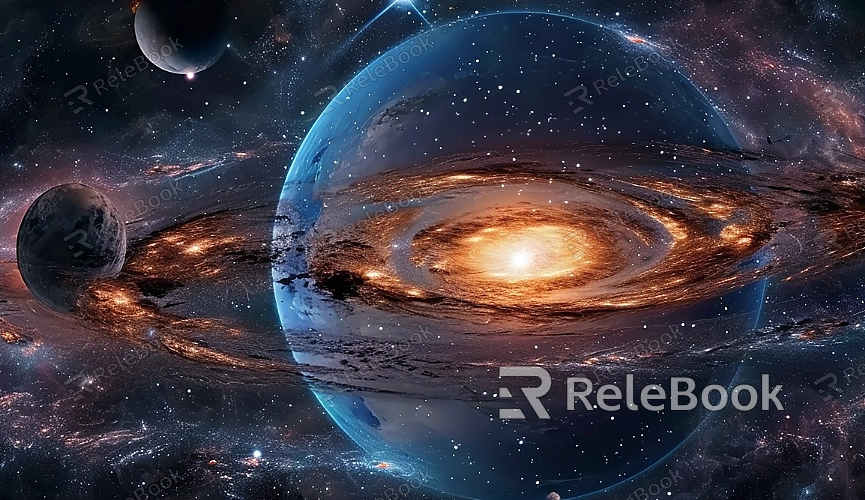
HDR textures are widely used in various 3D software, including Cinema 4D, 3ds Max, and Blender. HDR space textures are particularly suited for projects involving sci-fi scenes, spaceship interiors, planetary surfaces, and deep space exploration. These textures offer a broader range of lighting information, providing rich detail and dynamic contrast.
Advantages Overview:
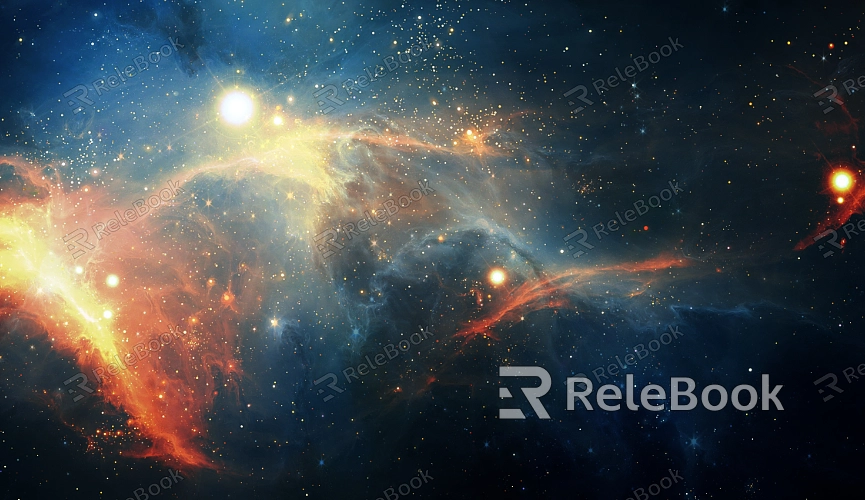
Capturing High Dynamic Range: HDR space textures capture extreme changes in light, from dark shadows to bright highlights, delivering a more realistic visual experience.
Enhancing Detail: By adjusting the brightness of HDR space textures, designers can better emphasize elements like stars, halos, and other atmospheric effects, creating a more immersive scene.
2. Importing and Setting Up HDR Space Textures
The first step in working with HDR textures in Cinema 4D is to import the texture properly and set it within the appropriate environment. Ensure that the HDR image you select has a wide dynamic range to handle the complex lighting conditions of space scenes.
Importing the HDR Texture:
Open Cinema 4D and create a new material in the material editor.
In the material’s color or luminance channel, load the HDR space texture. Typically, applying it to an environment light will significantly affect the overall brightness of the scene.
Setting Material Properties:
Once the HDR material is loaded, check its default exposure settings and ensure they match the lighting needs of your current scene. If the initial result isn’t ideal, you can further adjust the brightness as outlined below.
3. Basic Methods for Adjusting HDR Space Texture Brightness
There are several ways to adjust the brightness of HDR textures in Cinema 4D, each offering different effects depending on the scene. Here are some practical methods:
Adjusting Exposure:
Exposure Settings: In the material settings for the HDR image, locate the exposure option. Increasing or decreasing the exposure value directly impacts the overall brightness of the space texture. Higher exposure will make bright areas stand out more, which is great for star and halo effects, while lower exposure emphasizes deeper space detail.
Using Brightness Curves:
Brightness Curve: Cinema 4D’s brightness curve tool allows designers to fine-tune specific light and dark areas of the texture. This is especially useful for space textures, as you can use the curve to enhance certain brightness ranges, achieving the desired effect.
4. Using Lighting to Influence HDR Textures
Adjusting HDR space texture brightness isn’t limited to modifying the texture itself—lighting within the scene also plays a critical role in how textures are perceived.
Global Illumination Adjustment:
Global Illumination Settings: In the render settings, activate global illumination (GI). This option allows HDR textures to interact more realistically with light sources in the scene. By adjusting the intensity of GI, you can control how HDR textures blend into the environment.
Adding Supplemental Lighting:
Additional Light Sources: If the HDR space texture brightness still doesn’t meet your needs, consider adding supplementary lights to the scene. Adding elements like starlight or planetary reflections can create more depth and layers of brightness within the space scene.
5. Testing and Optimizing HDR Brightness
After adjusting the brightness of your HDR space texture, it’s important to run a series of test renders to ensure the changes fit the needs of your project.
Test Rendering:
Multiple Test Renders: Render the scene from various angles and lighting conditions to evaluate how the HDR space texture looks. Check whether the texture's details and brightness remain consistent across different exposure settings.
Further Adjustments Based on Feedback:
Optimizing Brightness Settings: Based on the feedback from test renders, fine-tune the exposure values, brightness curve, or lighting parameters to ensure the HDR texture brightness perfectly complements the overall scene.
6. Post-Processing and Output
Once you’re satisfied with the HDR brightness adjustments, the next step is output and post-processing. This phase can further enhance the final image quality.
Post-Processing Brightness Tweaks:
Using Post-Processing Tools: After rendering, tools like Photoshop or After Effects can be used to make final brightness adjustments. Fine-tuning contrast, brightness, and color balance can add the finishing touch to your space scene.
Optimizing Workflow:
Save Settings and Workflow: Once you’ve adjusted the HDR texture brightness to your satisfaction, save the parameters and workflow for future projects. This not only speeds up your work but ensures consistency in HDR brightness across different projects.
By following these steps, designers can flexibly adjust HDR space texture brightness in Cinema 4D, allowing the textures to perform exceptionally well in 3D environments. Mastering these techniques will help you meet the complex lighting demands of future projects, creating more realistic and impactful space scenes. If you're looking for high-quality HDR textures, Relebook offers a diverse selection of assets to help elevate your creative work to the next level.
