How to Add Fur Textures to 3D Models?
In the world of 3D modeling, adding fur textures can significantly enhance a model's realism and visual appeal. The application of fur textures is widespread. They not only boost a character's personality but also add vibrant details to a scene. This article will explore the steps to add fur textures to 3D models, including choosing the right tools, creating and applying textures, and helping you master this skill.
Choose the Right Software Tools
First, selecting the appropriate software tools is crucial for successfully adding fur textures. There are various 3D modeling software options available, including popular tools like Blender, Maya, and ZBrush. Each software has its own unique features and interface, so understanding the strengths and weaknesses of each is vital.
When choosing software, consider the following factors:
1. User-Friendly Interface: Is the software easy to understand and navigate?
2. Rich Functionality: Does the software offer a variety of texture editing and painting tools?
3. Community Support: Is there an active user community for resources and problem-solving?
Once you familiarize yourself with these software options, you can select the one that best meets your needs to start creating fur textures.
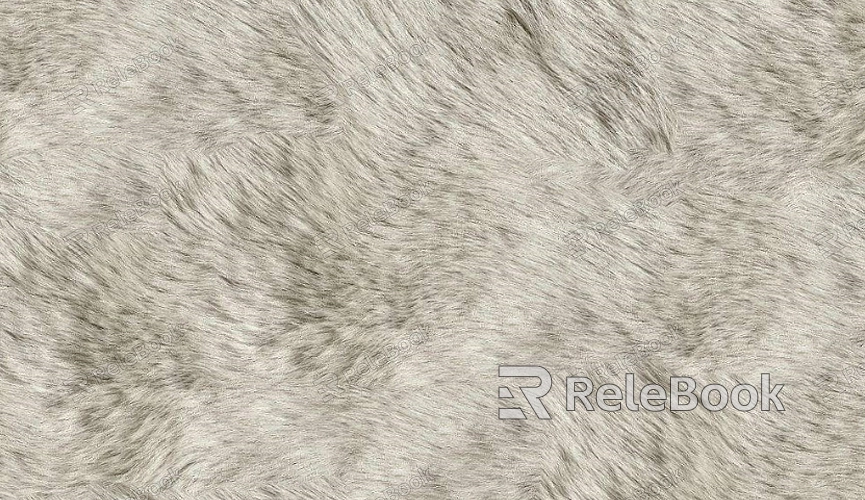
Create Fur Textures
The process of creating fur textures can be broken down into several steps, including painting the base texture, adding details, and making final adjustments.
1. Base Texture Painting
Start by painting the base texture. This can be done by selecting suitable brushes and colors. Use natural tones to mimic the colors and textures of real fur. While painting, be sure to employ gradient effects to make the colors appear more lifelike.
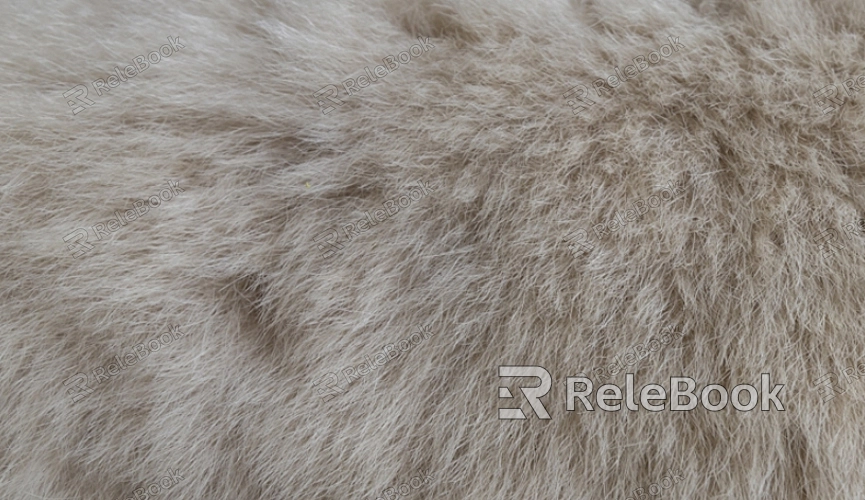
2. Adding Details
After the base texture is complete, it's time to add details. This involves painting the direction and texture of the fur. Using different brush sizes, you can create a more dynamic fur effect. Additionally, you can apply texture maps to enhance the depth and layers of the fur.
3. Final Adjustments
Once the base and details are completed, make final adjustments. This includes tweaking glossiness, transparency, and color saturation to ensure the fur looks natural. You can also use post-processing tools to further optimize the effect and enhance visual impact.
Apply Textures to the Model
After creating the texture, the next step is applying it to the 3D model. This process typically includes several key steps:
1. UV Unwrapping
Before applying the texture, you need to UV unwrap the model. UV unwrapping is the process of transforming a 3D surface into a 2D plane, allowing the texture to fit correctly onto the model. Ensure high-quality UV unwrapping to avoid stretching or distortion during the texture application.
2 Texture Mapping
Once UV unwrapping is complete, you can map the created fur texture onto the model. In most 3D software, you simply drag and drop the texture file into the appropriate material slot. Adjust the texture's tiling and scaling to match the model's size.
3. Real-Time Preview
After applying the texture, use the real-time preview feature to check the results. This step is crucial as it helps you instantly identify and fix any issues. If you notice anything unsatisfactory, you can return to the previous steps for modifications until you achieve the desired effect.
Through this article, you should now have a deeper understanding of how to add fur textures to 3D models. From selecting the right software tools to creating and applying textures, each step requires careful observation and practice. With continuous experimentation, you'll master this skill and enhance your 3D works with vibrant details. If you're looking for more 3D models and texture resources, visit Relebook to explore endless creative possibilities.
FAQ
How do I choose the right fur texture?
When selecting a fur texture, consider the characteristics of your target object. For animal characters, opt for more natural colors and details, while for fantasy characters, choose more artistic textures.
What should I pay attention to when UV unwrapping?
When UV unwrapping, aim to minimize seams and overlaps. Effectively utilizing space can enhance the clarity and quality of the texture.
How can I improve the realism of the fur texture?
You can enhance realism by adjusting lighting settings and adding details. Appropriate glossiness and shadows will make the fur appear more vibrant.
What common mistakes should I avoid during texture creation?
Common mistakes include overlooking the importance of the base texture, relying too heavily on post-processing, and neglecting the quality of UV unwrapping. Paying careful attention to each step can improve the final result.
