How do I create an office HDR texture in Blender?
Today, visualizing office environments is increasingly important, and designers often need to use office HDR textures to create more realistic spaces. Blender, a widely-used open-source 3D modeling software, allows designers to easily create and apply office HDR textures. This article will provide a detailed guide on how to create office HDR textures in Blender, helping designers enhance their work quality.
Understand the Basics of HDR Textures
Before diving in, designers need to understand what HDR textures are. HDR textures are images that contain a high dynamic range, capturing a broader spectrum of lighting details. This allows rendered images to more accurately depict the relationship between light and shadow.
Gather Reference Materials
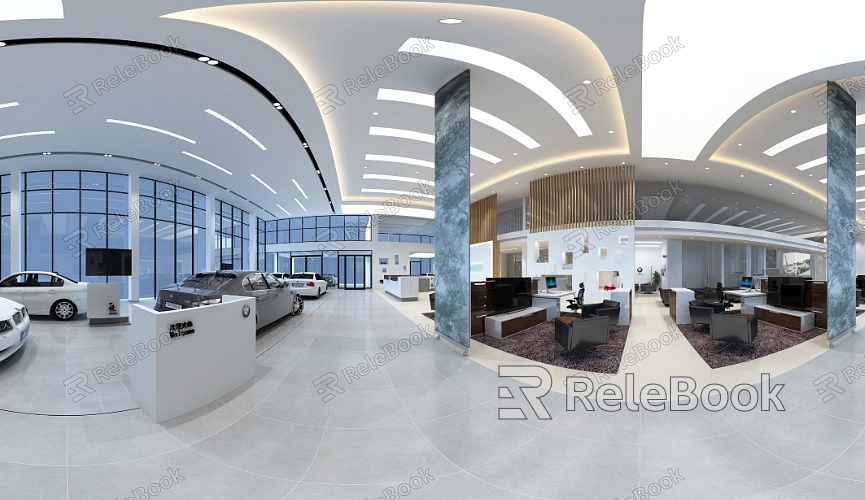
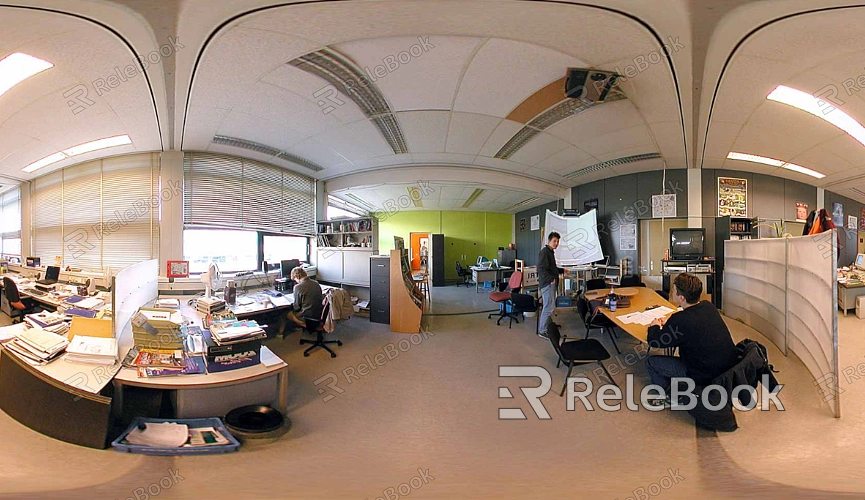
The first step in creating office HDR textures is to gather reference materials. By searching for photos of real office environments, designers can understand how different materials behave under various lighting conditions. This will help maintain realism when crafting textures, ensuring that the rendered effects align with actual scenes.
Choose Appropriate Materials
When creating office HDR textures in Blender, selecting the right materials is crucial. Designers can opt for materials like wood, metal, or fabric and adjust them based on specific needs. Each material has unique reflective and refractive properties under light, so understanding these characteristics can lead to better results.
Utilize Blender's Material Editor
Blender offers a powerful material editor, allowing designers to create and modify materials using a node-based system. In the node editor, designers can add various nodes, such as the “Principled BSDF” node, to adjust parameters like glossiness and roughness, simulating real-world material behavior.
Set Up HDR Environment Lighting
To enhance the effectiveness of office HDR textures, designers need to establish appropriate environmental lighting. Using HDRI images as light sources can be done by importing them through the “World” properties panel. This provides realistic lighting for the scene, making the textures appear more three-dimensional.
Apply Texture Mapping
After creating the materials, the next step is to apply texture maps to the relevant objects. Designers can use the “UV Unwrapping” tool to lay out the model, ensuring that the textures map correctly to the surfaces. Adjusting UV coordinates as needed will help achieve optimal results. If you find the process of creating or sourcing high-quality HDR textures too complex or time-consuming, you can visit Relebook and download beautiful HDR resources from https://textures.relebook.com/.
Adjust Lighting and Rendering Settings
The quality of the rendering results is closely tied to the lighting setup. Designers should adjust light intensity, position, and type based on scene requirements. Blender supports various light types, including point lights, spotlights, and ambient lights, and choosing the right light sources will enhance the visual effects of HDR textures.
Use the Rendering Engine
Blender provides multiple rendering engines, such as Cycles and Eevee. Cycles is a physically-based rendering engine that offers greater realism, while Eevee is suitable for real-time rendering. Designers should choose the appropriate rendering engine based on project needs and adjust the settings accordingly.
Test and Adjust
After completing the previous steps, designers should perform test renders to evaluate the effects. Based on the render results, necessary adjustments can be made, such as modifying material parameters and lighting settings. This is an iterative process that continues until the desired results are achieved.
Save and Export
Finally, designers should save the completed project and export it in the desired file format. Blender supports various output formats, allowing designers to select the most suitable one for their needs. It’s also essential to back up project files for future modifications.
Creating office HDR textures in Blender is a systematic and detailed process. By mastering material editing, lighting setups, and rendering engines, designers can effectively enhance the quality and realism of their work. This not only helps them better showcase design concepts but also makes a significant impact in client communications.
If you’re looking for high-quality HDR images, 3D textures, SketchUp models, or 3ds Max models to create your designs and virtual scenes, Relebook offers a wealth of options to help you achieve outstanding visual effects in your projects.
