How do I edit office HDR textures in Photoshop
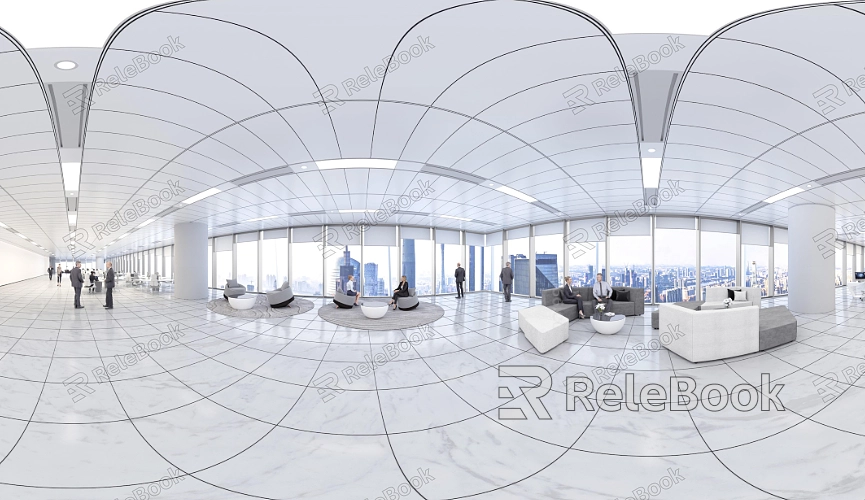
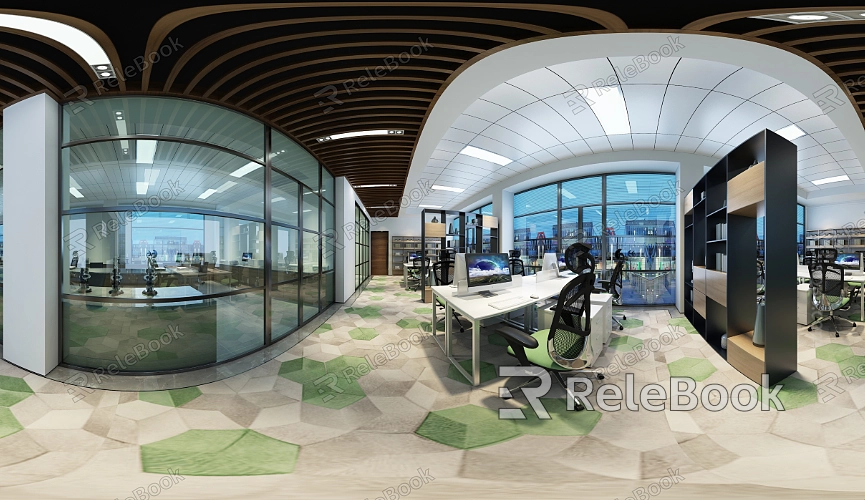
When creating interior scenes, using office HDR textures enhances lighting effects and adds a sense of realism to the environment. Designers working with software like AutoCAD, 3ds Max, or Blender might find that the original HDR textures don’t fully meet their needs. That’s where Photoshop comes in. Editing these textures in Photoshop can make a significant difference in the quality of the final design. This article will walk you through how to effectively edit office HDR textures in Photoshop to elevate the quality of your work.
1. Understanding the characteristics of HDR textures
Before you begin editing, it’s important to understand what makes HDR textures unique. These textures store high dynamic range lighting information, which allows them to capture more detail and a greater depth of color. Knowing this will help you make more precise adjustments during the editing process in Photoshop.
2. Importing HDR textures into Photoshop
To open your HDR texture file in Photoshop, go to the “File” menu, select “Open,” and choose the target file. Make sure you are using a version of Photoshop that supports HDR formats to get the best results.
3. Adjusting exposure and contrast
Under the “Image” menu, the “Adjustments” option allows you to tweak the exposure and contrast of the HDR texture. Increasing the exposure will brighten the image, while adjusting the contrast helps to enhance the details and depth. These adjustments are crucial to making the HDR texture more visually appealing when rendered.
4. Using layers and masks
Layers and masks are powerful tools in Photoshop. By creating multiple layers, you can make independent adjustments to different parts of the texture. For example, you can highlight specific areas or apply filters selectively. Masks allow you to edit non-destructively, so you can go back and make changes anytime without affecting the entire image.
5. Applying filters and effects
Photoshop offers a range of filters and effects that can add a unique style to your HDR textures. Experiment with filters like “Blur,” “Sharpen,” or “Noise” to enhance the texture’s appearance. A well-chosen filter can bring a level of depth and vibrancy to the texture, making it stand out in the final render.
6. Adjusting color balance
Under the “Image” menu in the “Adjustments” section, you’ll find the “Color Balance” feature. By adjusting the colors in the shadows, midtones, and highlights, you can fine-tune the texture’s color tone to match the office environment more realistically.
7. Fixing and removing imperfections
Using tools like the “Healing Brush” or “Spot Healing Brush,” you can easily repair any imperfections in the texture. This step is essential for achieving a flawless final image, especially in detailed office environments where every element must appear clean and precise.
8. Saving the edited file
Once you’ve completed your edits, be sure to save the file in the appropriate format. From the “File” menu, select “Save As” and choose HDR or another compatible format so that the texture is ready for use in your 3D software.
9. Exporting for use in 3D software
After saving, ensure the file is in a format that can be correctly read by your 3D software. Depending on your software’s requirements, you may need to convert the file to formats like EXR or TIFF to ensure the best possible outcome.
10. Testing and iterating
Finally, test your newly edited HDR texture in your 3D software. Observe how it behaves in the render, and make further adjustments as necessary. Flexibility is key, as you may need to tweak the texture to suit the specific needs of your project.
By following these steps, you can effectively edit office HDR textures in Photoshop, ensuring that your final render is both realistic and visually engaging. These techniques will not only enhance the quality of your textures but also unlock new creative possibilities, helping your designs stand out to clients.
If you’re looking for high-quality HDR images, 3D textures, or other design resources, Relebook is an excellent choice. Visit Relebook to download a wide variety of stunning textures and models to elevate your design projects and boost your creative output.
