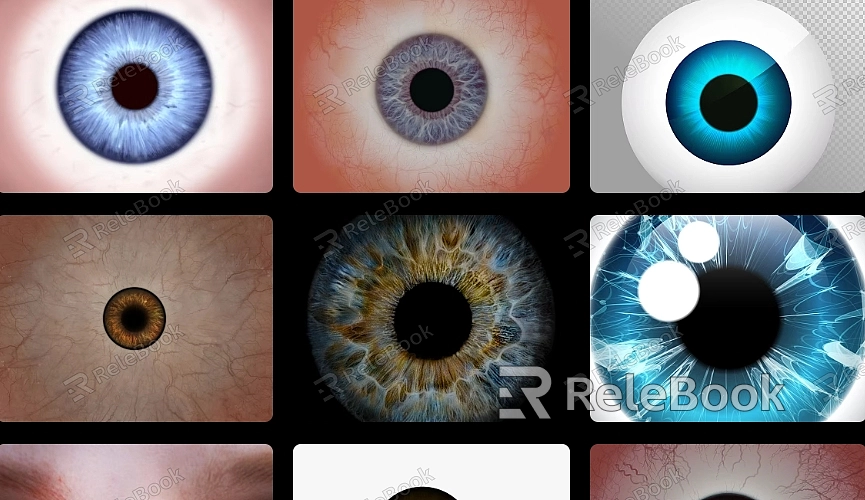
Applying Eye Textures in Blender
Eyes are one of the most expressive elements in character models. In Blender, adding realistic eye textures can bring characters to life with vividness and authenticity. This article will walk you through the steps and techniques to apply eye textures to models in Blender.

1. Prepare Texture Materials
Start by gathering or creating eye texture materials suitable for your model. This might include textures for the iris, pupil, and sclera. Ensure these materials have sufficient resolution and quality to display intricate details on the model. You can access high-quality eye textures for your models from Relebook.
2. Model Preparation
Load your model in Blender and ensure the eyes are a separate, selectable part of the model. This facilitates applying textures to the eyes without affecting other parts of the model.
3. Texture Application
Using Blender's material editor or node editor, create a new material for the eyes' section. Apply the prepared eye texture materials to this material, ensuring proper mapping onto the eye's surface.
4. Adjust Texture Parameters
By adjusting the texture nodes or material settings, alter properties like gloss, reflection, and transparency of the eyes to enhance their realism. Experiment with brightness, contrast, and color saturation to align the texture with the desired effect.
5. UV Mapping and Texture Adjustment
Ensure the texture's UV mapping matches the shape of the eye model. Utilize Blender's UV editor to fine-tune and adapt the texture, ensuring it aligns naturally and accurately on the eye's surface.
6. Rendering and Effect Verification
Preview the model in the rendering view to ensure the texture is correctly applied to the eyes. Observe how the texture appears under different lighting conditions to ensure the eyes maintain a realistic look in various environments.
7. Save and Export
Upon finalizing texture adjustments, save your Blender file. Export the model in the required format for use in other projects or software whenever needed.

