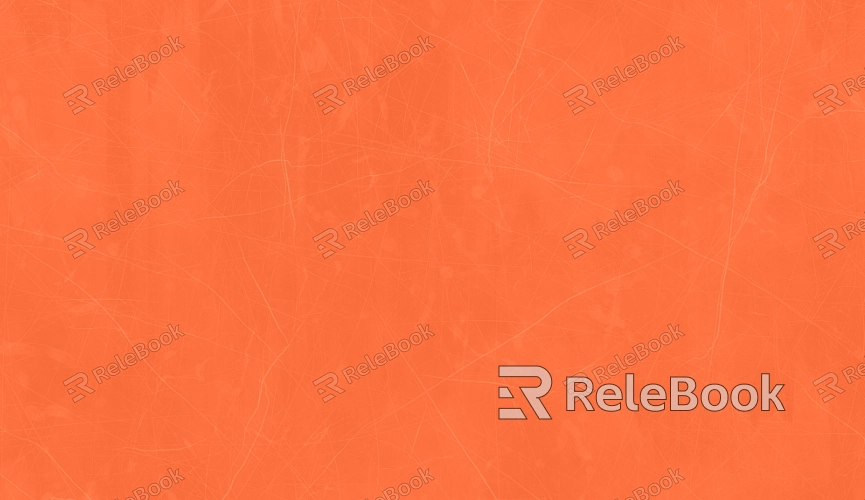
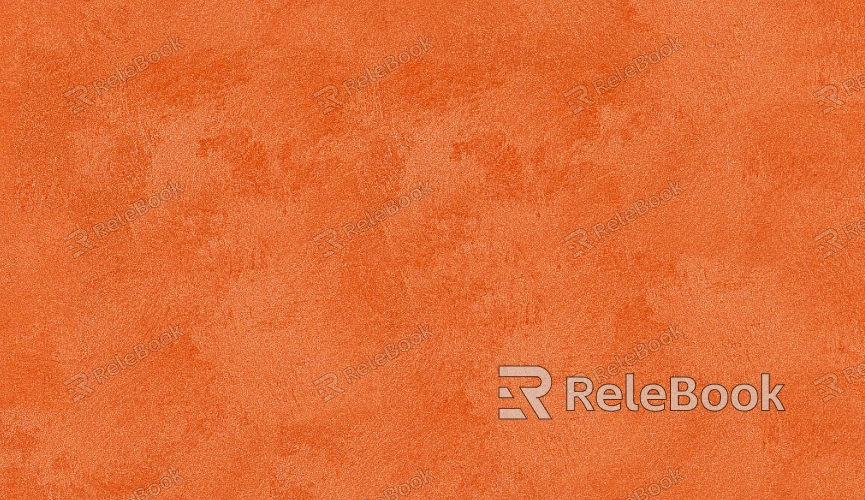
How to Make Wall 3D Paint Bump Texture
In interior design, architectural visualization, and game environments, the bump effect of wall paint not only enhances the visual depth but also gives the space a sense of texture and realism. Creating 3D paint bump textures for walls is a common task in 3D modeling and rendering software like Blender, 3ds Max, and Maya. These textures can be achieved through traditional image mapping or by using procedural generation for more realistic results. This article will guide you through the process of creating wall 3D paint bump textures using various tools and techniques in popular 3D software.

1. Understanding Wall Paint Bump Effects
The bump effect in wall paint is typically represented using normal maps or displacement maps. Normal maps simulate surface details, making smooth surfaces appear more structured, while displacement maps directly alter the geometry of the surface. The effectiveness of these bump textures is closely linked to surface materials and lighting, so it's essential to consider these factors during the creation process.
2. Steps for Creating Paint Bump Textures
Choosing the Base Material
The first step in creating a wall paint bump texture is selecting a base material. This could be a simple flat wall surface or an already modeled wall. In Blender or 3ds Max, you can start by creating a basic wall model and ensuring its UV mapping is well laid out for later texture mapping.
Creating the Bump Texture Map
For paint effects, you can use texture painting software like Photoshop or Substance Painter to create the bump texture map. The bump effect usually manifests as small brush strokes, cracks, or irregular protrusions and depressions. Using height maps or normal maps will capture these details and give the final wall a more realistic look.
Using Procedural Texture Generation
If you'd like to avoid manually painting textures, procedural texture tools like Substance Designer are great options. These tools allow designers to create more flexible and adjustable paint bump textures that can be modified on the fly and are more easily repeatable.
Applying the Texture and Adjusting Material Settings
When applying the paint bump texture to your model, besides mapping the texture to the model’s UVs, you'll also need to adjust parameters like bump strength and glossiness. These adjustments will directly affect the visual outcome and make the paint effect look more realistic. For example, in Blender, you can tweak bump map intensity in the Shader Editor and adjust the reflection settings to enhance the glossiness.

3. Tips for Creating Paint Bump Textures in Different Software
Blender Techniques
In Blender, creating paint bump effects involves effectively using Bump Maps or Normal Maps. These maps can be adjusted in the Node Editor and combined with material properties for finer detail. For complex paint cracks, you can blend texture maps with procedural methods or use texture libraries like Quixel Megascans to enhance the details.
3ds Max and V-Ray Integration
In 3ds Max, using the V-Ray renderer can further enhance the bump effects on wall paint. V-Ray's Bump Maps and Displacement Maps can add fine surface variations, while controlling light reflection and refraction helps enhance the realism of the paint texture.
Maya Node-Based Editing
Maya's powerful material node editor allows you to create intricate paint bump effects through node combinations. By incorporating different maps such as normal maps, displacement maps, and roughness maps, you can achieve a more realistic wall paint texture.
4. Rendering Adjustments for Enhanced Detail
After creating the bump texture for the wall paint, the rendering phase is crucial for making the texture details stand out. Here are a few ways to optimize the render:
Lighting Adjustments
The bump effect heavily relies on the angle and intensity of the light source. By adjusting the lighting position and strength, you can enhance the surface details of the paint. For instance, strong side lighting can highlight cracks and undulations on the wall surface.
Reflection and Specular Settings
Adjusting reflection and specular highlights during rendering can make the paint effect more pronounced. Different paint finishes have unique reflective properties, so tuning these settings helps achieve a more accurate visual effect.
Render Output Settings
Ensure that the texture maps are of high enough resolution to avoid blurriness or unclear details. Larger wall surfaces typically require higher resolution textures to maintain detail integrity.
This article has outlined the key steps and techniques for creating wall paint bump textures in 3D rendering. From basic material setup and bump texture creation to how to apply these textures in Blender, 3ds Max, and Maya, each step plays a critical role in achieving a convincing result. By following these methods, designers can add more realism and depth to their 3D models. We hope these insights help improve your wall texture creation process for your next project.
If you're looking for high-quality 3D textures, SketchUp models, or 3ds Max assets to bring your models and virtual scenes to life, be sure to check out Relebook for a wide range of resources that can help you achieve outstanding visual effects in your projects.

