How to Make a Metal Texture in Blender 3D?
Blender, as one of the leading 3D modeling software programs, offers a wide range of tools for creating realistic materials and textures. One of the most commonly sought-after materials in 3D modeling is metal. Achieving the right metallic look is essential for objects such as cars, buildings, or various mechanical parts. Creating a realistic metal texture involves understanding the principles of light interaction, the use of Blender's materials and shaders, and how to tweak various settings to get the desired result. In this article, we will guide you step-by-step on how to make a realistic metal texture in Blender.

The Basics of Metal Materials in 3D
To begin creating a metal texture, it’s important to understand the basic properties of metals in real life and how they can be translated into a 3D environment. Metals typically have specific visual characteristics that differentiate them from other materials. These include high reflectivity, smoothness, and distinct colors depending on the type of metal. A well-made metal texture needs to reproduce these properties effectively.
1. Reflection
Metal surfaces reflect a significant amount of light. The quality and sharpness of these reflections depend on the roughness of the metal's surface.
2. Smoothness
Polished metals like chrome or steel tend to have smooth, mirror-like reflections, while rusted or aged metals exhibit more diffuse reflections.
3. Color and Variation
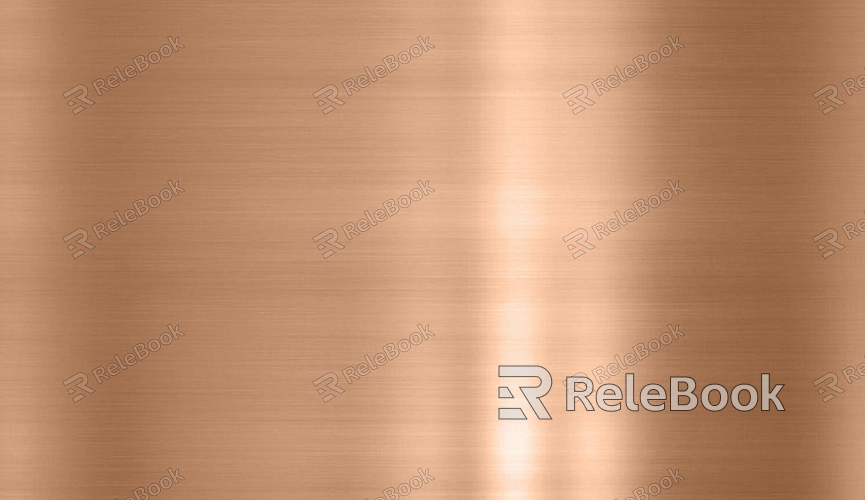
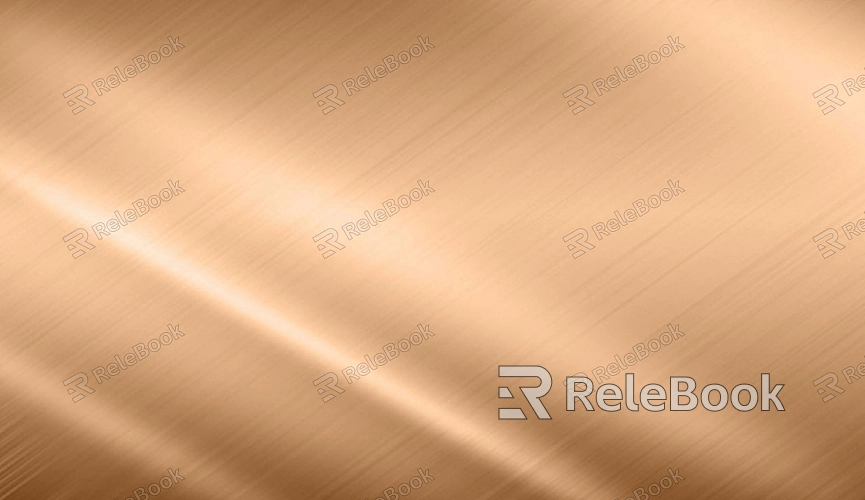
While metals can have a standard color like silver or gold, they may also show slight variations in hue, such as copper's reddish tones or the bluish patina of oxidized brass. These subtle color differences can be achieved by modifying the shader settings and using texture maps.
Understanding these characteristics will guide you as you begin the process of creating a metal texture that mimics these properties. Now, let’s take a closer look at how to implement these qualities using Blender's powerful tools.

Setting Up Your Blender Project
Before diving into the details of texturing, it’s important to set up your project and object in Blender. Begin by creating or importing the 3D object you wish to apply the metal texture to. If you're starting from scratch, a simple shape like a sphere or cube can be a good test object. Once your object is ready, it's time to move on to the material setup.
Start by selecting your object and navigating to the Materials tab in the Properties panel. Here, you can create a new material for the object. In Blender, you will be using the Principled BSDF shader to create a metal material. This shader combines many essential properties into one node, making it easy to control the reflectivity, roughness, and color of your material. The Principled BSDF is a powerful tool that will allow you to create highly realistic metal textures.
Applying a Metal Shader
Blender’s Principled BSDF shader allows you to simulate metals with ease. To create a metal texture, the key parameter you need to focus on is the metallic slider. Setting this to 1 will make your material behave like a metal. However, just turning on the metallic property is not enough to create a realistic effect; you will also need to adjust other parameters, such as roughness and base color.
1. Metallic
This slider determines whether the material behaves like a metal or a non-metal. Set it to 1 for full metal behavior.
2. Roughness
This setting controls how smooth or rough the metal surface is. A value of 0 means perfectly smooth and reflective, while higher values create a more matte and diffused reflection.
3. Base Color
Depending on the metal you want to replicate, you can adjust the base color. For example, you might set it to a dark gray or silver for steel, a warm yellow for gold, or reddish-brown for copper.
By fine-tuning these three settings, you can begin to achieve the basic appearance of your metal texture. To enhance the realism further, you can add texture maps and fine details.
Adding Texture Maps for Realism
Realistic metal textures often feature imperfections like scratches, dents, and rust. To achieve this, you can use bump maps, normal maps, and roughness maps. These maps add extra detail to your material without the need to model these imperfections manually. Here’s how to incorporate texture maps into your metal material:
1. Bump Map/Normal Map
These maps simulate surface details like scratches or minor imperfections. A bump map affects the shading of the material, creating the illusion of depth. A normal map works similarly but provides more detailed surface variation.
2. Roughness Map
This map controls the micro-surface details of the metal. It defines where the metal is smooth and where it is rough, which in turn controls the sharpness of the reflections.
To apply these maps in Blender, you need to use the Image Texture node. Connect this node to the Bump or Normal input of the Principled BSDF shader to add surface detail. Similarly, connect a roughness map to the roughness input to control the smoothness and reflectivity in different areas of the texture.
Adding Environmental Reflection for Realism
One of the most important aspects of metal surfaces is how they reflect their environment. Blender’s HDRI (High Dynamic Range Image) lighting is perfect for creating realistic reflections on metal surfaces. By using an HDRI image as your environment texture, you can simulate complex reflections that occur on real metal surfaces.
To set up an HDRI, navigate to the World tab in the Properties panel and add an Environment Texture node. Load an HDRI image and connect it to the background shader. This will add real-world lighting and reflections to your metal surface, enhancing its realism. Adjust the strength of the HDRI to control the intensity of the reflections.
Fine-Tuning and Rendering
After setting up your texture and materials, it's time to fine-tune your scene to get the best results. Use Render Preview mode to see how your metal texture looks under different lighting conditions. You may need to adjust the camera angle, lighting, and material properties to get the desired final result. The key to a great metal texture is subtlety—small tweaks in reflection, roughness, and color can have a big impact on the overall look.
When you’re satisfied with the appearance of the metal texture, it’s time to render your scene. In Blender, use Cycles for photorealistic rendering or Eevee for faster, real-time results. Both engines will render your metal texture with the settings you’ve configured, but Cycles tends to produce more accurate and detailed reflections.
Common Mistakes and How to Avoid Them
Creating realistic metal textures can be challenging, especially when you're first starting. Some common mistakes include:
1. Too much reflection
If the roughness value is too low, your metal texture will appear overly shiny and unrealistic. Try adjusting the roughness to add a more natural diffusion of light.
2. Incorrect color choice
Not all metals are silver or gray. Make sure you adjust the base color to match the metal you are simulating and consider adding slight color variations to add realism.
3. Lack of detail
A flat metal surface will look artificial. Adding texture maps, such as bump or normal maps, helps simulate imperfections like scratches and dents, making your texture feel more organic and believable.
Creating metal textures in Blender requires a good understanding of how light interacts with metal surfaces and how to effectively use Blender’s materials and shaders. By following the steps outlined above, you can achieve realistic metallic finishes that bring your 3D models to life. Experimenting with different materials, roughness levels, and HDRI environments will help you fine-tune your textures for the best possible results. Now that you know how to create your metal textures, why not enhance your projects even further? Visit the Relebook website to download high-quality 3D models and textures that can take your work to the next level.
FAQ
What’s the best way to create a shiny chrome material in Blender?
To create a shiny chrome material, set the metallic value to 1 and lower the roughness to around 0.05 or lower. Use a high-quality HDRI for realistic reflections.
How do I create a rusted metal texture in Blender?
For a rusted metal texture, you can start with a standard metallic base, then overlay a rust texture using a Mix Shader to combine the rusty material with the base metal. Use a roughness map to control where the rust is smooth or rough.
Can I use Blender’s Eevee renderer to create realistic metal textures?
Yes, Eevee can be used for real-time rendering of metal textures, though for photorealism, Cycles are often preferred. You may need to adjust settings like Reflection Cubemaps for better results in Eevee.

