How to convert image to 3d model sketchup
In the realm of 3D modeling, converting 2D images into 3D models is a highly practical skill. Whether in architectural design, interior decoration, or product presentation, a simple image can sometimes create a realistic 3D effect. This capability saves significant time and effort for designers, architects, and product developers. This article will detail the steps to convert images into 3D models in SketchUp and share some tips to enhance your modeling efficiency.
Why Convert Images to 3D Models?
During the design process, you may only have a single image but need to create a corresponding 3D model. For instance, architectural projects often require 3D models based on floor plans or renderings, and interior designers may create 3D models of furniture from images for layout design. Converting 2D images to 3D models allows for quick generation of three-dimensional effects, effectively showcasing design ideas.

The advantages of this conversion include shortening the design cycle, reducing repetitive work, and better controlling model details and style. Especially during the early concept design phase, generating 3D models from images can quickly validate design feasibility.
Choose the Right Image
Before converting an image into a 3D model, selecting the appropriate image is crucial. The ideal image should have clear outlines and details, as these features directly affect the quality of the 3D model. It's best to choose front-view images, as they capture the object's shape more accurately. Additionally, higher resolution images retain better detail, resulting in a more precise 3D model.
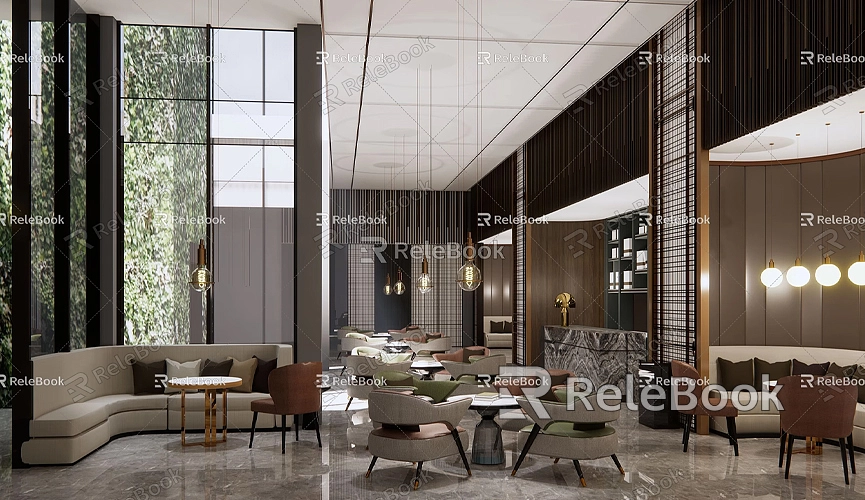
Images can vary widely, including architectural facades, furniture photos, logos, or artistic patterns. When selecting, consider the final model's intended use to ensure the conversion meets expectations.
Use SketchUp's "Photo Match" Feature
SketchUp offers a very useful feature called "Photo Match." With this tool, you can easily use an image as a background and draw a 3D model based on the object's outlines in the image. This method is well-suited for creating building facades, furniture, and other objects with clear shapes and outlines.
First, open SketchUp and select "Match New Photo" from the Camera menu. Then, choose your prepared image, and SketchUp will import it into the view. You'll see a control line interface, where you can adjust these lines to align with the image's perspective lines. This step is crucial; only by aligning the perspective lines can you accurately draw the 3D model's outlines.
Once the perspective lines are matched, you can begin drawing the 3D model. Use SketchUp's tools to create the model based on the shapes and details in the image. This process requires some patience and observation, but it's not complicated.
Use the "Push/Pull" Tool to Create 3D Shapes
After drawing the 2D outlines, you can use SketchUp's "Push/Pull" tool to convert the flat shapes into 3D models. This step is straightforward; simply select the outlined shape and pull it upward or downward to generate a basic 3D form.
This process is especially suitable for simple objects like furniture or building walls. For more complex details, you can combine other tools, such as "Offset" and "Arc," to further refine the model.
Import Images as Texture Maps
Sometimes, merely creating a basic 3D shape isn't enough to convey the object's realism. In such cases, consider importing the image as a texture map to enhance the model's authenticity. SketchUp allows users to use any image as a material and apply it directly to the surface of the 3D model.
Importing an image as a texture is simple. First, select a face of the model, then click "Create Material" in the Materials panel and choose the image you want to import. By scaling and adjusting the texture, you can accurately apply the image to the model's surface. This way, a regular image transforms into a realistic 3D model.
Use Other Software for Detail Work
At times, SketchUp's tools may not meet your high standards for model detail. In such cases, you can use other software for more refined processing, such as Photoshop or Blender. With these tools, you can remove backgrounds from images, enhance colors, or even draw shadows and reflections directly, making the 3D model more lifelike.
Especially when creating very complex objects, software like Blender can help with detailed mesh modeling, while SketchUp is more suited for rapid creation and modification. Once completed, you can re-import the model back into SketchUp for adjustments.
Export and Optimize the Model
After creating the 3D model, you may need to export it to other software or render it within SketchUp. At this point, the file size and model complexity become particularly important. To ensure the model opens smoothly on other platforms, you can optimize it by deleting unnecessary lines and faces and simplifying the structure.
Additionally, you can export the model in other common formats, such as `.obj`, `.dae`, or `.fbx`, for use in other 3D modeling software. When exporting, it's advisable to select an appropriate file type to ensure model compatibility and detail retention.
If you need high-quality 3D textures and HDRIs while creating models and virtual scenes, you can download them for free from [Relebook](https://textures.relebook.com). For exquisite 3D models, check out [Relebook](https://3dmodels.relebook.com), which offers a large selection of quality resources. These assets can make your models more realistic and professional.
Common Issues and Solutions
During the process of converting images to 3D models, you may encounter common issues such as incorrect scaling, blurry textures, or lost details. Most of these problems can be resolved by adjusting import settings, modifying image resolution, or redrawing the model.
For instance, if the model's scale is off, it may be due to errors when matching the photo's perspective lines. Re-adjusting the perspective lines and checking unit settings usually resolves this issue. Blurry texture issues can be addressed by importing high-resolution images and making detail adjustments in the material settings.
Converting 2D images to 3D models in SketchUp is a very practical skill that can save designers significant time, whether in the concept design phase or for final project presentations. By correctly selecting images, utilizing SketchUp's tools, and combining other software for detailed adjustments, you can easily create stunning 3D models.
I hope this article helps you master the skills needed to convert images into 3D models, making your design process more efficient and streamlined. Remember to take full advantage of the 3D resources provided by Relebook to further enhance your design quality and effects.
