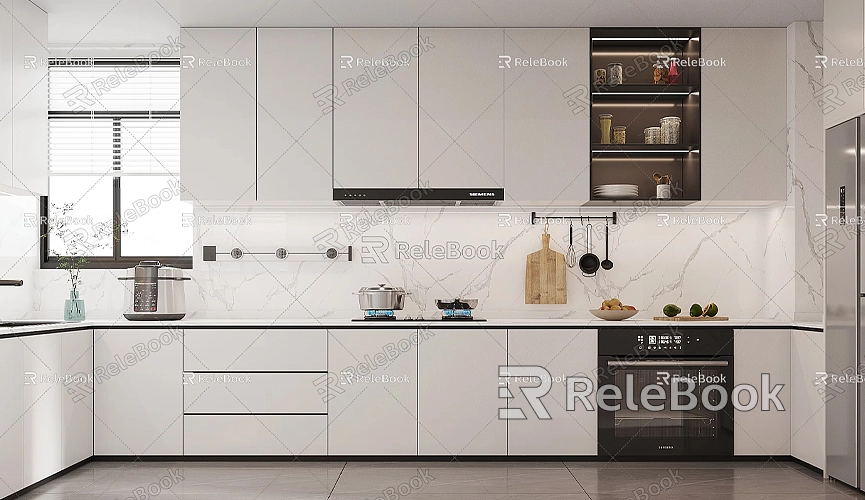
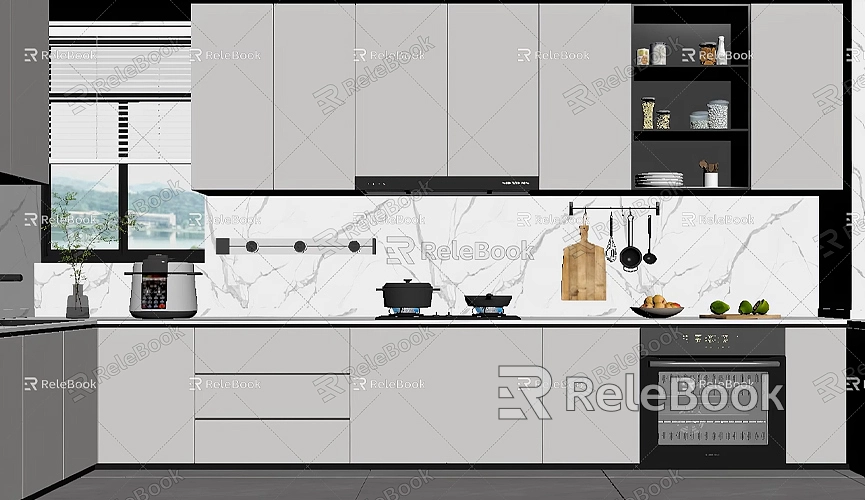
How to create 3d model from photo in sketchup
With the continuous advancement of 3D modeling technology, creating a 3D model from a simple photo has become increasingly straightforward. This is particularly useful in the fields of architectural and interior design, where generating 3D models from photos can quickly help designers replicate the appearance of buildings or scenes for rendering purposes. In this article, we will detail how to create a 3D model from a photo in SketchUp. By following this process, you can easily convert real-world objects into digital models, facilitating subsequent design and presentation.

Preliminary Preparation for Creating a 3D Model from a Photo
To create a 3D model from a photo, some basic preparation is necessary. First, you need to gather clear photos, ensuring that the angles capture the object's shape comprehensively. If you are modeling a building, it’s advisable to take photos from different directions, including the front, sides, and possibly bird’s-eye views and close-ups. This will provide more reference information for the modeling process.
Additionally, you need to have SketchUp installed on your computer, along with some auxiliary plugins to help process the photos and facilitate modeling. SketchUp’s “Match Photo” feature is an excellent tool that can align the photo's perspective with the model's perspective, allowing you to model directly on the photo.
Using SketchUp’s “Match Photo” Feature
SketchUp offers a very practical “Match Photo” feature that enables you to start modeling from a photo. This is a quick and accurate method, particularly suited for buildings or objects with clear geometric structures. Here are the specific steps:
1. First, open a new file in SketchUp.
2. From the menu, select “Camera,” then click on “Match Photo.”
3. Choose the prepared photo to import. Once imported, the photo will appear in SketchUp’s workspace, and some control points will show up for adjusting the model's perspective.
4. Use these control points to align the model's perspective with the object’s perspective in the photo. You can drag the red and green lines to ensure they align with the parallel lines of the object in the photo.
5. After completing the perspective matching, you can start drawing basic geometric shapes. For example, if you’re modeling a building, you can initially create a basic frame for the walls using simple rectangles and lines, gradually adding details like doors, windows, and roofs.
By using this method, you can quickly generate a preliminary 3D model from a photo. Although this process is not fully automated, it significantly simplifies the steps of modeling from scratch.

Using Plugins for Modeling Assistance
While the “Match Photo” feature is powerful, sometimes additional tools are needed to further enhance the efficiency of generating 3D models from photos. There are many plugins available in the SketchUp ecosystem that can help you generate 3D models from photos, such as Photomatch and Skalp. These plugins can intelligently create 3D shapes based on the texture and shadows in the photo.
Some plugins can even analyze the photo’s depth information to generate a basic 3D model directly, which is a great help for beginners with limited modeling experience. When using these plugins, adjustments are typically needed, such as setting the camera's focal length and perspective to ensure the final model accurately matches the proportions of the original photo.
Refining and Perfecting the Model
Once the preliminary 3D model is established, the next step is to refine and perfect it. Tools within SketchUp can help you make the model more precise. You can use the “Push/Pull” tool to adjust the thickness of the model and the “Free-Form” tool to create curves or surfaces. Additionally, you can add details to the model, such as decorative moldings, recessed windows, and more.
During this process, applying materials is also crucial. You can assign different material textures to the model to make it look more realistic. SketchUp comes with some basic materials, but if you want more detailed textures, like brick, wood, or glass effects, you can download high-quality texture packs from the internet. If you need high-quality 3D textures and HDRIs while creating models and virtual scenes, you can download them for free from [Relebook](https://textures.relebook.com), significantly enhancing the model’s realism.
Adding Materials and Details to the 3D Model
After completing the basic structure of the model, adding materials will be a key step in enhancing the overall effect. SketchUp’s material library offers a variety of common textures, but to make the model more realistic and visually appealing, you can import high-resolution materials and HDRI backgrounds to enhance the effect.
When selecting appropriate materials, try to match them with the actual materials in the photo. For instance, consider the color and texture of the building’s exterior and the pattern of the paving bricks on the ground. By meticulously mapping materials, the visual quality of the model will significantly improve. For easy and efficient access to these material resources, you can download many high-quality 3D textures and HDRIs from [Relebook](https://textures.relebook.com).
Using SketchUp Rendering to Enhance Visual Effects
Once modeling and texturing are complete, you can use rendering tools to further improve visual effects. Although SketchUp’s rendering capabilities are limited, you can install third-party rendering plugins, such as V-Ray or Enscape, which can help you showcase the model's details and light effects more effectively.
During the rendering process, you can set effects like lighting, shadows, and reflections to display the model realistically under various lighting conditions. For example, if you are presenting the exterior of a building, you can add sunlight effects to show how it appears at different times of the day, helping clients better understand the overall visual impact of the building.
Exporting the Model for Presentation and Sharing
After completing your model, the next step is to export it for presentation and sharing purposes. SketchUp supports exporting in various file formats, such as JPEG and PNG for static displays, as well as OBJ and FBX formats for further editing and rendering in other 3D software.
Additionally, you can upload the model to 3D model presentation platforms for collaboration with team members and clients, allowing them to view the 3D effects directly in their browsers, which saves a lot of hassle in exporting and transferring files. SketchUp's 3D Warehouse is an excellent choice for easily sharing models.
Creating a 3D model from a photo in SketchUp is not overly complex. By utilizing the “Match Photo” feature and some auxiliary plugins, you can quickly establish a preliminary 3D model. With the addition of materials, detail refinement, and rendering tools, you can ultimately generate a realistic 3D rendering. This not only effectively enhances design presentations but also facilitates clearer communication of design concepts with clients.
For designers looking to improve modeling efficiency and quality, effectively utilizing SketchUp’s features and resources is essential. If you need high-quality 3D textures and HDRIs while creating models and virtual scenes, you can download them for free from [Relebook](https://textures.relebook.com). If you require exquisite 3D models, you can download them from [Relebook](https://3dmodels.relebook.com), which offers a vast array of quality 3D resources.
With continuous practice and optimization, we believe you can create more refined 3D models from photos, enriching and diversifying your design expression. We hope this article provides some assistance and inspiration for your SketchUp modeling journey.

