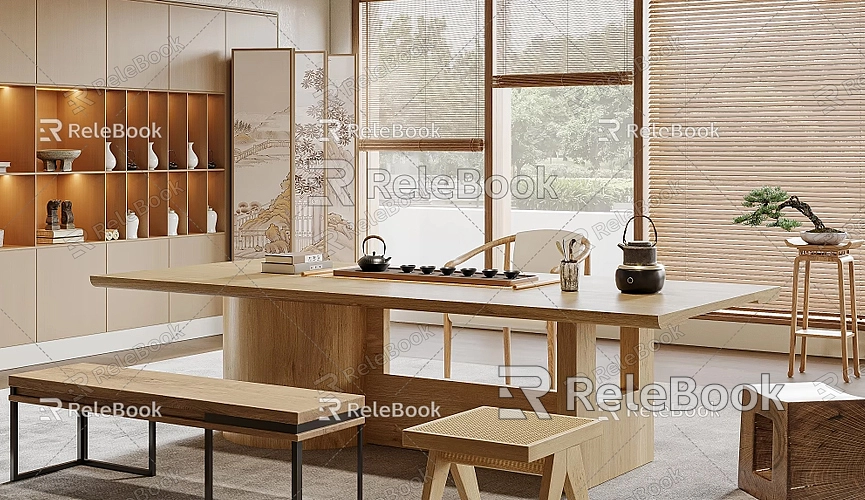
how to create 3d models in sketchup
Creating 3D models in SketchUp can be a rewarding and straightforward process, whether you're designing a house, a piece of furniture, or a more complex architectural structure. SketchUp is known for its user-friendly interface and intuitive design tools, making it accessible for beginners while still powerful enough for advanced users. This guide will walk you through the process of creating 3D models from scratch in SketchUp, with step-by-step instructions and helpful tips.
Getting Started: Preparing Your Workspace
Before diving into creating your first 3D model, make sure you have SketchUp installed on your computer. You can use SketchUp Free (the web-based version) or SketchUp Pro, depending on your needs. Once you've installed the software:

1. Open SketchUp and start a new project.
2. Set your units by going to `Window` > `Model Info` > `Units`. Choose the measurement system that suits your project (inches, meters, etc.).
3. Familiarize yourself with the toolbar and tools. Some essential tools you'll use frequently include the Line Tool, Rectangle Tool, Push/Pull Tool, Orbit Tool, and Move Tool.
Step 1: Starting with Basic Shapes
Every 3D model in SketchUp begins with basic 2D shapes. Learning how to manipulate these shapes is key to building more complex models.
- Line Tool (L): Use this tool to draw straight lines. You can create any shape by connecting lines.
- Rectangle Tool (R): Quickly draw a rectangle by clicking and dragging. You can specify the exact dimensions by typing them on your keyboard after you draw.
- Circle Tool (C): Create circles by selecting the tool and dragging to set the radius.
- Polygon Tool: Similar to the Circle Tool but allows you to draw polygons with a specific number of sides.
Example: Drawing a Simple Box
1. Use the Rectangle Tool to draw a square on the ground.
2. Switch to the Push/Pull Tool (P) and click on the square. Drag it upwards to turn it into a 3D box.
Step 2: Extruding Shapes with the Push/Pull Tool

The Push/Pull Tool is one of SketchUp's most essential tools. It allows you to extrude 2D shapes into 3D objects by pulling them up or pushing them down.
- Push/Pull Tool (P): Click on any flat surface and drag it out to create volume.
- You can also use this tool to cut holes by pushing a surface inward until it meets another surface.
Example: Creating a Wall with Windows
1. Draw a rectangle on the ground to represent the base of the wall.
2. Use the Push/Pull Tool to extrude the rectangle upwards, creating a wall.
3. To add a window, draw a smaller rectangle on the wall's surface and use the Push/Pull Tool to push it all the way through, cutting a hole.
Step 3: Using Groups and Components
As your model becomes more complex, it’s essential to organize it efficiently. SketchUp allows you to group different parts of your model and create reusable components.
- Groups: Select multiple elements and right-click to group them. This makes it easier to move and edit them without affecting the rest of the model.
- Components: Similar to groups but more powerful. Components are reusable objects. If you edit one instance of a component, all other instances will update automatically. This is useful for elements like doors, windows, or chairs that appear multiple times.
Example: Creating a Component
1. Draw a door on your wall.
2. Select all the elements that make up the door.
3. Right-click and select Make Component.
4. Name your component "Door" and save it. Now you can reuse this door throughout your project.
Step 4: Adding Details and Refinements
Once the basic shapes and structure are in place, you can start adding finer details to make your model look more realistic.
- Follow Me Tool: This tool can be used to create rounded edges and more complex shapes. Draw a path and then use the Follow Me Tool to extrude a shape along that path.
- Offset Tool: Create parallel lines or smaller/larger versions of your shape. This is helpful for adding trims and borders.
- Arc Tool: Allows you to draw arcs and curved edges, which can be used for making rounded surfaces.
Example: Creating a Rounded Edge
1. Draw a rectangle.
2. Use the Arc Tool to draw an arc on one of the edges.
3. Use the Push/Pull Tool to extrude the shape and create a curved edge.
Step 5: Applying Materials and Textures
Materials are what bring your model to life by giving it color, texture, and depth. SketchUp has a built-in library of materials, or you can import your own textures.
- Paint Bucket Tool (B): Use this tool to apply colors and materials to surfaces. You can choose from wood, metal, stone, and many other materials.
- Edit Materials: You can adjust the color, opacity, and scale of your textures in the `Materials` panel.
Example: Applying Wood Texture
1. Select the Paint Bucket Tool.
2. Choose a wood texture from the `Materials` panel.
3. Click on a surface to apply the texture.
If you need high-quality textures for your models, consider downloading from online resources. For example, if you're creating a model and need high-quality 3D textures and HDRI, you can download them for free from [Relebook](https://textures.relebook.com/).
Step 6: Using Plugins for Advanced Modeling
SketchUp is highly customizable, and you can install plugins to extend its capabilities. Some popular plugins for advanced modeling include:
- SketchUp STL: For exporting your models as STL files, which can be used for 3D printing.
- JointPushPull: Allows you to push and pull curved surfaces, a feature not available in the standard Push/Pull Tool.
- Fredo6 Tools: A suite of tools for creating more organic shapes and curved surfaces.
Example: Installing a Plugin
1. Go to `Window` > `Extension Warehouse`.
2. Search for the plugin you want to install (e.g., SketchUp STL).
3. Click Install and follow the prompts.
Step 7: Rendering Your Model
After you've finished creating your model, you might want to render it to make it look more realistic. Rendering involves adding light, shadows, and reflections to your model to simulate real-world conditions.
- V-Ray: One of the most popular rendering plugins for SketchUp. It allows you to create photorealistic images of your models.
- Enscape: An easy-to-use rendering plugin that provides real-time rendering.
Example: Rendering with V-Ray
1. Install the V-Ray plugin.
2. Open your model and click on the V-Ray toolbar.
3. Adjust the lighting, materials, and settings as needed.
4. Click Render to generate a photorealistic image.
Final Thoughts
Creating 3D models in SketchUp is a skill that can open up many opportunities, from architectural design to product visualization. With practice, you can create highly detailed and realistic models by following these steps and experimenting with SketchUp’s tools and features.
If you need premium 3D models, textures, or materials, there are plenty of resources online. For instance, if you're looking for high-quality 3D models, you can download them from [Relebook](https://3dmodels.relebook.com/). They offer a wide range of high-quality 3D resources that can enhance your projects.
By mastering the basics and gradually exploring advanced features, you'll be able to create stunning 3D models in SketchUp that meet your project needs.

