How to Add HDRI in Enscape?
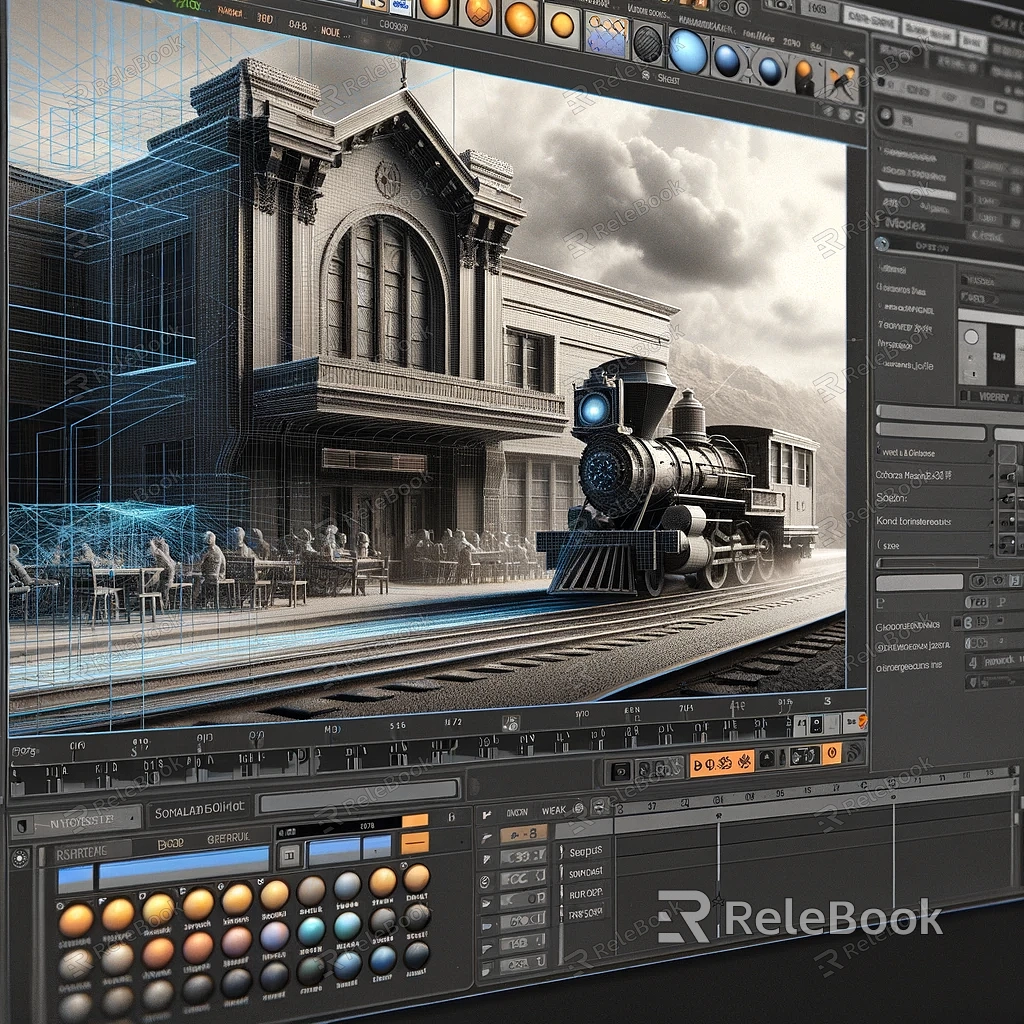
Enscape is a powerful real-time rendering plugin that allows architects and designers to create stunning visualizations of their projects. One of the key features that can greatly enhance the realism of your Enscape renderings is the use of High Dynamic Range Imaging (HDRI). In this article, we will guide you through the process of adding HDRI in Enscape, step by step.
Step 1: Selecting the HDRI Image:
The first step is to choose a suitable HDRI image that matches the desired lighting and ambiance for your scene. There are various online resources where you can find free or paid HDRI images. Ensure that the image resolution is appropriate for your project.If you need it, I recommend downloading HDRI from Relebook. There is no better choice than this.
Step 2: Importing the HDRI Image:
Once you have selected the HDRI image, open Enscape in your modeling software (e.g., Revit, SketchUp, Rhino). In the Enscape window, navigate to the “Visual Settings” tab and click on the “Environment” option. Here, you will find the option to import the HDRI image.
Step 3: Adjusting the HDRI Settings:
After importing the HDRI image, you can fine-tune its settings to achieve the desired effect. Enscape provides various parameters to control the intensity, rotation, and exposure of the HDRI image. Experiment with these settings to find the perfect balance for your scene.
Step 4: Adding Additional Lighting:
In some cases, the HDRI image alone may not provide sufficient lighting for your scene. To enhance the lighting, you can add additional light sources within your modeling software. Enscape supports various types of artificial lights, such as spotlights and point lights. Place these lights strategically to complement the HDRI image and create a realistic lighting setup.
Step 5: Previewing and Adjusting:
Once you have added the HDRI image and additional lighting, it’s time to preview the scene in Enscape’s real-time rendering mode. This will give you an immediate visual feedback on how the HDRI and lighting are affecting your scene. Make any necessary adjustments to achieve the desired result.
Step 6: Fine-tuning the Render Settings:
Before generating the final render, it’s important to optimize the render settings in Enscape. Adjust parameters such as resolution, quality, and post-processing effects to ensure a high-quality output. Enscape provides a user-friendly interface to control these settings, allowing you to achieve professional-grade renderings.
Adding HDRI in Enscape can significantly enhance the realism and visual impact of your architectural visualizations. By following the step-by-step guide outlined in this article, you can effectively incorporate HDRI images into your Enscape projects. Remember to experiment, fine-tune, and preview your scene to achieve the desired lighting and ambiance. With Enscape’s powerful rendering capabilities and the use of HDRI, you can create stunning visualizations that bring your designs to life.
