How to Add Your Own Textures to 3D Coat
In the realm of 3D modeling and rendering, the use of textures is crucial for enhancing the realism and detail of projects. Among various 3D software, 3D Coat stands out for its powerful texture painting and modeling capabilities. This article explores how to add your own textures in 3D Coat, offering practical steps and tips to help designers improve their workflow and creative freedom.

Understanding 3D Coat’s Texture Features
3D Coat is equipped with robust texture painting tools that allow users to paint textures directly onto the surface of models. These tools can be used to achieve a variety of effects, including detailing, wear, and dirt. In addition to painting, 3D Coat supports the import of external textures, which is particularly important for designers looking to achieve customized effects.
Preparing Custom Textures
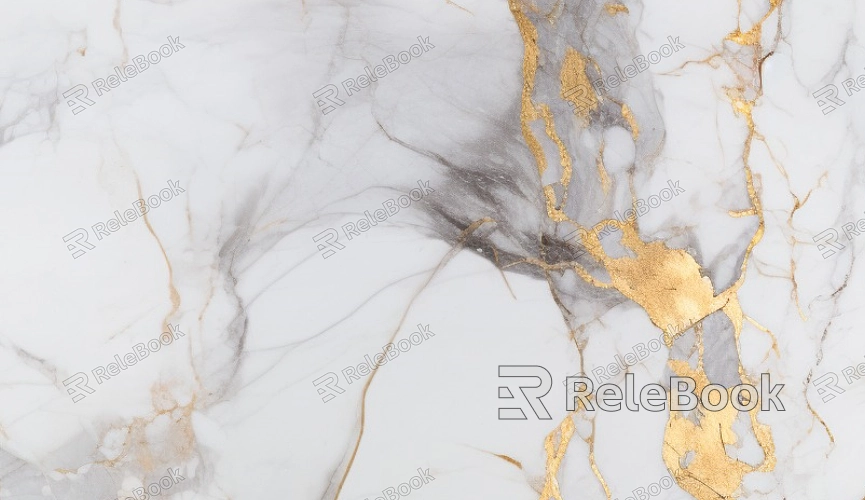
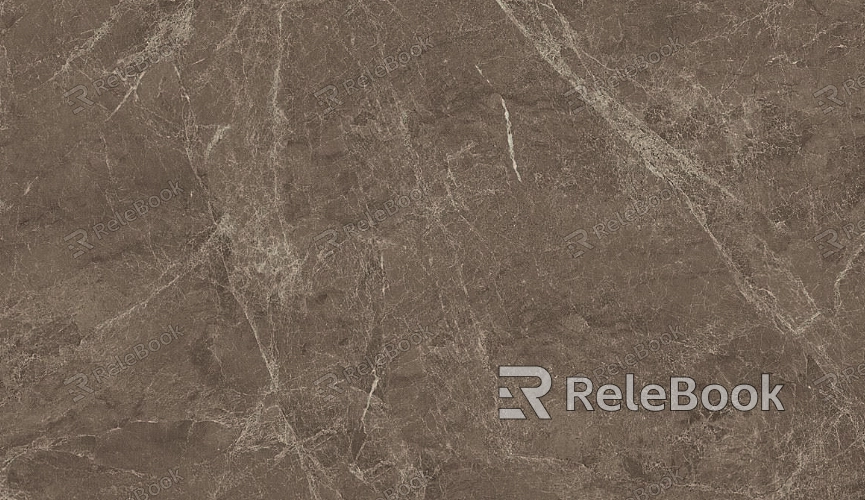
Before adding custom textures, it's essential to prepare your texture files. These can be photos, graphics, or other designs, and it's generally advisable to use high-resolution images. If you find sourcing high-quality 3D textures complicated or time-consuming, you can visit Relebook to download stunning 3D texture resources directly from https://textures.relebook.com/.
To import your textures, open 3D Coat and navigate to the texture painting interface. Select the "Textures" menu and choose the "Import Texture" option to locate and import your pre-prepared texture files. Once imported, your textures will appear in the texture library, allowing you to drag and drop them onto the models you wish to apply them to.
Applying Textures to Models
After adding textures to your models, you can optimize their display by adjusting UV mapping. UV mapping ensures that textures are correctly aligned and displayed on the 3D models. Using the "UV Editor" tool in 3D Coat, you can easily adjust the UV layout to ensure each part of the texture is perfectly represented on the model.
Adjusting Texture Properties
Once your texture is applied to the model, you can further tweak its properties, such as opacity, brightness, and contrast. 3D Coat offers a range of adjustment tools that enable users to meticulously modify the texture effects. Designers can also combine multiple texture layers to create rich visual effects, enhancing the depth and realism of their work.
Saving and Exporting Models
After adding and adjusting textures, remember to save your project. In 3D Coat, you can export both the model and its associated textures, ensuring that they display correctly when used or rendered in other software. When exporting, you can choose suitable file formats like FBX or OBJ, making sure to select the "Include Textures" option.

Using Textures in Other Software
One of 3D Coat’s strengths is its compatibility with other 3D software. Designers can apply their custom textures to applications like Blender, Maya, and 3ds Max, expanding their creative possibilities. In other software, users simply need to import the textured model to continue with animations, rendering, and more.
Managing and Optimizing Textures
As projects progress, designers may utilize multiple custom textures, making effective texture management vital. In 3D Coat, you can create a texture library to categorize frequently used textures, making it easier to locate and use them later. Additionally, optimizing texture size and format can significantly improve project loading times and rendering efficiency.
Community Resources and Learning
Designers can also take advantage of online communities and resource sites to find free texture materials and tutorials. These resources can help enhance skills and inspire creativity.
Adding custom textures not only increases the personalization of your projects but also enriches the overall design expression. Mastering the techniques for adding textures in 3D Coat can help designers stand out in a competitive industry.
If you're searching for high-quality HDR image resources, 3D textures, SketchUp models, or 3ds Max models to create your projects and virtual scenes, Relebook offers a wealth of options to help you achieve outstanding visual results.

