How to Add Texture in Rhino 3D
Rhino 3D is a powerful modeling tool widely used in fields such as architectural design, industrial design, and product design. This article explores how to add textures in Rhino 3D, providing practical steps and tips to help designers enhance their workflow and improve the quality of their projects.

Understanding Texture Functionality in Rhino 3D
Rhino 3D offers various texture mapping capabilities, allowing different types of textures to be applied to the surfaces of 3D models. By utilizing proper texture mapping, designers can create models with a more realistic appearance. Rhino 3D supports multiple texture formats such as JPG, PNG, and TIFF, giving users the flexibility to choose suitable texture resources.
Preparing Texture Files
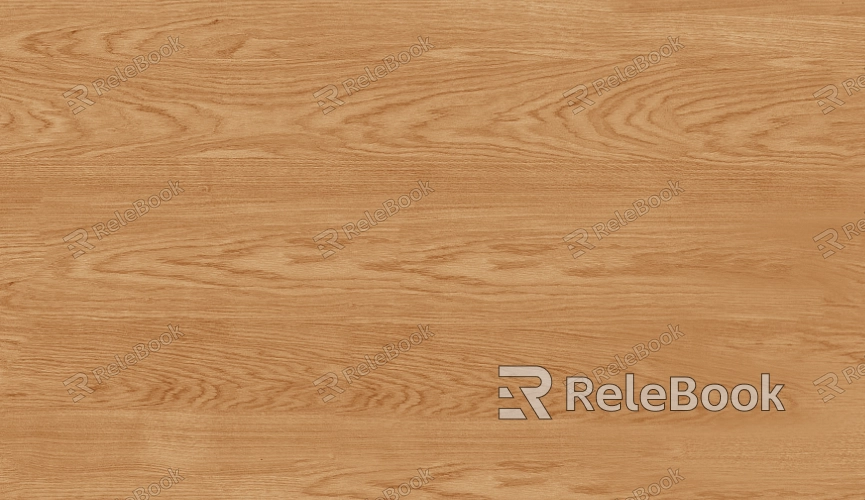
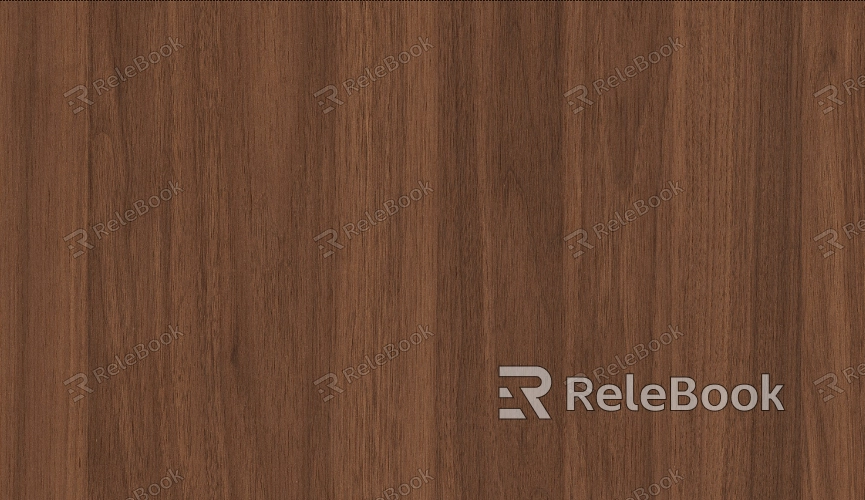
Before adding textures, it's essential to prepare the texture files. These can be photos, patterns, or custom graphics, and it’s recommended to use high-resolution images to ensure detailed results on the model. If you're having difficulty finding high-quality textures, consider visiting Relebook, where you can download stunning texture resources from https://textures.relebook.com/ to elevate your project.
Steps to Add Texture in Rhino 3D
Open the Material Editor After launching Rhino 3D, select the model to which you want to add texture, then access the Material Editor. You can do this by typing “Materials” in the command line or locating the material options in the properties panel on the right.
Create a New Material In the Material Editor, click the “New Material” button and choose an appropriate material type. Common material types include “Diffuse” and “Glossy.” Once selected, the material properties window will open automatically.
Add Texture In the material properties window, locate the “Texture” option. Click the “Add Texture” button, select “Bitmap,” and then browse for and import the prepared texture file. The texture will appear in the material preview, allowing designers to see the effect.
Adjust Texture Mapping After importing the texture, you’ll need to adjust its mapping. Utilize Rhino’s “UV Mapping” tools to easily modify how the texture displays on the model, ensuring it aligns naturally and meets design requirements.
Set Material Properties Once the texture is applied to the model, you can further tweak the material properties, such as reflectivity, transparency, and glossiness. These parameters significantly influence the final rendering effect, so make adjustments according to your needs.
Render Preview After adding and adjusting the texture, perform a render preview to check if the results align with your expectations. Use Rhino's rendering features to observe how the model behaves under different lighting conditions and make minor tweaks as needed.
Save the Project After completing the texture addition, remember to save your project. Rhino 3D allows you to export textured models in various formats, facilitating further use or rendering in other software.

Texture Management and Optimization
During the design process, it's common to use multiple textures, making effective texture management essential. You can create a texture library in Rhino 3D to categorize frequently used textures, making it easier to find and apply them later. Additionally, optimizing the size and format of textures can significantly improve project loading times and rendering efficiency.
Community Resources and Learning
Designers can also leverage online communities and resource websites to access free texture materials and tutorials. These resources can help enhance skills and inspire creative ideas.
Adding textures in Rhino 3D not only personalizes your work but also enriches the overall design expression. Mastering the techniques for adding textures will enable designers to stand out in a competitive market.
If you're looking for high-quality HDR image resources, 3D textures, SketchUp models, or 3ds Max models to create your projects and virtual scenes, Relebook offers a wealth of options to help you achieve exceptional visual results.

