How Do You Texture 3D Models
Texturing can add detail and realism to models, making them more vibrant in areas like game development, animation production, and architectural visualization. Many 3D software applications, such as Blender, Maya, and 3ds Max, offer robust texture mapping features that help designers achieve high-quality visual effects. This article will explore how to effectively texture 3D models, covering various methods and techniques.

Choosing the Right Texture Type
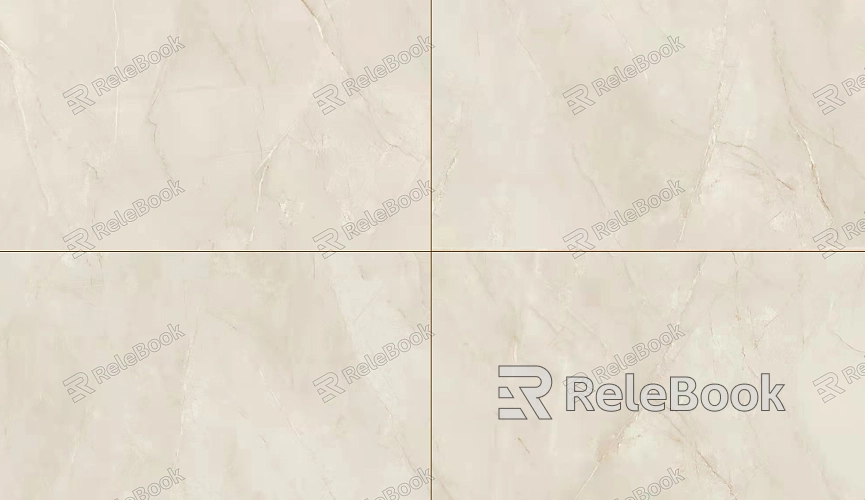
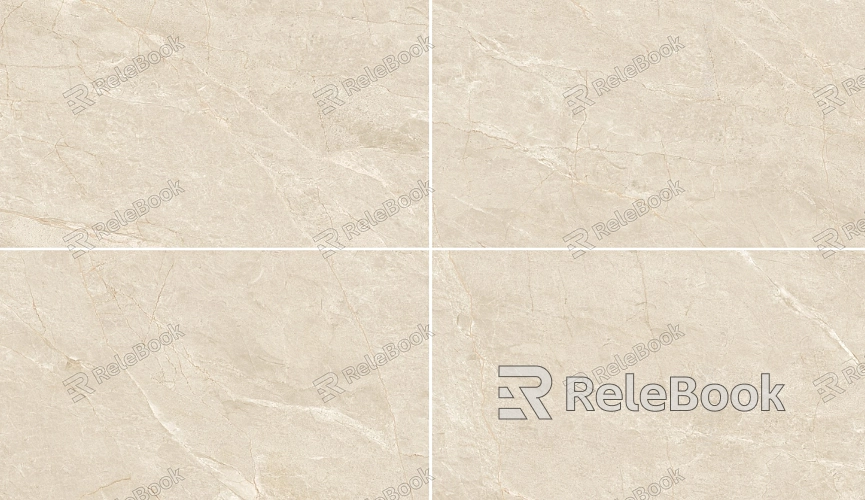
Before applying textures to a model, it's essential to select the appropriate texture type. Common types include color textures, normal maps, and reflection maps.
Color textures provide the base color for the model, while normal maps enhance surface details. Reflection maps help simulate light reflection effects.
UV Unwrapping
UV unwrapping is the first step in texture mapping. It involves unfolding the surface of a 3D model into a 2D plane, allowing designers to apply textures more accurately.
In Blender, the UV editor simplifies the UV unwrapping process, ensuring that textures do not become distorted or stretched on the model.
Setting Texture Coordinates
Properly setting texture coordinates is crucial as it directly affects how textures are displayed. Most 3D software automatically generates these coordinates, but designers may need to fine-tune them as needed.
Adjusting UV coordinates to match the shape of the model helps ensure that the textures are accurately placed on the surface.
Applying Materials and Shaders
The choice of materials and shaders significantly influences the final appearance of the model. Appropriate materials can enhance realism.
For instance, using PBR (physically based rendering) materials can provide more lifelike results under various lighting conditions, which is particularly important in game development.
Detail Adjustments
After applying textures, you may need to adjust details such as scaling, rotation, or repeating the texture.
In software like Maya, the material property panel allows for easy tweaking of these parameters to achieve the desired visual effect.
Real-Time Preview and Modifications
Real-time preview features can help designers see the effects of textures while working, allowing for timely adjustments.
Software like Blender and Unreal Engine offers real-time rendering options, enabling designers to quickly observe the impact of their changes.

Using Detail Textures
To add complexity to models, consider using detail textures. These smaller textures are typically layered over the main texture to enhance visual depth.
This technique significantly improves detail in areas such as edges and crevices, making the model appear more dynamic.
Texture Optimization
Optimizing textures before rendering can enhance performance and efficiency. Common optimization strategies include reducing texture resolution or using compressed formats.
Ensure that only necessary textures and resolutions are utilized to avoid performance losses from redundant data.
Post-Processing
After rendering, post-processing is an essential step to enhance texture effects. Using image editing software like Photoshop allows for fine-tuning of textures.
Typical post-processing tasks include color correction, sharpening, and adding detail.
By following these steps, designers can effectively texture 3D models, enhancing their realism and visual appeal. Mastering these techniques not only improves the quality of your work but also optimizes the design process, laying a solid foundation for creating outstanding projects.
If you're searching for high-quality 3D texture resources or looking to download SketchUp and 3ds Max models, Relebook is an excellent choice. Downloading textures and models from Relebook and importing them into your 3D projects can significantly elevate the quality of your work. We hope this article provides helpful insights for your creative endeavors!

