How to Add Fur Texture to 3D Model
In fields like animation, game development, and character design, intricate fur effects can significantly enhance viewer immersion. Popular 3D software such as Blender, Maya, 3ds Max, and ZBrush offer various tools and features to achieve this effect. This article will explore how to add fur texture to a 3D model and provide practical steps and tips.

Understanding the Importance of Fur Texture
Fur texture can bring life to character or creature models. The right fur texture not only conveys the character’s traits and personality but also enhances the overall visual quality. During the rendering process, the glossiness, color, and texture of the fur will all play a crucial role in the final appearance.
Preparing Fur Textures
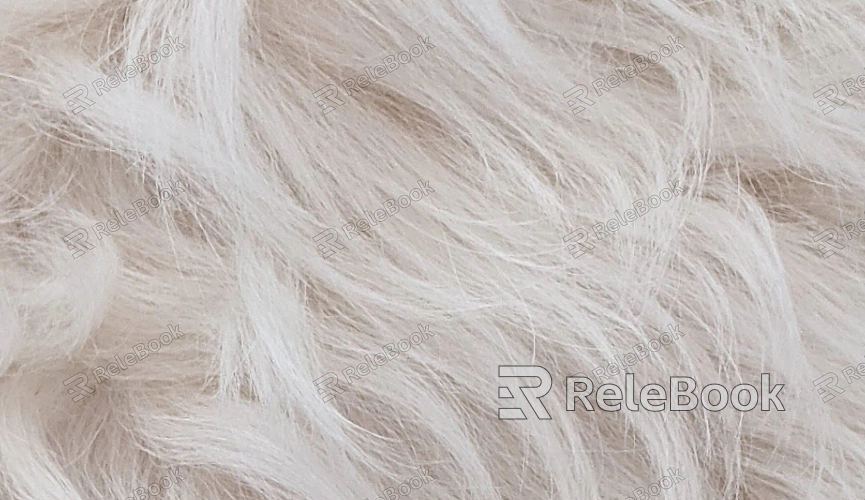
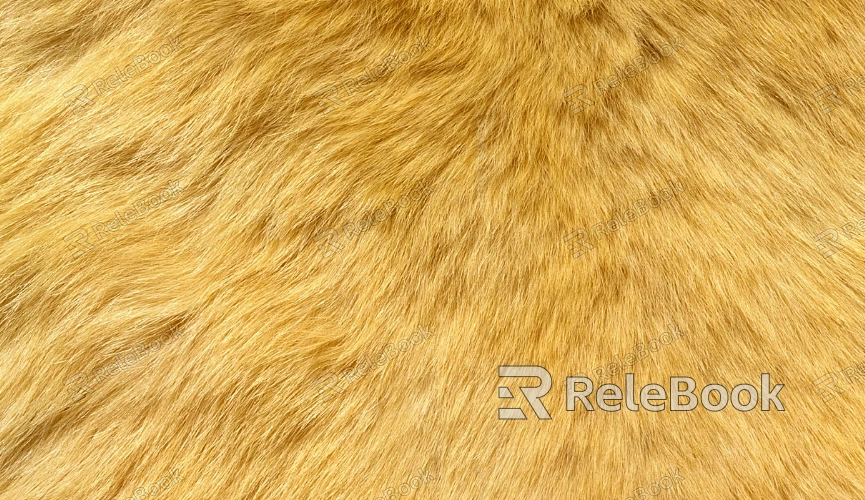
Before adding fur textures, designers need to prepare suitable texture resources. Image editing software (like Photoshop) can be used to create or modify fur textures, ensuring they meet the project's color and detail requirements. If unsure how to create high-quality fur textures, consider visiting Relebook to download ready-made texture resources fromhttps://textures.relebook.com/ .
Steps to Add Fur Texture to a 3D Model
Import the Model
Open your chosen 3D software and import the 3D model that requires fur texture. Ensure the model's UV mapping is correct so that the fur texture fits perfectly.
Create a Material
In the material editor, create a new material. Choose the appropriate base material type based on your project needs, often selecting "Custom Material" for more adjustment options.
Load Fur Texture
In the material editor, find the texture loading option and select the fur texture image you prepared earlier. This will apply the desired fur effect to the model's surface.
Adjust Texture Properties
Adjust the scaling, rotation, and opacity of the fur texture as needed to ensure it is appropriately distributed across the model's surface. Tweak the color and blending modes for further visual enhancement.
Apply Detail Adjustments
In the material settings, increase the glossiness and reflectivity to enhance the realism of the fur. Careful adjustments will ensure the fur texture looks natural under various lighting conditions.

Utilize Fur Simulation Tools
Some software allows the use of fur simulation tools (like Blender's Particle System or Maya's XGen) to generate more natural fur effects. These tools typically offer extensive settings to help designers control the shape, length, and density of the fur.
Preview Effects in Real-Time
Use the software's real-time preview feature to quickly see how the fur texture looks. Based on real-time feedback, you can make further adjustments to the material settings to achieve the desired visual outcome.
Check and Optimize the Effects
After adding the fur texture, carefully inspect each part of the model to ensure the fur texture is even and distortion-free. Render the model and observe how it looks under different lighting conditions for necessary optimizations.
Save and Export the Model
Once all settings are completed, make sure to save the model to retain all changes. If you need to share it with others or render further, choose the appropriate file format for export.
Learn and Reference
Continuously learning about fur texture creation techniques is key to improving design skills. Referring to excellent works and tutorials within the industry can provide inspiration and new ideas.
By following these steps, designers can easily add fur texture to 3D models, significantly enhancing their realism and visual appeal. Understanding the importance of fur texture, preparing high-quality resources, and mastering specific operational steps will help designers achieve better results in their projects, attracting more clients and audiences.
If you’re looking for high-quality fur texture resources or other 3D models, Relebook offers a wide selection to help you achieve outstanding visual results in your projects.

