How to Add Snow Texture to 3D Trees
Creating realistic winter environments with trees covered in snow can significantly enhance the visual appeal of your scenes. This technique is commonly used in game development, animation production, and architectural visualization. Whether you are working in Blender, Maya, or 3ds Max, adding snow texture to your trees can bring your creations to life. This article will explore effective methods for applying snow textures to 3D models, helping you achieve the desired results.

1. Choose the Right Snow Texture
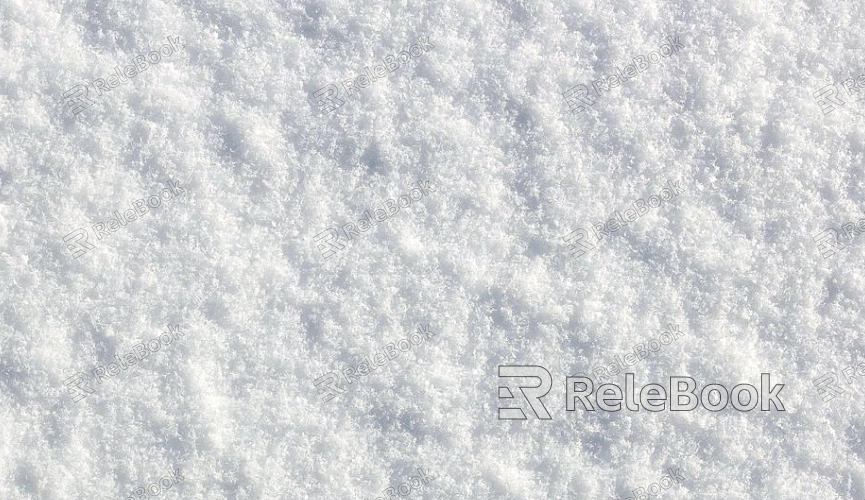
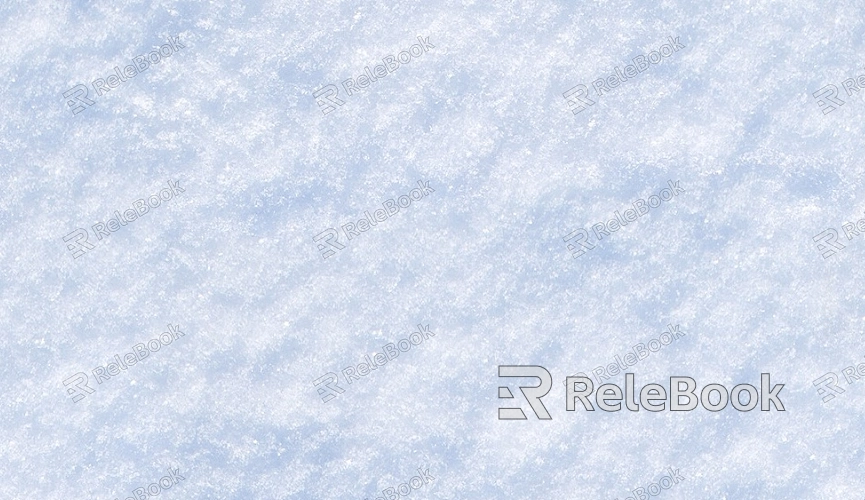
High-Resolution Textures: Selecting high-resolution snow textures is crucial, as it directly affects the detail of the final render. For those who find it challenging to locate quality 3D textures or don’t know how to create them, you can visit Relebook and download stunning 3D texture resources at https://textures.relebook.com/
Opacity Maps: Utilizing textures with transparency information allows for a more natural simulation of snow accumulation on branches.
2. Texture Mapping Techniques
UV Unwrapping: Ensure that the UV mapping of your tree model is well-structured, allowing the texture to distribute evenly. You can adjust the positioning and scaling of the texture using UV editing tools.
Multi-layer Textures: Consider applying multiple snow textures at different levels, such as using one for the trunk and another for the branches, to create depth and realism.
3. Material Settings
Reflection and Refraction: Set appropriate reflection and refraction properties for the snow material, allowing it to exhibit a realistic sheen under lighting. The surface of the snow typically has some reflective quality, which can be enhanced by adjusting the material’s glossiness.
Color Adjustments: While snow generally appears white, you may want to adjust its color slightly based on the surrounding light conditions to ensure it harmonizes with the light sources in your scene.

4. Using Masks
Creating Masks: Utilize masking techniques to control the distribution of the snow texture across the tree's surface. For instance, you can increase snow coverage at the base of the trunk or in shadowed areas. Texture painting tools can help you manually create the snow distribution.
Procedural Masks: Some software offers procedural masking features that can automatically generate appropriate areas for snow coverage, reducing manual workload.
5. Lighting and Rendering Settings
Light Configuration: Properly configure the light sources in your scene to ensure that the reflections from the snow align with the light direction. The appearance of snow can vary significantly under different lighting conditions.
Rendering Settings: When rendering, choose the right rendering engine and settings to preserve the details of the snow. Using engines like V-Ray or Arnold allows for finer adjustments to enhance the overall effect.
6. Post-Processing
Post-Effect Enhancements: After rendering, you can use software like Photoshop for post-processing to further enhance the snow effect, such as increasing brightness or contrast to improve visual impact.
Adding Effects: Consider adding some falling snow effects during post-processing to increase dynamism and make the entire scene feel more vibrant.
By following these steps, adding snow texture to your 3D trees can significantly improve the quality of your projects, creating a more immersive winter atmosphere. This guide offers a range of practical methods and techniques to help you achieve a natural and realistic snowy landscape in your 3D modeling endeavors.
If you're seeking high-quality 3D texture resources, SketchUp models, or 3ds Max models to build your virtual scenes, Relebook provides a wealth of options to help you achieve outstanding visual results in your projects.

