How to Add Texture to Paint 3D
Adding texture is a crucial step in enhancing visual appeal, whether you're creating game characters, architectural models, or product displays. The right texture can add realism and detail to your designs. Paint 3D, while a basic yet intuitive 3D design tool, offers a convenient way for designers to apply textures in their projects. This article will explore how to effectively add texture in Paint 3D, enabling designers to maximize the potential of this tool.

1. Preparation
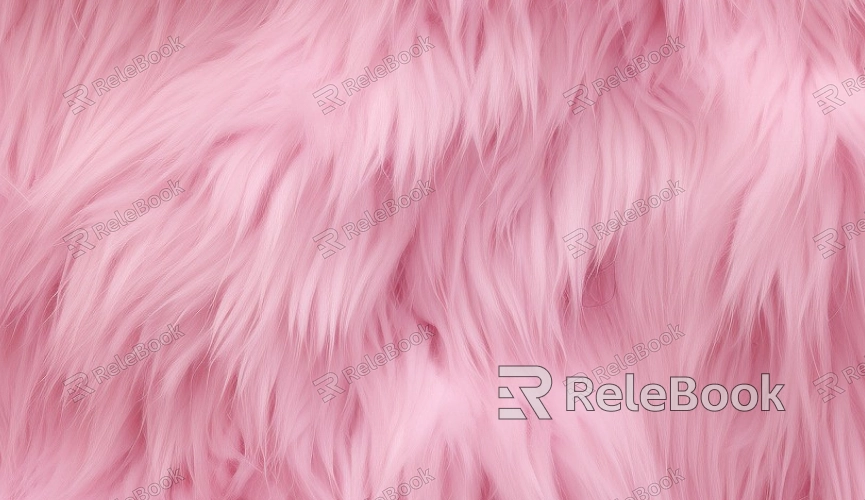
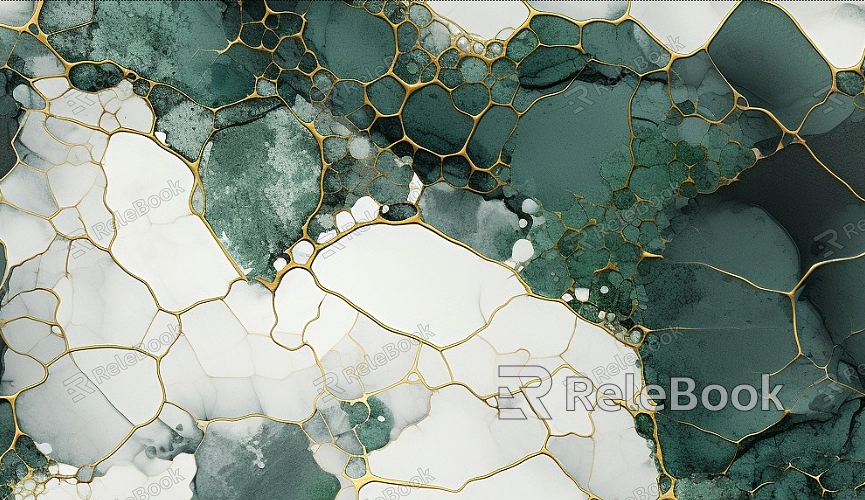
Before diving in, make sure you have suitable texture resources. If you find it complicated or time-consuming to search for high-quality 3D textures, or if you're unsure how to create your own, visit Relebook to download stunning 3D texture resources directly from https://textures.relebook.com/. Common texture types include wood grains, metals, and stones, which can add rich visual layers to your models.
2. Open Paint 3D
Once you launch Paint 3D, you'll be greeted by a user-friendly interface. When starting a new project, you can choose to create from scratch or open an existing model. Select an appropriate background color or texture, as this will help with contrast and adjustments when you start adding your textures.
3. Import Your Model
Click on the “Insert” option and select “3D Model” to import the model you want to texture. Paint 3D supports various file formats, including FBX and OBJ, so make sure your model is properly formatted before importing.
4. Adding Texture
Select the Model: Click on the model in the canvas to ensure it’s selected and active.
Access Texture Options: Locate the “Texture” option in the right-hand toolbar. Click on it and select “Add Texture” to access the preset texture library provided by the software.
Upload Custom Textures: If the available textures don't meet your needs, click “Browse” to upload your own texture files. Ensure the resolution of the texture is appropriate for a good visual display on the model.
Apply the Texture: Once you’ve chosen a suitable texture, click on the surface of the model to apply it to the desired area. You can drag and scale the texture to adjust its size and position, ensuring it aligns with your design requirements.

5. Adjusting Texture
After applying the texture, you may need to make additional adjustments. Using Paint 3D's transformation tools, you can easily rotate, scale, and move the texture for a perfect fit on the model.
6. Saving and Exporting
Once you’ve completed the texture application, don’t forget to save your project. You can go to “File” > “Save” to store it locally or choose “Export” to output the file in different formats for further work in other software.
7. Real-World Application
After adding the textures, you can import the model into other 3D software, such as Blender or Unity, for additional processing. These platforms allow for more advanced material and lighting settings to enhance your designs even further.
The steps to add texture in Paint 3D are relatively straightforward, but that doesn't diminish the impact of the results. With the right techniques, designers can quickly create eye-catching 3D models that significantly enhance their projects.
By following these steps, you can easily add texture in Paint 3D, bringing your 3D creations to life with vivid detail. If you’re looking for high-quality 3D texture resources, SketchUp models, or 3ds Max models to create your designs and virtual scenes, Relebook offers a wealth of options to help you achieve outstanding visual effects in your projects.

