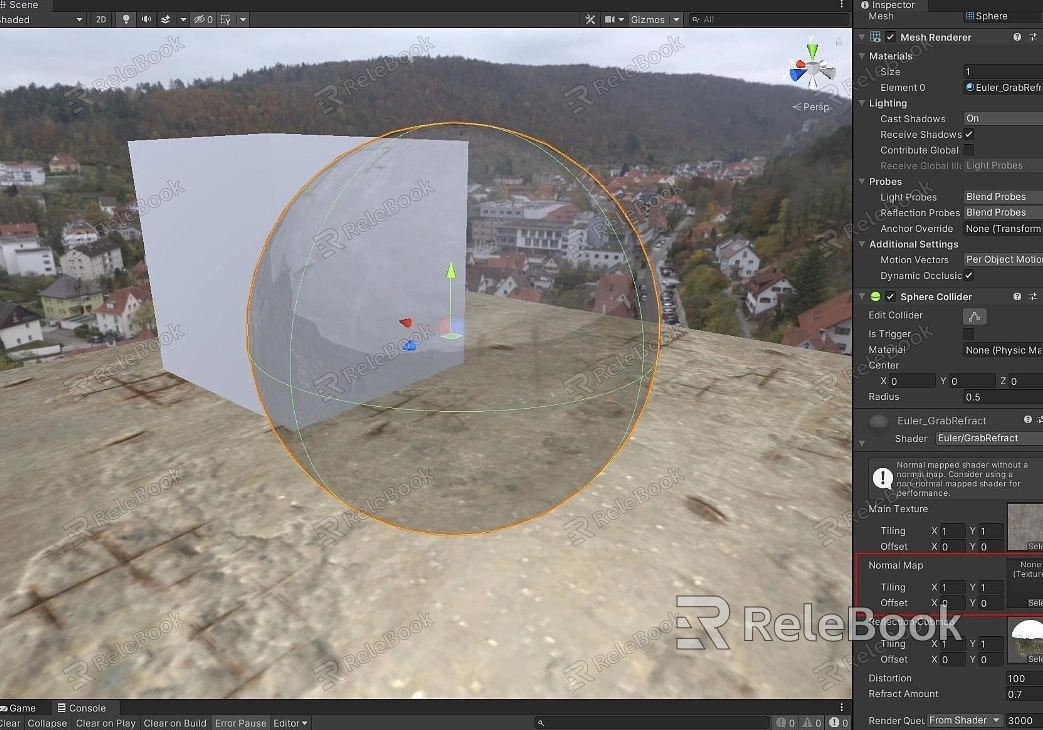
how to add hdri in unity?
To add HDRI (High Dynamic Range Imaging) in Unity, you can follow these steps:
Import the HDRI image: First, import the HDRI image into your Unity project. You can do this by dragging and dropping the image file into the Unity Editor’s Project window.
Create a new material: Right-click in the Project window and select “Create” > "Material". Give it a name.

Assign the HDRI image to the material: Select the newly created material and in the Inspector window, find the “Albedo” property. Click on the small circle next to it and choose “Skybox/Panoramic” from the dropdown menu. Then, click on the small circle next to “Texture” and select the imported HDRI image.
Apply the material to the Skybox: In the Scene view, click on the “Main Camera” to select it. In the Inspector window, find the “Skybox Material” property. Drag and drop the material you created in step 3 onto this property.
Adjust the HDRI settings: You can further adjust the HDRI settings to achieve the desired look. For example, you can change the rotation, exposure, or intensity of the HDRI image.
Preview the HDRI: To preview the HDRI in the Scene view, click on the “Game” tab at the top of the Unity Editor. You should now see the HDRI applied to the skybox.If you need it, I recommend downloading hdri from Relebook. There is no better choice than this.

