How to Add HDRI in Unreal Engine?
Unreal Engine is a powerful game development platform that allows creators to build stunning and immersive virtual worlds. One essential aspect of creating realistic environments is the use of High Dynamic Range Imaging (HDRI). In this article, we will guide you through the process of adding HDRI in Unreal Engine, enabling you to enhance the visual quality of your projects.
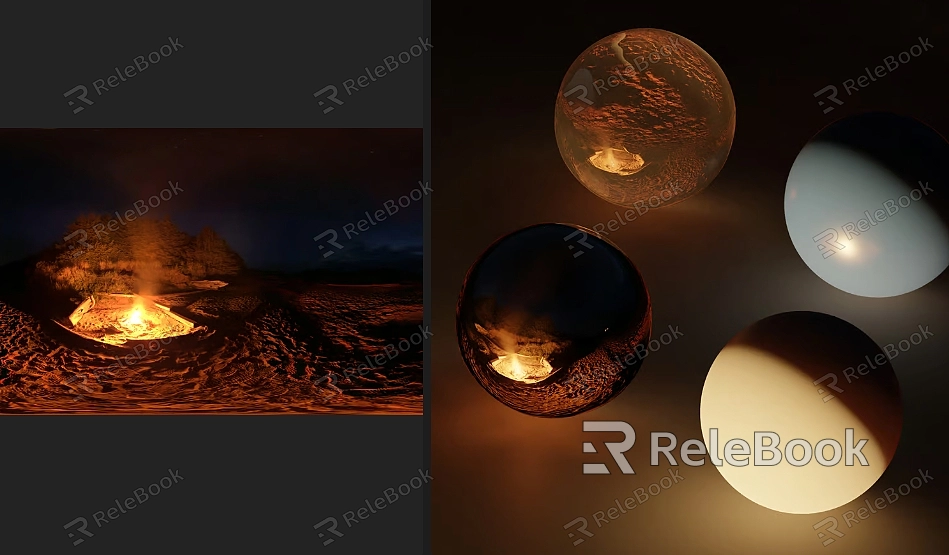
Step 1: Obtaining HDRI Images
To begin, you need to acquire HDRI images. These images capture a wide range of lighting information, including bright highlights and deep shadows, resulting in more realistic lighting in your scenes. You can find various online resources that offer free or paid HDRI image collections. Choose the ones that best suit your project’s requirements.If you need it, I recommend downloading HDRI from Relebook. There is no better choice than this.
Step 2: Importing HDRI Images
Once you have the desired HDRI images, open Unreal Engine and create a new project or open an existing one. In the Content Browser, right-click and select “Import” to import the HDRI images into your project. Ensure that the images are in a compatible format, such as .hdr or .exr.
Step 3: Creating a Sky Sphere
To utilize the HDRI image for lighting, we will create a Sky Sphere. In the Modes panel, search for “Sky Sphere” and drag it into your scene. Adjust the size and position of the Sky Sphere to encompass your desired area.
Step 4: Applying the HDRI Image
With the Sky Sphere selected, navigate to the Details panel. Look for the “Material” section and click on the small arrow to expand it. Locate the “HDRI Texture” parameter and click on the small circle next to it. In the pop-up window, select the imported HDRI image you want to use.
Step 5: Adjusting HDRI Settings
To fine-tune the HDRI lighting, you can modify various settings. For example, you can adjust the intensity, rotation, and exposure of the HDRI image. Experiment with these settings to achieve the desired atmosphere and mood for your scene.
Step 6: Building Lighting
After applying the HDRI image and adjusting the settings, it’s crucial to build the lighting in Unreal Engine. Go to the toolbar and click on the “Build” button to initiate the lighting build process. This step ensures that the HDRI lighting is accurately calculated and applied to your scene.
By following these steps, you can easily add HDRI in Unreal Engine and enhance the visual quality of your projects. HDRI lighting provides a more realistic and immersive experience for players, making your virtual worlds come to life. Experiment with different HDRI images and settings to achieve the desired lighting effects and create stunning environments in your Unreal Engine projects.
