How to Flatten 3D Skin Textures
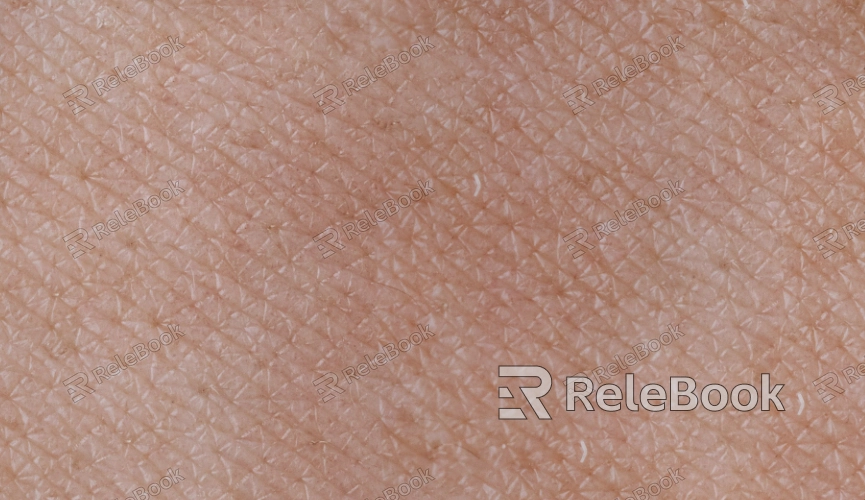
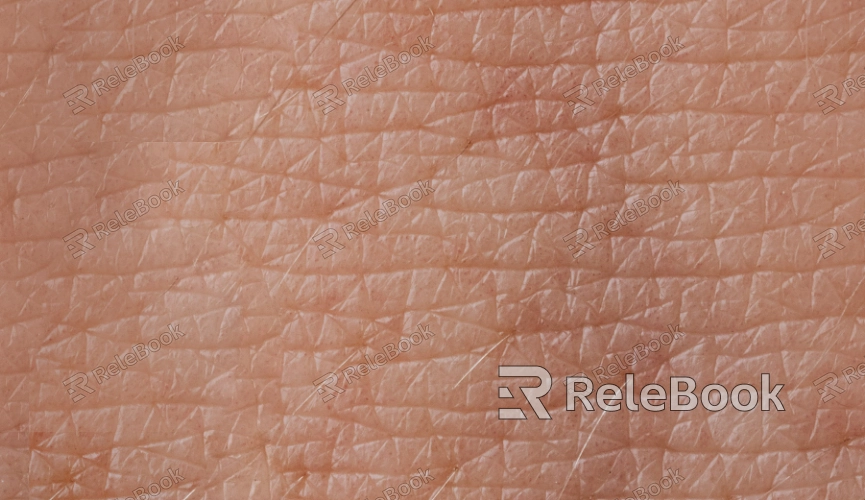
For high-quality 3D character models, especially in industries such as gaming, film, and virtual reality, the process of flattening skin textures is crucial. The accuracy of skin texture mapping directly impacts the realism and detail of the final rendered image. Flattening 3D skin textures ensures that texture details are applied uniformly and without distortion across the model’s surface, preventing stretching or distortion during rendering. This article will cover how to flatten skin textures in popular 3D modeling software, helping designers avoid common issues and enhance the quality of their work.

1. Common Use Cases for Flattening Skin Textures
Flattening skin textures is a widely-used technique across various fields of 3D modeling, particularly for character models that require high levels of realism. Here are a few key use cases:
Game Characters: In games, character skin textures need to be detailed and high-quality. Flattening ensures the accuracy and realism of textures, preventing distortion during 3D rendering.
Virtual Reality: VR character models require finely-detailed skin textures. Flattening skin textures helps achieve seamless and polished results in virtual environments.
Animation and Film Production: In film and animation, the quality of skin texture and detail directly affects the final output. Flattening skin textures is foundational for creating high-quality skin, especially when animating facial movements, as it ensures the textures do not stretch or distort during animation.
2. Basic Steps to Flatten Skin Textures
Flattening skin textures involves several steps that require careful handling to ensure the final UV layout is correct and distortion-free. Below are the basic steps to flatten skin textures:
Choose the Right Flattening Method: Common flattening methods include automatic and manual unwrapping. For simple models, automatic unwrapping may be sufficient; however, for more complex skin models, manual unwrapping offers greater control and precision, reducing texture distortion.
Check Topology: Before flattening skin textures, ensure that the model's topology is clean and well-organized. Pay special attention to facial topology to make sure edge loops are smooth and there are no unnecessary seams or extra geometry, which could affect texture accuracy.
Mark Seams: Seams play a critical role in the success of texture flattening. Before unwrapping the UVs, seams need to be marked on the model. Typically, seams are placed in less noticeable areas such as behind the ears, around the neck, or along the hairline to avoid visible seams on the face.
3. Flattening Skin Textures in Blender
Blender is a powerful and open-source 3D modeling software widely used for texture unwrapping and model creation. Here’s how to flatten skin textures in Blender:
Enter Edit Mode: Select your model and switch to Edit Mode. In this mode, you can select vertices, edges, and faces to manipulate.
Mark Seams: Use the "Mark Seam" tool to mark seams on the skin model. To reduce texture distortion, seams should be placed in inconspicuous areas like behind the ear or along the hairline.
Use Unwrap to Flatten: Once seams are marked, select the entire model and use the Unwrap command to flatten the model. Blender provides different unwrapping options like "Smart UV Project" and "Unwrap" to suit your needs.
Adjust UV Layout: After unwrapping, enter the UV editor and check if the UV layout is optimal. Ensure there are no overlaps or unnatural stretching. Specific areas (like the eyes and mouth) can be adjusted to make these regions more detailed.

4. Flattening Skin Textures in 3ds Max
3ds Max is another widely-used 3D modeling software, particularly suitable for industrial design and architectural visualization. Here’s how to flatten skin textures in 3ds Max:
Enter Editable Poly Mode: Select the skin model and enter "Editable Poly" mode to manipulate the mesh.
Mark Seams and Separate Areas: Similar to Blender, you need to mark seams, and then use the "Unwrap UVW" modifier to break the model into different regions.
Unwrap UV: In the "Unwrap UVW" modifier, select "Open UV Editor" to unflatten the model's UVs. In the UV editor, you can manually adjust the UV layout to ensure there is no stretching or overlapping in facial areas.
Check the UV Layout: After unwrapping, you can further adjust the UVs to ensure each region's proportions and orientation are correct, avoiding texture distortion.
5. Common Issues and Solutions in Flattening Skin Textures
While flattening skin textures, you may encounter several common problems. Understanding how to address these issues can significantly improve your workflow:
Texture Stretching: If UVs are unwrapped unevenly, the skin texture will stretch. To fix this, adjust the UV proportion to ensure that the facial area maintains accurate proportions.
Visible Seams: Poorly placed seams can make texture seams more noticeable. To avoid this, place seams in less obvious areas like behind the ears or along the hairline.
Texture Overlaps: When UV coordinates from multiple facial areas overlap, the textures will display incorrectly. Carefully check your UV layout to ensure there are no overlapping regions.
6. Optimizing Skin Textures After Flattening
After flattening the skin texture, you may still need to optimize the UVs to improve the final rendering results:
Increase Texture Resolution: To ensure that the skin texture looks crisp and clear in the render, increase the texture resolution, particularly in detailed areas.
Refine UV Layout: Adjust the UVs for important facial areas like the eyes and mouth to enhance texture details in those regions.
Post-Processing Adjustments: Use texture painting tools such as Substance Painter or Photoshop to refine and add fine details to the unwrapped textures, ensuring the best possible result.
By following the steps outlined in this article, designers can efficiently flatten skin textures in Blender, 3ds Max, and other popular 3D software. This technique will help you avoid texture distortion and improve the overall quality and realism of your 3D character models.
If you're looking for high-quality 3D texture resources, models, or scene assets, Relebook offers a wide range of choices that can elevate your projects and enhance your visual results.

