How to Apply 3D Texture
Textures not only enhance the realism of models but also add visual depth, making designs more vibrant. Whether in game development, architectural visualization, or product displays, the right textures can enrich your work with intricate details. Popular 3D software such as Blender, 3ds Max, and Maya each offer unique ways to apply textures. This article will delve into effective techniques for applying textures to 3D models, helping designers elevate their work quality.

1. Preparation
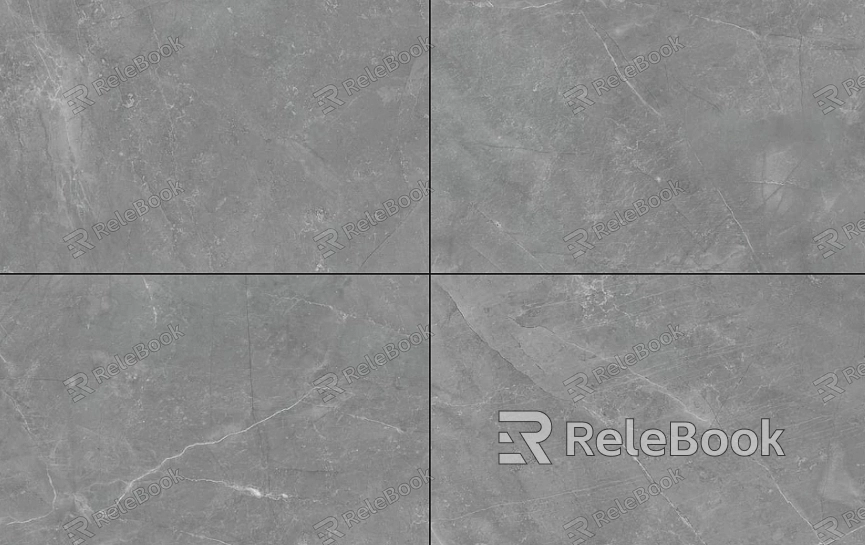
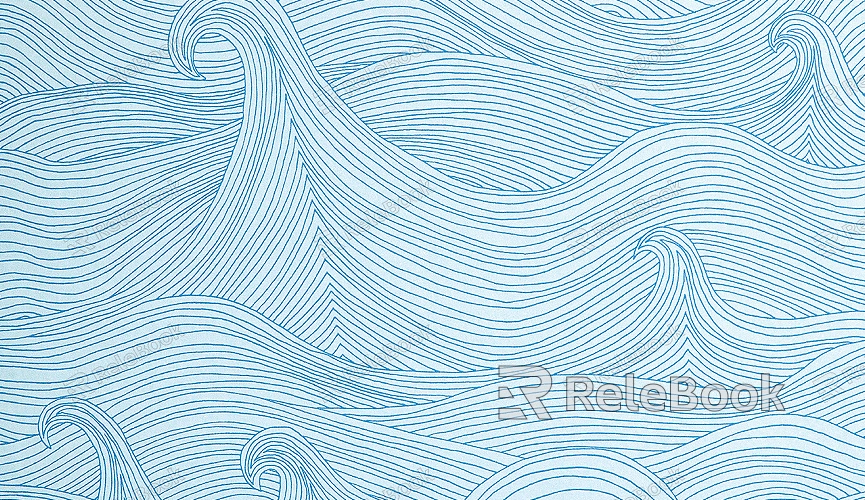
Before applying textures, it's essential to gather the appropriate texture materials. If you're unsure where to find high-quality textures, professional websites like Relebook provide a wealth of resources suitable for various styles of 3D models. Common texture types include wood, metal, stone, and fabric, which can offer your models added visual layers and effects.
2. Choose the Right 3D Software
Different 3D software comes with various texture application tools and options. Understanding the capabilities of the software you’re using is crucial. For instance, in Blender, users can utilize the node editor to control texture properties, while in 3ds Max, the material editor provides an intuitive texture management interface. Selecting software you are familiar with and that meets your project needs can significantly boost your efficiency.
3. Importing the Model
Before applying textures, you need to import your 3D model. Most 3D applications allow you to import model files through the “File” menu. Ensure that the model format is correct; common file formats include FBX and OBJ. After importing, check the model’s scale and coordinates to ensure it displays correctly in your workspace.
4. Applying Basic Textures
Select the Model: In the workspace, choose the model you want to texture, ensuring it is active.
Access Texture Options: Locate the texture settings in the material or texture editor of your software.
Upload the Texture: If you have custom texture files, use the “Import” or “Upload” options to add them to your software. Ensure the texture resolution is suitable for a good display.
Apply the Texture: Once you have selected the appropriate texture, drag and drop it onto the model’s surface or set it up in the material properties.

5. Adjusting the Texture
After applying the texture, adjustments are usually necessary to optimize its appearance on the model. You can make adjustments in the following ways:
Scale: Modify the texture size to fit specific areas of the model.
Rotate: Rotate the texture as needed to achieve the desired orientation.
Tile: Adjust the tiling of the texture to ensure a seamless transition across larger surfaces.
6. Utilizing Advanced Texture Options
Many 3D software packages support advanced features such as normal maps, reflection maps, and transparency maps. Utilizing these options can further enhance the realism of your model. For example, normal maps simulate detailed bumps and grooves, while reflection maps can add gloss to surfaces. Choose the right advanced features based on your project requirements to bring your model to life.
7. Saving and Exporting
After adding and adjusting textures, don’t forget to save your project. Most software allows you to save project files via the “File” > “Save” option. Additionally, you can use the “Export” function to output the model in various formats for use in other applications.
8. Practical Application
Once the textures are applied, you can import the model into other software for further refinement, such as using Unity or Unreal Engine for game development. These platforms enable you to leverage more complex lighting and material settings to enhance visual effects even further.
Mastering the application of 3D textures equips designers to navigate their projects with ease. Proper texture application not only improves the aesthetic appeal of a work but also enhances visual expression, adding unique style and personality to your creations.
If you're in search of high-quality 3D texture resources or need SketchUp and 3ds Max models to support your projects, Relebook offers a wide range of options that can help you achieve outstanding visual effects. We hope this article inspires and assists you in your design endeavors.

