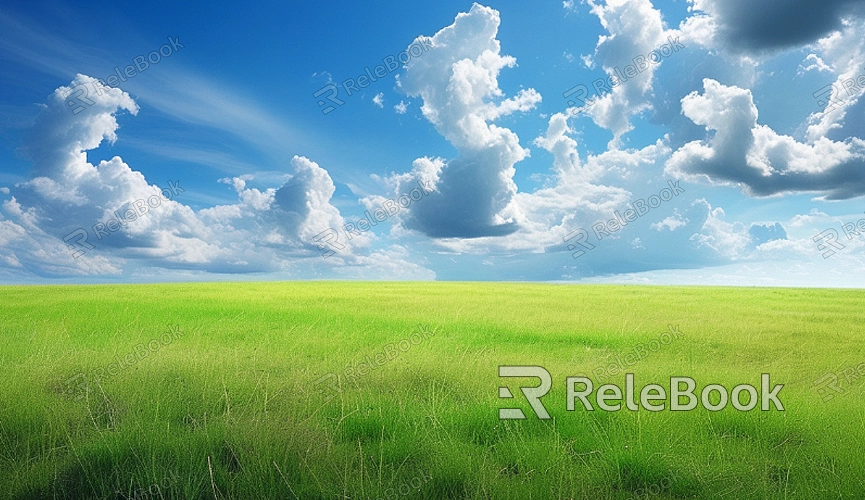
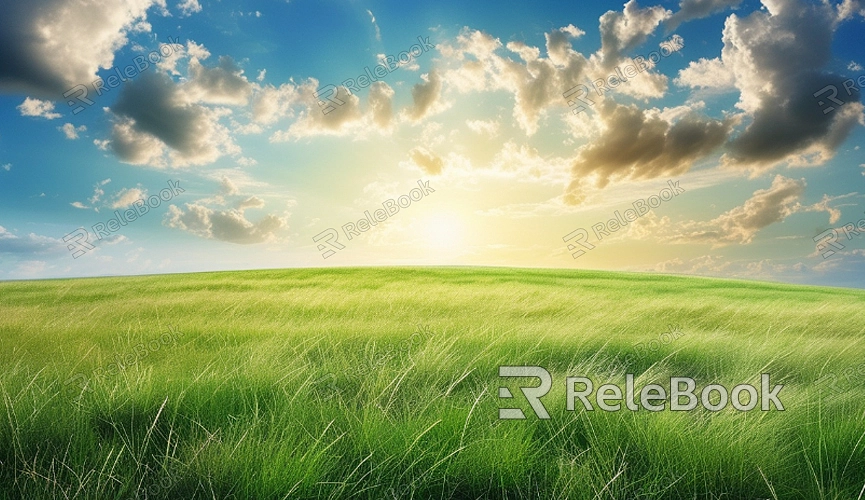
How to Add Sky and Grass to Your Model in SketchUp?
SketchUp is a widely used 3D modeling software in fields like architectural design, interior design, and urban planning. It not only offers powerful modeling tools but also allows users to enhance the realism of their models with various settings and plugins. One of the most common enhancements is adding natural elements such as sky and grass, which can significantly improve the visual impact of a design. In this article, we will dive into the various methods for adding sky and grass to your SketchUp models.

Adding Sky to Your Model in SketchUp
Adding a sky to your model is an essential first step in creating a realistic environment. In SketchUp, the sky is not just a background image—it adds atmosphere and depth to the entire scene. The sky settings and rendering effects are crucial in landscape and architectural designs. Below are a few common ways to add sky to your SketchUp model.
1. Using the Default Sky Background
SketchUp provides a simple sky background option by default. This method is convenient, easy to set up, and requires no additional plugins, but the effect is relatively basic. If you don't want to spend too much time or resources on a sky background, this default option will get the job done quickly.
Steps:
Open your SketchUp model.
Go to the top menu bar and select “View” > “Background.”
In the options that appear, choose “Sky” as your background, and the model will display the default blue sky.
If you want to adjust the sky's tone or brightness, go to the "Window" menu, select "Styles," and click on the "Background" tab to modify the sky settings.
2. Using a Custom Sky Image
If you want a more personalized and professional-looking sky effect, SketchUp allows you to use a custom sky image. By adding a high-quality sky texture image, you can make your model's background better match your design needs. You can find free, high-resolution sky images online or take photos of the sky.
Steps:
Download or take a suitable sky image.
Open your SketchUp model.
Go to the “Window” menu and select “Materials.”
In the material library, click on the “Edit” button in the upper-right corner and select “Create Texture.”
Choose the sky image you downloaded and add it as a texture.
Apply the newly created sky material to the background of your model by selecting the "Sky" tab.
3. Enhancing Sky Effects with Plugins
For users who want more complex and dynamic sky effects, SketchUp plugins are essential tools. Plugins like Twilight Render or V-Ray allow you to add clouds, sunsets, sunrises, and other effects to the sky, further improving the rendering quality.
Steps:
Install and enable the desired rendering plugin, such as Twilight Render or V-Ray.
Open your SketchUp model.
Select the sky or environment settings from the plugin toolbar.
Configure parameters for the sky, including the sun's position, cloud cover, and light intensity.

Adding Grass to Your Model in SketchUp
Like the sky, grass is another essential natural element to simulate in an environment. Adding grass to your SketchUp model can significantly enhance its realism and make the entire scene more harmonious and vibrant. Below, we’ll cover several ways to add grass to your models.
1. Using Grass Textures
The quickest way to add grass is by using a grass texture image. SketchUp allows users to create custom grass textures and apply them to the ground or any other area that requires a grassy effect. This method is efficient and suitable for quick results.
Steps:
Download or take a high-quality grass image. Choose a high-resolution photo that will tile seamlessly when applied.
Open your SketchUp model and go to the “Window” menu, then select “Materials.”
Create a new material and apply the grass image as the texture.
Apply the grass texture to the ground or any area where you want grass, adjusting its size and orientation to ensure a natural fit.
2. Using Grass Components
For a more 3D and realistic grass effect, you can use grass components. By loading grass model components into SketchUp, you can create a more vibrant and detailed grass effect, especially when working with large ground areas. This method is more visually appealing than flat textures.
Steps:
Search for and download grass models from the 3D Warehouse or other third-party websites.
Once imported, place the grass components onto the ground area of your model.
Adjust the size, density, and distribution of the grass models to ensure a natural look.
3. Enhancing Grass Effects with Plugins
For even more detailed and realistic grass effects, using dedicated plugins is highly recommended. Plugins like SketchUp Grass or Podium Render provide tools for generating realistic grass and can even simulate wind effects, shadowing, and detailed textures.
Steps:
Install and enable the grass plugin of your choice.
Open your SketchUp model and select the grass generation tool from the plugin.
Adjust the parameters for grass height, density, and color.
Generate the grass, and the plugin will automatically populate the ground with realistic grass.
Rendering and Tweaking Your Model
Once you've added the sky and grass to your model, the final effect may require further tweaking. Especially when using rendering plugins, the proper lighting, shadow effects, and grass density all play a crucial role in the final appearance.
1. Adjusting Lighting and Shadows
To make the sky and grass look more natural, it’s important to adjust the lighting and shadow settings. SketchUp offers shadow settings that allow you to change the angle and intensity of sunlight, which will affect how the sky and grass appear in the scene.
Steps:
In the “View” menu, select “Shadows” to open the shadow settings.
Adjust the time of day and date to simulate the desired lighting conditions.
In the plugin, adjust the sun intensity and settings to ensure that the light matches the sky and grass effects.
2. Adjusting Render Settings
If you're using a rendering plugin, it’s important to optimize your render settings to achieve the best results. Increasing the detail level for the grass and adjusting reflection and lighting settings will help produce a more realistic final render. These adjustments are crucial to creating a polished and professional look.
By following the steps outlined in this article, you should now be able to add sky and grass to your SketchUp models effectively. From basic background settings to using plugins for advanced rendering, these techniques will help you create more realistic 3D environments. To further enhance your design, consider visiting the Relebook website to download high-quality 3D models and textures, which can elevate the quality of your projects and improve their visual appeal.
FAQ
How can I change the sky color in SketchUp?
You can modify the sky color by going to the “Window” menu, selecting “Styles,” and then adjusting the “Background” settings. If you’re using a custom texture image, you can edit the image in an image editing software to change the sky color before applying it to your model.
Why does my grass look unnatural after adding it to my model?
The grass texture or components may not be applied correctly. Make sure the texture is tiled properly or adjust the density and scale of the grass components. Also, tweaking the color and shadow settings can help make the grass appear more natural.
How can I improve the rendering quality for more realistic sky and grass effects?
Use high-quality rendering plugins like V-Ray or Twilight Render, and adjust the rendering settings for light, shadow, and reflection effects. Increasing the level of detail and using realistic textures will significantly improve the outcome.

