How to Generate Normal Maps from Textures?
In 3D modeling and texturing, normal maps are a crucial technique that modifies the direction of surface normals to create complex detail effects, making object surfaces appear more intricate and realistic. Especially in games and animation, normal maps are often used to enhance detail while reducing polygon count, thus improving performance. Generating normal maps from textures is a vital skill, allowing artists to extract normal information from existing textures to enhance detail. This article will explore how to generate normal maps from texture images, introducing related techniques and tools to help you understand and master this skill.

Basic Concept of Normal Maps
Normal maps work by altering the direction of the normal vector at each pixel, which enhances surface details. A normal is a vector pointing outward from the surface, playing a crucial role in determining lighting and shading effects during 3D rendering. Essentially, a normal map conveys surface detail via a texture, making a low-poly model appear to have the detail of a high-poly model.
1. How Normal Maps Work
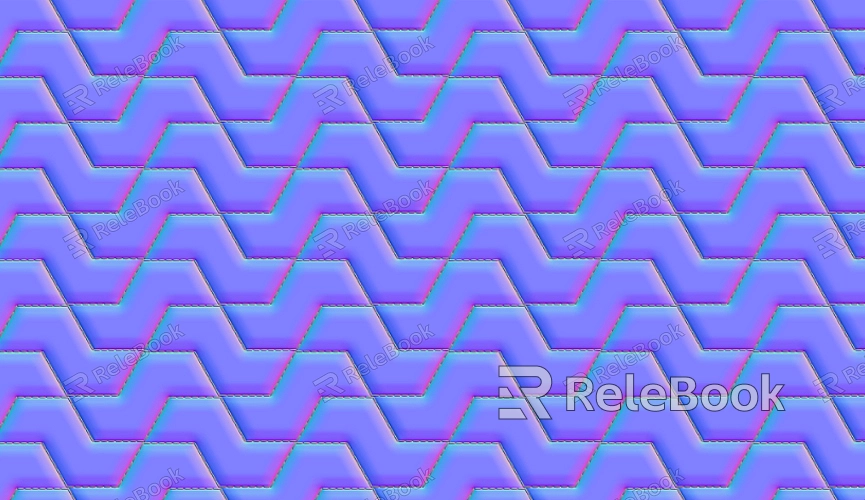
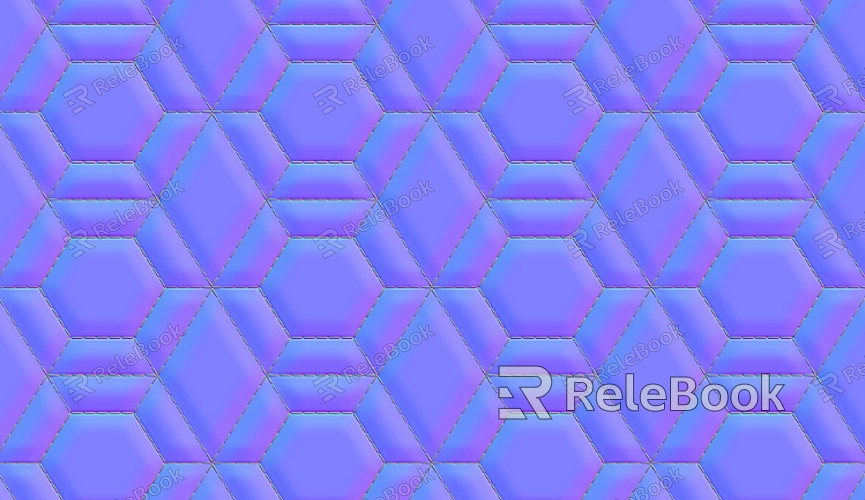
Normal map color information typically uses RGB channels, with each channel representing a different component of the normal vector. The most common normal maps are blue because the normals usually point outward. Red and green components represent horizontal and vertical displacements respectively.
2. Applications of Normal Maps
Normal maps are widely used in industries such as video game development, character modeling, and animation. Their advantage lies in enhancing visual detail without increasing polygon count, improving rendering performance while keeping resource consumption low.

Process of Generating Normal Maps from Textures
The process of converting textures into normal maps is relatively straightforward, though it requires the right tools and techniques. Below are the common steps involved in generating normal maps from textures.
1. Preparing the Texture Image
The first step in generating a normal map is preparing a suitable texture image. Typically, these textures contain surface detail, such as rough surfaces, bumps, or noticeable patterns. The texture image can be hand-painted or extracted from photographs.
At this stage, the quality of the texture is vital, as it directly impacts the final normal map. The texture should be clear, with good contrast between highlights and shadows; the finer the texture, the better the resulting normal map will look.
2. Using Image Editing Tools to Generate Normal Maps
The key step in generating normal maps is using the right tools to extract surface details from a texture and convert them into normal data. Common image editing tools include:
Photoshop + Plugins: Using Photoshop with a plugin (such as NVIDIA’s Normal Map generation plugin) can quickly generate normal maps from existing textures. The plugin extracts highlights, shadows, and depth variations from the texture and converts them into RGB normal data.
Substance Designer: This professional material creation tool allows users to extract normal data from any texture. With its powerful node-based editing system, Substance Designer enables users to generate normal maps and fine-tune texture details.
CrazyBump: This simple-to-use tool generates normal maps by automatically extracting surface details from textures. It's easy to use, making it a great option for beginners.
XNormal: This free tool is widely used in game development and can convert high-poly model details into normal maps for low-poly models. XNormal also supports texture-to-normal map conversion.
3. Adjusting the Normal Map Parameters
Once the normal map is generated, you may need to adjust it based on the desired outcome. Parameters such as normal map strength, offset, and direction may need to be fine-tuned depending on the material and rendering requirements. You can tweak the strength of the normal map to control how much it affects lighting or adjust it for compatibility with specific rendering engines.
Optimizing and Applying Normal Maps
After generating the normal map, it's important to optimize and apply it properly to ensure it works seamlessly with other material properties and rendering effects.
1. Optimizing the Normal Map Resolution
The resolution of the normal map should be chosen based on the detail of the model and the application scenario. For detailed objects, a higher-resolution normal map will produce better results. For low-poly models in games, lower-resolution normal maps are typically preferred to ensure rendering efficiency.
2. Proper Mapping of Normal Maps
It’s essential to ensure that the normal map is correctly mapped to the 3D model. The UV mapping for the normal map should be accurate, especially on complex models or irregular surfaces, as incorrect UV mapping can lead to unnatural lighting effects or visible seams.
3. Combining with Other Textures for Better Rendering
To achieve the most realistic results, normal maps are often used in conjunction with other textures, such as roughness maps, metallic maps, and ambient occlusion maps. These textures together affect the way light interacts with the surface, making the normal map’s lighting responses look more varied and natural.
Through the steps and techniques outlined above, you should now have a solid understanding of how to generate normal maps from textures and apply them to your 3D models to improve visual detail. Whether for games, movies, or other digital artwork, normal maps are an indispensable tool for achieving high-quality renders. To download high-quality 3D models and textures, feel free to visit Relebook's website.
FAQ
How can I avoid unnatural color differences or seams when generating normal maps from textures?
Ensure that your texture is of high quality, avoiding overly blurred or low-contrast images. Correct UV mapping is also essential—especially at seams—where special tools in image editing software can help smooth out discrepancies.
Can normal maps be applied to low-poly models?
Yes, normal maps are ideal for lowpoly models. They enhance the surface details, making low-poly models appear to have high-poly level detail without adding additional polygons.
What’s the difference between normal maps and bump maps?
Normal maps modify the direction of the surface normals to affect lighting and shading, while bump maps simulate surface depth by affecting how light interacts with the surface. Normal maps are generally more precise and produce better results compared to bump maps.

