How to Create Lemon Skin Texture in 3D
In 3D modeling and rendering, achieving the right texture is crucial for enhancing the realism and complexity of your objects. Whether you're working on food simulation, environmental design, or visual effects for games and films, lemon skin textures are commonly used to add detail and depth to surfaces. The distinctive features of lemon skin include subtle bumps, color gradients, and a rough texture, which all contribute to its unique appearance. In this article, we will guide you through the steps of creating a realistic lemon skin texture in 3D and explore the techniques used to refine and apply this texture in your projects.

1. Getting Started: Gathering References and Inspiration
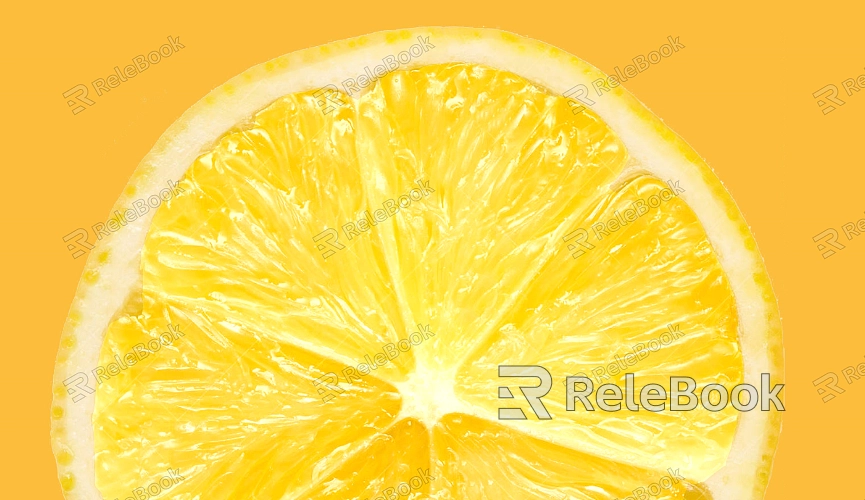
Before diving into the creation of the lemon skin texture, it's important to study the real-life characteristics of lemon skin. Key features include irregular bumps, small granules, and pronounced texture patterns, which are often emphasized through lighting and detail layers. To achieve the most realistic texture, designers should gather high-quality reference images of lemon skin or photograph the surface themselves. Be sure to choose high-resolution images that clearly display the texture details, as this will help guide the creation of the 3D texture.
2. Choosing the Right 3D Software
There are several 3D modeling programs that can be used to create lemon skin textures, including Blender, 3ds Max, Maya, and Cinema 4D. Each of these tools has different texture editing capabilities and workflows. It's important to choose the software that best fits your needs and level of expertise. For example, Blender’s node editor offers precise control over texture detail, while 3ds Max has a powerful material editor that can be used to create more complex texture effects. In this guide, we’ll focus on Blender, but the general principles apply to other programs as well.
3. Creating the Basic Lemon Skin Texture
To start, you’ll need to create the basic texture for the lemon skin. This involves the following steps:
Model the Lemon Surface: Begin by creating the basic shape of a lemon in your 3D software. You can start with a sphere and then use subdivision and stretching tools to achieve the correct lemon-like form.
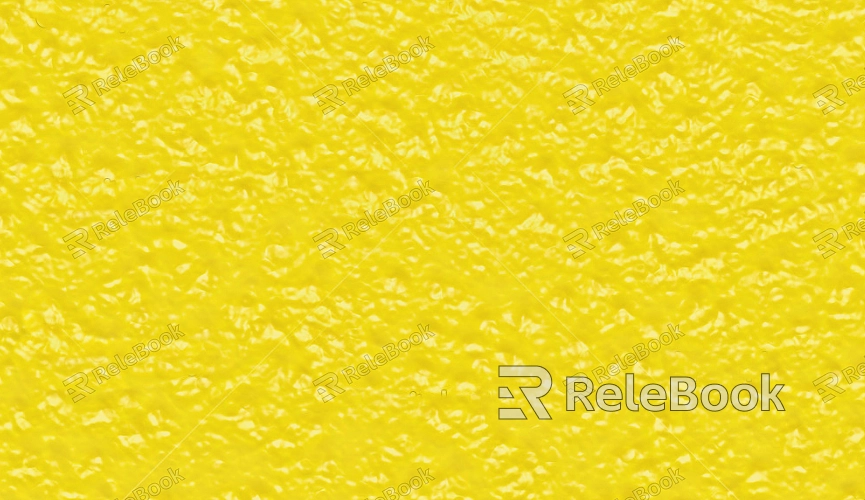
Add the Base Texture: Apply a base skin texture to your model. Choose a smooth orange or yellow texture, and use UV mapping to ensure that the texture wraps accurately around the model’s surface.
At this point, your model will have a basic color and surface detail, but we’ll need to add more layers to make it more realistic.
If you find the process of creating 3D lemon skin textures too complex or time-consuming, consider visiting Relebook. You can download high-quality 3D textures directly from https://textures.relebook.com/ to enhance your projects with ease.
4. Adding Detailed Effects to the Lemon Skin
Lemon skin is not flat; it’s filled with small bumps and rough textures. To achieve this effect, you can use Normal Maps or Displacement Maps to simulate surface imperfections.
Normal Maps: These maps simulate small bumps and irregularities on the surface without changing the geometry of the model. You can create normal maps from reference images or use texture painting tools.
Displacement Maps: Unlike normal maps, displacement maps alter the actual geometry of the surface, allowing for more pronounced texture features. Adjusting the displacement intensity will make the surface appear more dynamic and lifelike.

5. Refining the Texture: Glossiness and Surface Detail
Lemon skin has a subtle gloss, which adds realism to its appearance. In the material editor, adjust the reflection and glossiness settings to mimic this effect.
Reflection Maps: Use reflection maps to simulate areas of the lemon skin that are smooth or slightly wet, such as where juice might have collected.
Roughness Adjustment: Some parts of the lemon skin may be more textured or rougher than others. Use roughness maps to control how smooth or rough certain areas of the skin appear. A lower roughness value will give a smoother appearance, while a higher value will create more texture.
6. Adding Detail Layers: Noise and Cracks
To make the lemon skin texture even more detailed, you can apply additional layers such as noise patterns or tiny cracks in the surface. These small features enhance the realism of the model.
Noise Textures: Use subtle noise textures to give the skin a more granular feel, making it look more natural and organic.
Crack Textures: Lemon skin often has tiny cracks or imperfections. You can hand-paint these details or use pre-made crack textures to apply to the surface.
7. Rendering and Fine-Tuning
After creating the lemon skin texture, the next step is to render and fine-tune the look of the surface. Use lighting and shadow effects to further enhance the realism of the texture. In Blender, the Cycles or Eevee render engines can be used to test your texture. Adjust the light intensity and angle to ensure the texture responds well under different lighting conditions.
8. Applying the Texture to the Final Model
Once the texture is complete, apply it to your full lemon model. Ensure that the texture fits correctly and remains consistent across the model. If you’re working on an animation or game project, make sure the texture will deform properly with the model and won't stretch or misalign during motion.
9. Exporting and Optimizing
Finally, when your model and texture are ready, export the file in a suitable format (such as PNG or TGA) and optimize it for use in your project. Make sure the resolution is appropriate for the project requirements, and reduce the file size to improve performance in real-time applications.
By following these steps, you can create a highly realistic 3D lemon skin texture. This texture is not only essential for food modeling but can also be used in any project that requires detailed skin textures. Whether you're working on animation, game design, or digital art, mastering texture creation is an essential skill for any 3D artist.
If you’re looking for high-quality 3D textures or need to access additional models and resources for your projects, check out Relebook. With a vast selection of textures and 3D assets, you’ll be able to bring your creative ideas to life with ease and professionalism.

