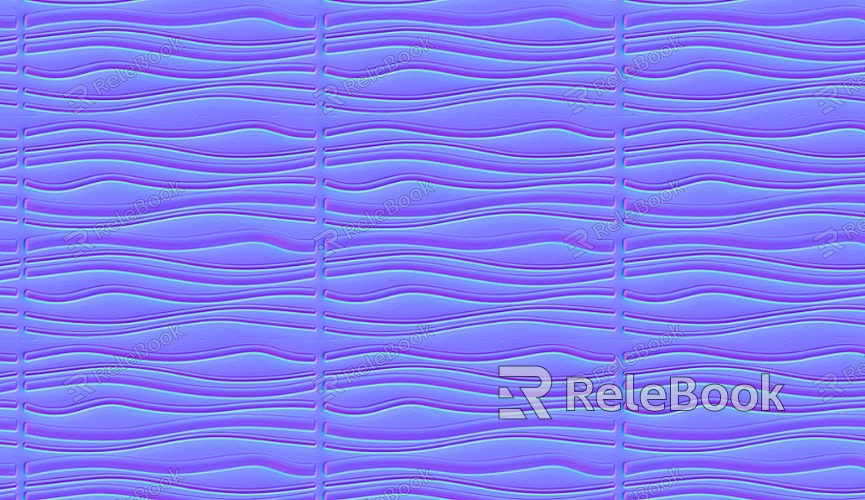
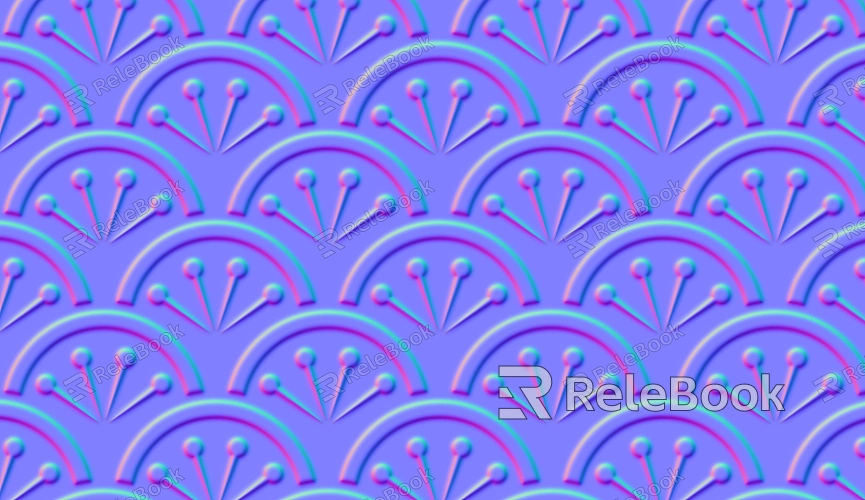
Why Do Normal Maps Require Two Textures?
Normal mapping is a crucial technique widely used across various fields; it enhances the realism and detail of models by simulating surface features, allowing low-polygon models to present intricate details and realistic lighting reactions. Normal maps typically require two textures to achieve this effect: one is the basic normal map, and the other is a normal variation texture related to lighting. But why do normal maps need two textures? This article will explore the reasons behind this design choice, explaining the roles and necessity of each texture.

The Basic Concept of Normal Maps
As the name suggests, normal maps are a technique that adds the illusion of surface detail by altering the normal directions on a model without adding extra geometry. The normal of a surface is a vector that defines how light reflects and refracts. Normal maps simulate this by adjusting the normals, creating the illusion of bumps, dents, and fine details, making the surface appear more complex than it is.
Typically, a normal map is stored as a special image format containing RGB channels to represent the normal vector’s X, Y, and Z directions. This method allows normal maps to provide fine surface changes and work together with lighting models to enhance the visual effect.
Why Do Normal Maps Require Two Textures?
The need for two textures in normal mapping primarily arises from the desire to optimize rendering performance and provide more complex detail representation. While normal maps alone can bring out some surface detail, relying solely on a single texture might not meet the requirements for more complex scenes, especially when lighting changes are involved. Here are a few reasons why two textures are necessary for normal mapping:
1. Separation of Surface Detail and Lighting Response
In the real world, the surface detail of an object (such as scratches, bumps, and dips) and its lighting response are two distinct concepts. Normal maps are primarily used to simulate surface details, not to simulate the actual geometry or lighting reflections. To more accurately simulate how light interacts with an object’s surface, a second texture is often required. This second texture records how surface detail affects lighting, allowing for finer control over reflections and shadows. By separating surface details and lighting response, we can enhance visual quality without adding extra polygons.
2. Performance Optimization and Resource Management
In practical applications, especially in game engines or virtual reality, rendering performance and resource management are critical. A single normal map texture might cause performance bottlenecks in some scenarios, particularly in complex scenes. By separating the normal information into two textures—one for surface detail and another for lighting adjustments—we can use computational resources more effectively, improving rendering efficiency. This allows rendering engines to load different textures as needed, optimizing performance.
3. Enhancing Visual Fidelity
The second normal map texture is often used to further enhance the visual effect of the object’s surface. Particularly in cases where subtle surface changes or more accurate lighting effects are needed, two textures can provide richer detail. For example, the second normal map may include fine-tuned adjustments for surface imperfections or material differences, helping to improve the accuracy of light reflection and enhance the overall realism of the scene.

Common Applications of Normal Maps
Normal maps are widely used in a variety of fields, especially in modern 3D modeling, game development, and visual effects. Below are some typical use cases:
1. Character and Scene Details in Games
In games, low-polygon models are often used to optimize performance, but to maintain visual realism, developers use normal maps to simulate additional details. These normal maps can simulate skin texture, clothing wrinkles, and even small scratches and surface details in the scene, enhancing the player's immersive experience.
2. Lighting Effects in Movie Visual Effects
In film production, normal maps can be used to simulate surface details in special effects, such as the glossiness of metal objects or the roughness of rocks. These effects are often achieved using multiple normal maps to fine-tune how light interacts with the surface under different lighting conditions. By using carefully designed normal maps, special effects teams can create highly realistic materials and lighting simulations.
3. Environmental Interaction in Virtual Reality
In virtual reality, where a smooth and immersive experience is crucial, many models and environments need to be optimized for performance. Normal maps, especially those with two textures, can make the environment appear more realistic without adding too many computational demands. This technique is commonly applied in virtual reality environments like architectural walkthroughs and interior design applications.
How to Create and Use Normal Maps
Creating normal maps is not a simple task and requires specialized tools and skills. Typically, the process of creating normal maps includes the following steps:
1. Create a High-Polygon Model
First, a high-polygon model must be created. This model will include intricate surface details, such as dents, scratches, and other fine features. Then the low-polygon model is imported into 3D software, where normal map information will be transferred from the high-polygon model.
2. Bake the Normal Map
Using 3D software (such as Blender or Maya), the normal information from the high-polygon model is baked onto the low-polygon model, creating the normal map. The texture image records the surface detail from the high-polygon model, which can then be used to simulate surface features on the low-polygon model.
3. Add the Lighting Texture
A second normal map is then created, typically optimized for lighting effects. This can be adjusted in image editing software or directly within the 3D rendering engine. For instance, different shaders can be used to simulate light reflection, shadow adjustments, and other lighting-related effects.
4. Apply and Test
The generated normal maps are applied to the low-polygon model, and the result is tested in the actual rendering environment. This step ensures that the normal maps meet expectations and perform well under different lighting conditions.
Normal maps enhance the appearance of low-polygon models by simulating surface detail and lighting interactions. In some complex scenes, using two normal maps allows for a better separation of surface details and lighting effects, optimizing performance and improving visual quality. As technology advances, normal maps will continue to play an important role in many fields. If you're looking for high-quality 3D models and textures, visit the Relebook website to download more resources and enhance your creative experience.
FAQ
Why do normal maps require two textures?
Normal maps require two textures—one to simulate surface detail and another to adjust lighting responses. This separation allows more control over lighting effects and enhances visual quality without increasing polygon count.
How do I create normal maps?
Normal maps are typically created by baking the normal information from a high polygon model onto a low polygon model. Afterward, a second normal map can be added to adjust lighting effects.
What are the benefits of using normal maps in game development?
Normal maps allow developers to create detailed models without increasing polygon count, thereby improving visual fidelity and optimizing rendering performance.
Where are normal maps commonly used?
Normal maps are commonly used in-game characters, scenes, virtual reality environments, and visual effects for movies, especially when additional detail is needed without adding more polygons.

