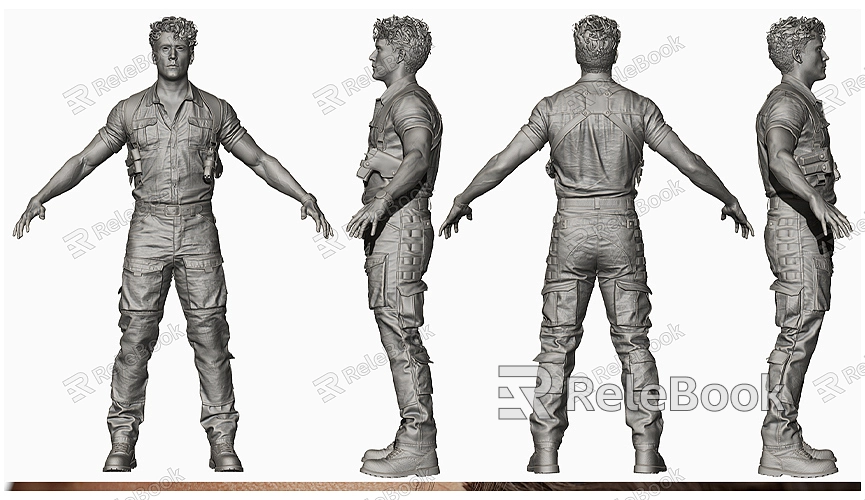
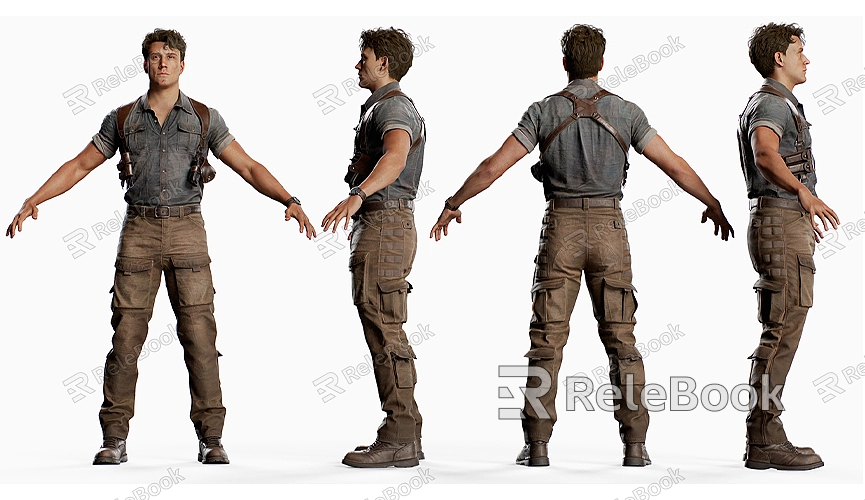
How to Make a Human Model in SketchUp
Creating a human model in SketchUp is a fun and challenging task. Although SketchUp isn't specifically designed for character modeling, its intuitive and user-friendly modeling approach still allows users to create basic human figures. Whether you're inserting people into architectural visualizations or adding human elements to virtual scenes, mastering the techniques for character modeling can significantly enhance the expressiveness of your work. For designers who wish to create more detailed and lifelike human models in SketchUp, understanding and mastering a few key modeling techniques is essential.
Why Choose SketchUp for Human Modeling?
SketchUp is known for its straightforward and easy-to-use interface, making it particularly popular for architectural, interior, and landscape design. However, SketchUp's modeling features can also be used to create a variety of other 3D models, especially when speed is a priority. While SketchUp doesn't specialize in character modeling like professional software such as Maya, Blender, or ZBrush, it offers powerful basic geometric tools and efficient modeling capabilities that make creating simple human models possible.
For designers or hobbyists with limited 3D modeling experience, SketchUp provides a relatively beginner-friendly platform. By using basic geometry, stretching, and rotating tools, you can create a simple human model in a short amount of time, even without advanced sculpting skills. This makes SketchUp a preferred tool for many novice users who want to create human models.

Preparation: Collect References and Plan Your Model
No matter which tool you use for modeling, having a clear design concept and reference materials is crucial. When creating a human model, reference images and proportion charts will help you accurately understand the form and structure of the human body. Before starting your model, it's important to study basic human proportions. For example, an adult male's height is typically 8 head lengths, while an adult female's height is about 7.5 head lengths. Understanding these proportions will help you maintain correct dimensions when modeling.
You can use reference images from the web or create your own sketches to better understand the human figure and its features. If you're not familiar with how to plan body proportions, there are many body proportion charts available online that can serve as guides while modeling. SketchUp itself also supports importing images as background references, allowing you to better grasp the human form as you model.
Choosing the Right Modeling Method
There are two main approaches to character modeling: one is starting with basic geometric shapes and refining the model step by step; the other involves modifying and adjusting an existing 3D model. Since SketchUp is not a specialized character modeling tool, the most common method is to use basic geometric shapes to build the model. In SketchUp, the human body can be constructed using spheres, cylinders, and cubes. By stretching, rotating, and moving these geometric shapes, you can gradually shape the outline and structure of the human figure.
Building the Human Frame with Basic Geometry
Before you start, you need to create the basic framework of the human model. This step is typically done by using spheres, cylinders, and rectangles. For example, the head can be represented by a sphere, and the limbs can be represented by cylinders. In SketchUp, the "Push/Pull" and "Move" tools allow you to easily modify the shape and position of these geometric shapes. You can refine and adjust these basic shapes to gradually build the outline of the human figure.

- Building the Head: Start by creating the head with the sphere tool. You can use the "Push/Pull" tool to stretch or shrink the sphere, gradually defining the features such as the chin, forehead, and cheekbones.
- Building the Torso and Limbs: The torso is typically a rectangular box, and the limbs are created using cylinders or cones. Be sure to maintain natural proportions for the limbs and adjust the length and angle of the cylinders to create realistic joints.
- Joints and Pose: The joints, such as the shoulders, elbows, and knees, are crucial for a natural pose. To make the model more lifelike, add some bending or folding shapes to simulate joint movement, using rotation and stretching tools to adjust the angles of the limbs.
Refining the Model
Once the basic framework is complete, it's time to move on to the refinement phase. In this step, you'll focus on adding details to enhance the realism and accuracy of the model.
- Carving Facial Features: The face is the most challenging part of character modeling. In SketchUp, you can use the "Push/Pull," "Scale," and "Subdivision" tools to add facial features like eyes, nose, and mouth. By stretching and scaling, you can gradually adjust the position and shape of each feature to resemble a natural human face.
- Clothing and Accessories: To make the model more realistic, add clothing and accessories. Clothing can be modeled using squares or rectangles, and details like folds and wrinkles can be added through adjustments. Shoes, hats, and other accessories can be made using the same modeling techniques—stretching, rotating, and adjusting until the desired shape is achieved.
- Adjusting Proportions and Details: The proportions of the human figure are critical, particularly in areas like the joints and facial features. If you find that certain parts appear unnatural, make small adjustments. Use the "Move" and "Rotate" tools to fine-tune each part of the model.
Advanced Techniques: Using Plugins and Pre-made Components
For users who want to speed up the modeling process, SketchUp offers a wide range of plugins and components. Using these plugins can significantly reduce modeling time and improve the level of detail in your character model.
- SketchUp Plugins: Plugins like "SketchUp Human" can help users quickly generate human models. These plugins typically offer various body types, poses, and facial expressions, which you can select and adjust to fit your needs.
- SketchUp Component Library: The official SketchUp component library and third-party resource sites offer a variety of pre-made 3D models, including human figures, animals, and other objects. You can select a suitable human model from these libraries and modify it to better fit your design.
Adding Textures and Materials for Detail
After completing the modeling, the next step is to add textures and materials to the model to make it more lifelike. SketchUp allows you to decorate the surface of your model using the material panel. You can apply textures such as skin, clothing, and hair to the human model to enhance the level of detail. Choosing the right textures is essential, especially for the skin, clothing, and hair, as good textures can greatly increase the realism of the model.
If you need a large selection of high-quality 3D textures and HDRI for your models and virtual scenes, you can download them for free from the [Relebook Texture Library](https://textures.relebook.com/). If you're looking for beautiful 3D models, you can visit the [Relebook 3D Model Library](https://3dmodels.relebook.com/) for top-notch resources that can help you save time and improve your project quality.
While SketchUp's features for character modeling may not be as advanced as those of professional 3D modeling software, you can still create satisfying human models by mastering a few techniques and approaches. Whether you start with geometric shapes or use plugins and pre-made components, flexible use of SketchUp's modeling tools can help you build detailed and lifelike human models. By effectively applying textures and materials, your final model will be more dynamic and expressive. We hope the tips and suggestions in this guide help you successfully create your ideal human model in SketchUp.

