How to Make Textures Look Less Flat?
In 3D modeling and texture design, the tactile quality and depth of textures are crucial for creating realistic and immersive visuals. Flat textures often make a model look lifeless, lacking the fine details and layers that bring it to life. Therefore, how to make textures appear more three-dimensional and realistic is a key skill every 3D artist should master. This article will explore several common techniques and methods that can help you add depth and dimension to your textures, ensuring they look more dynamic and realistic.

Adding Normal Maps
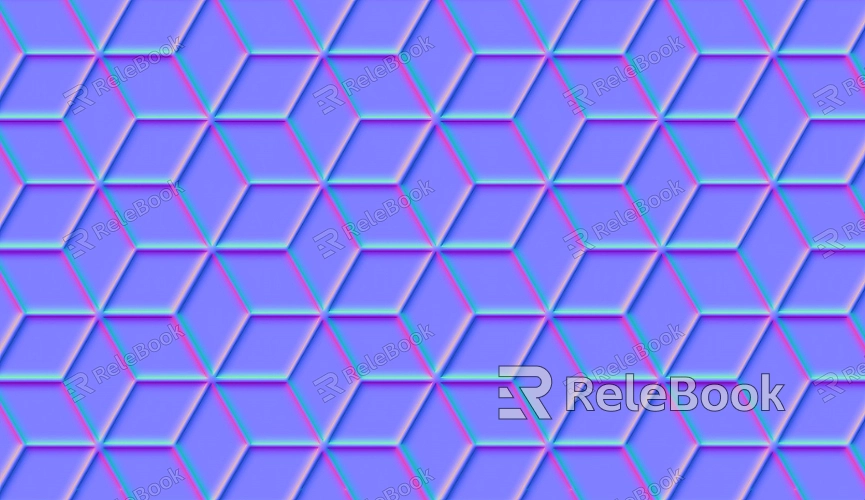
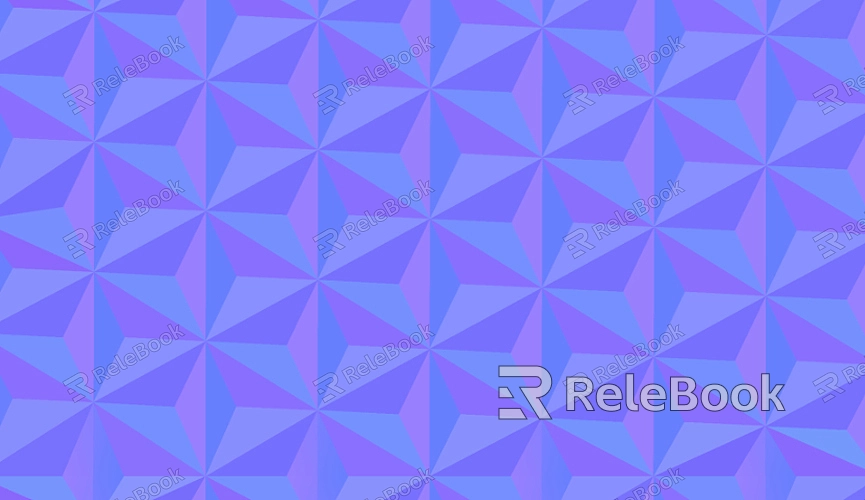
Normal maps are textures that simulate surface detail by altering the direction of the surface normals, affecting how light interacts with the model. Although normal maps do not change the actual geometry of an object, they can make textures appear more complex and three-dimensional.
1. The Role of Normal Maps
Normal maps help to simulate bumps and surface detail without adding extra geometry to the model. They work by modifying the direction of light reflection, which creates the illusion of texture and depth. For example, a normal map can be used to simulate the fine details of skin, cracks in walls, or surface textures on stones, giving a tactile impression that is visually convincing.
2. How to Create Normal Maps
Normal maps are typically created using specialized texture painting software such as Substance Painter, ZBrush, or Mari. In these programs, artists can sculpt, paint, or generate procedural normal maps to add detail to the model. Once created, the normal map is applied to the model’s material, and the normal channel controls how light interacts with the surface to create the illusion of depth.

Using Displacement Maps to Enhance Detail
Displacement maps are similar to normal maps but more powerful. Unlike normal maps, which only affect how light interacts with the model’s surface, displacement maps alter the geometry of the model itself, adding depth and complexity.
1. How Displacement Maps Work
Displacement maps work by defining displacement values at each pixel on the model's UV coordinates, physically altering the surface. This means that, unlike normal maps, displacement maps modify the geometry itself, creating real changes in the shape of the object. For example, using a displacement map, you can add realistic cracks, wrinkles, or surface irregularities, enhancing the model’s dimensionality.
2. How to Create Displacement Maps
Creating displacement maps usually involves using tools like Substance Painter, ZBrush, or Maya. In ZBrush, artists can sculpt high-resolution details onto a model, and then generate displacement maps to transfer these details to a lower-poly model. In Maya or other 3D software, the displacement map can be used to drive the actual geometry of the model, providing more realistic surface details.
Using Reflection and Roughness Maps to Enhance Surface Effects
In addition to normal and displacement maps, reflection and roughness maps are critical tools for enhancing the perceived depth and richness of textures. By adjusting these maps, artists can control the glossiness and light reflection of a model’s surface, making the texture look more detailed and layered.
1. The Role of Reflection Maps
Reflection maps control how much light is reflected off a surface and how it interacts with the environment. By adjusting reflection maps, artists can give materials a more realistic appearance. For example, metals typically have high reflectivity, while materials like leather or wood may have lower reflectivity. Reflection maps help make textures look more dynamic by adding highlights and specular effects, giving surfaces a natural shine or gloss.
2. The Role of Roughness Maps
Roughness maps work closely with reflection maps, controlling the diffusion of light across the surface. A low roughness value results in a smooth, glossy surface with sharp reflections, while a high roughness value scatters light, creating a more matte and diffused reflection. By adjusting roughness maps, artists can make surfaces look more detailed and realistic, avoiding overly smooth or flat reflections.
3. How to Create Reflections and Roughness Maps
Reflection and roughness maps are typically created by painting them directly in texture-painting software. In programs like Substance Painter, these maps are stored in separate channels, allowing artists to fine-tune each one. Based on the material properties of the surface, these maps can be hand-painted or generated procedurally to achieve the desired look for different materials.
Adding Detail Textures and Refining Local Areas
In addition to using normal, displacement, reflection, and roughness maps, artists can enhance texture depth by adding detailed textures. These textures can include cracks, dirt, scratches, fingerprints, and other small surface features that make the texture look more layered and realistic.
1. Types of Detail Textures
Detail textures include a variety of small surface effects, such as:
Scratch textures: These simulate marks or damage from friction, wear, or impact on the surface.
Dirt and grime textures: These textures create the effect of dirt buildup, water stains, or oil spots, enhancing realism.
Crack and wear textures: These simulate surface damage like cracks, chips, or weathering, which are especially useful for creating aged or distressed surfaces.
2. How to Add Detail Textures
Detail textures are usually added on top of the base texture through painting or projection techniques. In Substance Painter, Photoshop, or similar software, artists can directly paint these details onto the texture or use procedural methods to generate them. Additionally, decals or masks can be used to apply these details precisely to localized areas, preventing unnecessary coverage on other parts of the model.
Making textures look less flat is essential for creating rich, realistic 3D models. By employing techniques like normal maps, displacement maps, reflection and roughness maps, and adding detailed textures, artists can enhance the depth and complexity of their textures, making them look more alive and believable. If you’re looking to further enhance your texturing skills, visit the Relebook website to download high-quality 3D models and textures that can help inspire and support your creative projects.
FAQ
Why do my textures still look flat?
Flat textures often result from the absence of normal, displacement, reflection, or roughness maps. Ensure you are using a variety of maps to enhance the model’s detail and depth. Adding more detail through different texture layers and maps will help break up the flatness.
How do I create realistic cracks and damage effects?
Realistic cracks and damage effects can be achieved using normal maps, displacement maps, and detail textures (such as crack maps). Sculpting details in high poly models and then generating corresponding maps for a low poly model will effectively simulate these surface features.
How do reflection and roughness maps affect the texture?
Reflection and roughness maps directly impact how light interacts with the model, enhancing the texture’s depth and richness. Adjusting these maps will allow you to control the level of shine, gloss, and diffusion, making the texture appear more realistic and dynamic.

