How to Make Your Own 3D Texture for Maya
When working on 3D modeling projects—whether it's creating game characters, architectural models, or virtual reality scenes—the quality of your textures plays a critical role in determining the final rendering outcome. Using Maya to create high-quality 3D textures is essential for enhancing the realism and visual impact of your work. However, many beginners often feel overwhelmed by the process, unsure of how to choose the right tools and workflow for their design. In this article, I'll share some tips and techniques for creating and applying textures in Maya, helping you better understand the process and improve your workflow.

Choose the Right Texture Resources
Before you start creating textures in Maya, selecting the right texture resources is the first step. Different projects require different types of textures, so learning how to pick the right material is crucial.
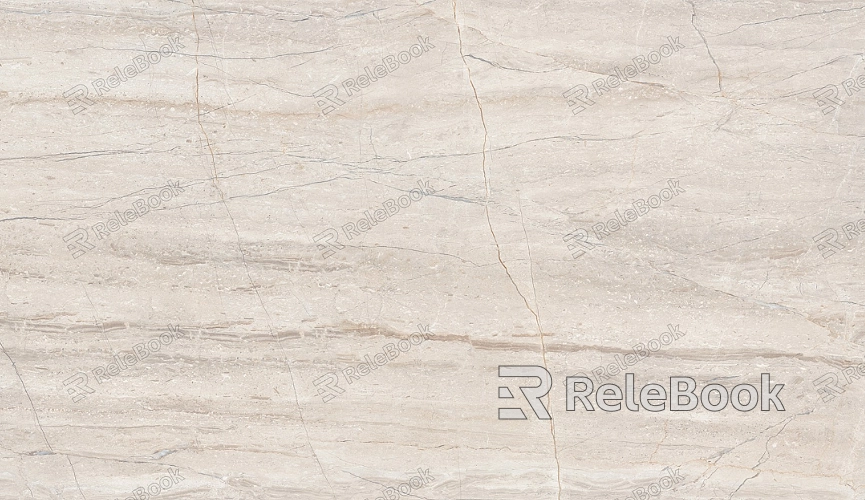
Photographed Textures: If your project demands highly realistic textures, photographing real-world materials can be a great option. For example, capturing wood, stone, or brick textures with a high-quality camera can significantly enhance the realism of your work. These textures are particularly effective for scenes that require intricate detail.
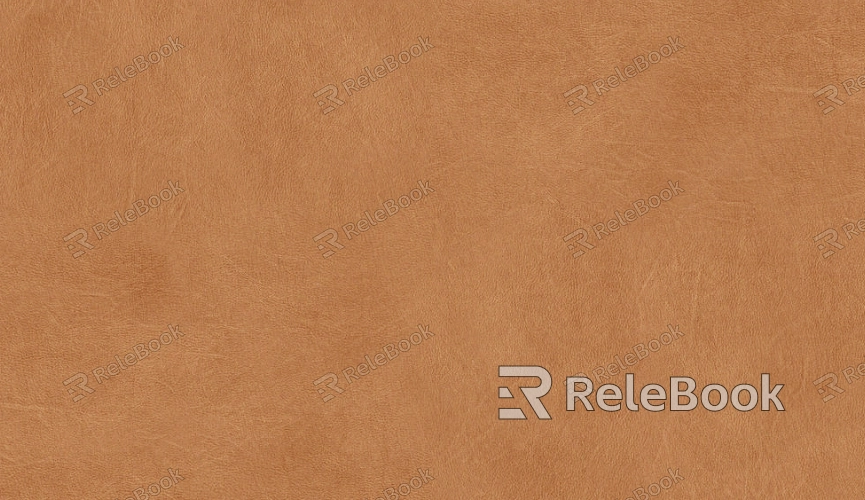
Online Texture Libraries: Today, there are many websites offering high-quality texture libraries, both free and paid. Relebook, for instance, offers a variety of textures that suit different project needs. Choosing the right texture can save you considerable time and effort.
Hand-Painted Textures: For certain unique artistic styles, hand-painted textures can be an effective choice. Using tools like Photoshop or Substance Painter, you can create customized textures that fit the specific needs of your project.
Use Maya to Edit and Create Textures
While Maya is not primarily a texture creation tool, it does provide powerful UV editing features to help you lay out and manipulate textures on your models.
UV Unwrapping: The first step in texture creation within Maya is usually UV unwrapping. UV unwrapping transforms the 3D model's surface coordinates into a 2D plane, making it easier to paint textures. Ensure your UVs are non-overlapping and arranged logically so that the textures can fit smoothly on the model.
Painting Texture Maps: Although Maya's primary function is modeling, you can connect external painting tools (such as Photoshop or Substance Painter) to create textures. These tools allow you to create various types of maps like diffuse, normal, and specular maps, which can then be imported into Maya for further application.
Import and Apply Textures to Maya
After creating your textures, the next step is importing them into Maya and applying them to your model. Maya supports multiple texture formats such as JPEG, PNG, TGA, and more, making the process quite simple.
Importing Textures: In Maya, select the material node you want to apply the texture to, and open the Hypershade window. In the “File” node, load your created texture map. Ensure the texture format is compatible with Maya to avoid any import issues.
Connecting Textures: Within the Hypershade window, you can adjust the texture's properties by connecting various nodes. For example, connect the diffuse map to the "Diffuse" node, the normal map to the "Normal" node, and adjust reflection and glossiness settings to fine-tune the material's appearance.
Adjust Material Properties and Texture Appearance
Maya offers powerful material editing capabilities, allowing you to fine-tune how your textures appear on the model.
Adjust Reflection and Glossiness: Reflection and glossiness are key factors in how a texture appears in different lighting conditions. In Maya, you can modify these properties through the node editor to ensure your texture looks realistic under various lighting conditions.
Add Detail: Adding additional detail maps (such as roughness, displacement, or specular maps) can make your textures appear more vivid and enhance the model's overall complexity.

Perform Real-Time Previews and Adjustments
Once your texture is applied to the model, it's important to preview it through rendering to see how it behaves in the final output.
Real-Time Rendering Previews: In Maya, you can use the Arnold renderer to preview your textures in real-time within the viewport. This allows you to see how the textures perform with different lighting and shadows, ensuring the result meets your expectations.
Fix Issues: If you notice any problems with the texture, such as stretching or visible seams, you can revisit the UV editor to adjust the UV layout or tweak the texture settings until the desired result is achieved.
Export and Optimize Textures
After creating and adjusting your textures, don't forget to optimize and export them for future use.
Optimize Texture Size: For high-quality textures, it's important to maintain a balanced resolution that offers good visual fidelity without consuming excessive memory. Overly large textures may cause rendering delays or high memory consumption.
Exporting Textures: Once you're happy with the texture, make sure to export it in a common format (such as PNG or TGA). This ensures compatibility with other software and helps streamline the workflow.
By following these steps, you'll be able to create high-quality 3D textures for Maya, enhancing your models and bringing them to life with more realistic detail. While texture creation does require some skill, mastering the right tools and techniques will significantly improve your efficiency and allow you to create more sophisticated and engaging 3D models.
If you're looking for high-quality texture resources, Relebook offers a vast collection of textures in various styles and types, perfect for a wide range of projects. Visit Relebook today to find the perfect textures for your next creation and elevate your designs!

