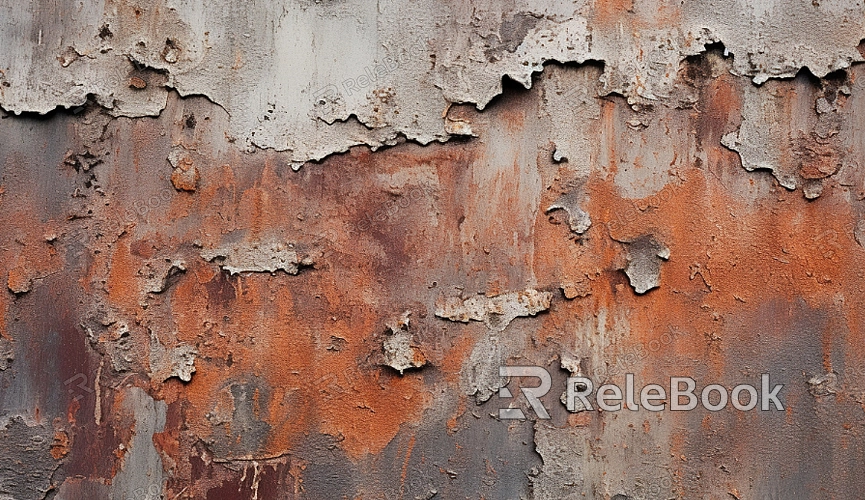
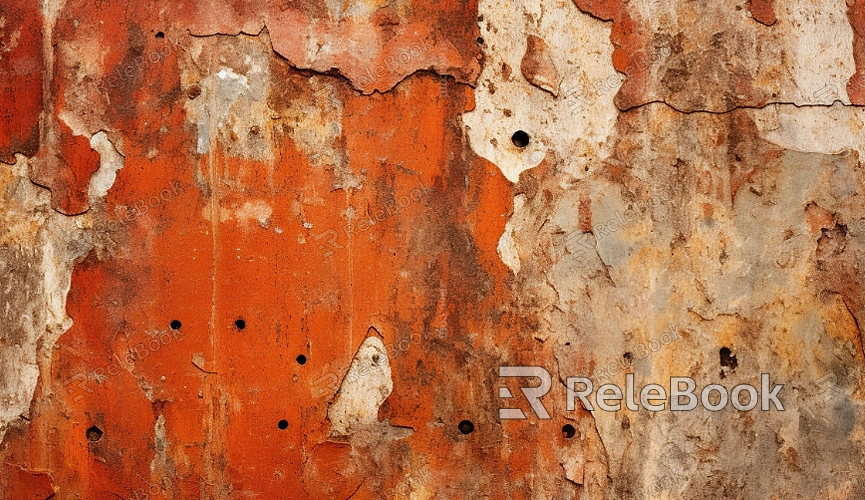
How to Make a Rusted Metal Texture in Photoshop?
Creating a realistic rusted metal texture can significantly enhance your designs, giving them a raw, industrial feel. This technique is widely used in various industries, including architecture and product design, as it adds a sense of age, weathering, and history to metal surfaces. In this article, we will guide you through the steps of creating a rusted metal texture in Photoshop, covering the tools and techniques you’ll need to achieve a highly detailed and realistic result.

Setting Up Your Photoshop Canvas
Before diving into the rust creation process, it’s essential to start with a blank canvas. Open Photoshop and create a new document. Choose a size that suits your project—whether it's a large texture for a 3D model or a smaller one for a design. A good starting size for most projects is 2000x2000 pixels, which allows you to work with enough detail while maintaining a manageable file size. Make sure the resolution is set to at least 300 DPI for high-quality textures.
Creating the Base Metal Surface
To begin the rust effect, you need to create the base metal texture. The texture of metal, before rust, can be achieved by using noise and gradient techniques. Start by filling your canvas with a solid color, preferably a mid-gray tone, as this resembles the neutral color of raw steel. Then, apply a noise filter to the layer. This will add random pixels to the image and simulate the natural irregularities of metal surfaces. You can adjust the amount of noise depending on how much texture you want. Afterward, add a gradient overlay that mimics the light reflection on a metallic surface. Use soft gradients of light and dark grays to create the illusion of depth and shine.
Adding the Rust Layers
To make the rust, you’ll need to use several layers and textures. Rust typically starts as a reddish-brown substance that appears unevenly across the surface of the metal. Begin by creating a new layer and filling it with a rust-like color. Use a reddish-orange for the primary rust tone, and then add darker, more brownish hues to mimic areas of more advanced rust. You can experiment with different opacity levels and blending modes (such as Overlay or Soft Light) to blend the colors into the metal base.

Detailing with Brushes
Now, it’s time to add finer details to your rusted texture. Photoshop brushes can be an excellent tool for simulating the pitting and flaking that naturally occurs in rusted metal. There are various custom brushes available online that simulate rust spots, corrosion, and metal blemishes. Download a few high-quality rust brushes and apply them to your texture, varying the size and opacity for a more organic effect. You can also create your custom brush by using a photo of actual rust and converting it into a brush preset. This allows you to achieve a highly realistic rust effect tailored to your needs.
Adding Depth and Detail with Layer Styles
To add further depth and realism to your rusted texture, use Photoshop's layer styles. Adding a subtle bevel or emboss effect to the rusted areas can simulate the raised texture of corroded metal. Drop shadows and inner shadows also work well to enhance the depth, creating the illusion of rust sitting atop the metal surface. The key is to be subtle—overdoing it may result in a less convincing effect. Play around with different shadow intensities and distances to match the light source in your design.
Introducing Variation with Multiple Layers
Rust is never uniform, so it’s essential to introduce variation throughout your texture. Create several layers with different rust colors and patterns. For instance, one layer could represent fresh, bright rust, while another could represent older, darker corrosion. Vary the blending modes and opacity levels to control how the rust appears across the metal. This step ensures that your rusted texture doesn’t look too artificial or overly predictable. Randomness is key when mimicking nature.
Adding Environmental Effects
To make the rusted metal look more natural and integrated into an environment, consider adding some external effects, such as dirt, grime, or even moss. Depending on the setting in which your texture will appear, you may want to simulate weathering or environmental interaction. For example, you can use a grunge texture or dirt brush to add additional detail. Use a soft eraser tool with a low opacity to gently fade areas where the rust may be worn away due to exposure to wind or rain.
Fine-tuning and Final Adjustments
Once your texture is mostly complete, zoom out and evaluate the overall effect. Take time to tweak the color balance, saturation, and contrast to match your desired aesthetic. Rust can range from a bright orange to a deep brown, and finding the perfect balance is important. Also, adjust the blending modes of each layer as necessary to refine the way the rust interacts with the metal base. You may find that adding a final layer of noise or grain will help unify the texture and make it appear more cohesive.
Saving and Exporting Your Texture
After finalizing your rusted metal texture, it's time to save and export it. To ensure the texture retains its high quality, save it in a format like TIFF or PNG, which preserves all details without compression. Additionally, you may want to create a version with a transparent background if your texture needs to be placed over other elements in a composition. Consider creating different resolutions to suit a variety of applications, whether for a large-scale project.
Creating a rusted metal texture in Photoshop involves a combination of different techniques, including color manipulation, brushwork, and layer styles. By following the steps outlined in this article, you can achieve a detailed, realistic rust effect that adds character and depth to your projects. Whether you're working on industrial designs, environmental art, or 3D models, these methods will help you create the perfect rusted texture for any application.
For even more texture options and resources, check out the wide selection of 3D models and textures available on the Relebook website, where you can find high-quality assets to elevate your work.
FAQ
Can I use a photo of real rust in Photoshop to create my texture?
Yes, you can use a photo of real rust as a base texture. Many designers prefer to incorporate real-world elements into their designs for added authenticity. You can import a photo, adjust its colors, and blend it into your base texture using layer masks.
What if my rust texture looks too harsh or unrealistic?
If your rust looks too harsh, try reducing the opacity of the rust layers or using a soft brush to blend the edges. Adjusting the blending mode to something like "Overlay" or "Soft Light" can also help smooth the effect and make it more natural.
How do I add more detailed textures, like peeling or flaking rust?
To add peeling rust or flaky details, you can use specialized brushes designed for this effect. You can also use layer masks to selectively erase parts of the rust layer, revealing the metal underneath and creating a more natural peeling look.
Can I create a rusted texture from scratch without any external resources?
While external brushes and textures can speed up the process, it’s entirely possible to create a rusted texture from scratch using Photoshop’s built-in tools like noise, gradients, and filters. With enough attention to detail, you can achieve a convincing result.
How can I apply this rust texture to 3D models?
Once your rust texture is complete, you can use it in 3D software by applying it as a diffuse map, normal map, or bump map, depending on how detailed you want the surface to appear. Make sure to scale the texture appropriately for the model’s size.

