How to Make an Image Texture Repeat in Blender 3D
When working on 3D projects, repeating textures is a vital technique for enhancing realism and visual consistency. Whether you're creating tiled floors for a game environment or designing walls for architectural visualization, being able to efficiently apply seamless textures over large surfaces can make a significant difference. During my experience with Blender, I often faced challenges in repeating textures on expansive models like roads, tiled surfaces, or metallic meshes. Through trial and error, I discovered effective methods that save time while ensuring optimal results. In this guide, I’ll share practical steps to help you repeat textures seamlessly in Blender, allowing you to improve your workflow and achieve polished outcomes.

1. Prepare Your Texture and Model
The first step in repeating textures in Blender is ensuring your texture files and 3D models are ready to use.
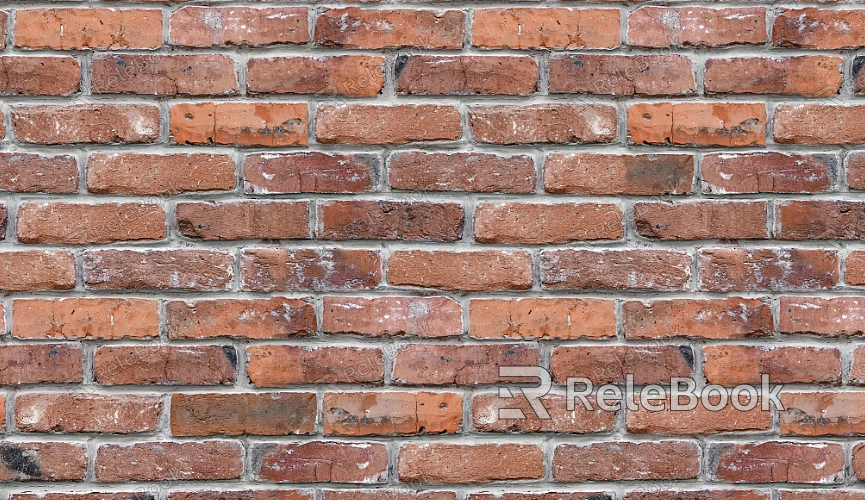
Choose seamless textures: Make sure your texture is seamless, meaning it has no visible edges when tiled. If your texture isn’t seamless, tools like Photoshop or GIMP can help fix the seams.
Optimize your UV layout: Check the model’s UV map to ensure uniform distribution, which prevents distortions or stretching when the texture is applied.
2. Create a Material and Import the Texture
Applying textures begins with creating a material in Blender and connecting the texture.
Add a material: Go to the Material Properties panel, create a new material, and open the Shader Editor.
Load the texture: Add an Image Texture node in the Shader Editor, click Open, and select your texture file. Connect the Color output of the Image Texture node to the Base Color input of the Principled BSDF shader.
3. Control Texture Repetition
Adjusting texture coordinates is key to achieving the desired repetition effect.
Use the Texture Coordinate node: Add a Texture Coordinate node in the Shader Editor, and link its UV output to the Vector input of a Mapping node.
Adjust the scale: In the Mapping node, modify the Scale values for the X and Y axes. For example, changing both to 3 will repeat the texture three times along each axis.

4. Refine UV Mapping for Better Results
The UV layout of your model plays a crucial role in how well the texture repeats across the surface.
Edit UVs in the UV Editor: Switch to UV Editing mode and examine your UV layout. Adjust any areas that appear uneven to ensure the texture displays correctly.
Recreate UV maps if needed: If the current UV mapping is inadequate, select specific faces and re-unwrap them using methods like Smart UV Project or Cube Projection.
5. Leverage Tiling Tools for Complex Repetitions
Blender offers tools and plugins to simplify more complex tiling needs.
Enable the Node Wrangler add-on: This built-in plugin streamlines material node setups and simplifies repetitive tasks.
Use procedural textures: For highly repetitive patterns, such as bricks or tiles, procedural textures eliminate the need for large image files while maintaining visual quality.
6. Test the Repeated Texture
After setting up the texture repetition, evaluate how it appears on your model.
Check lighting and camera angles: Inspect the texture from multiple perspectives to identify any visible repetition seams or unnatural patterns.
Fine-tune the scale: Depending on your scene, adjust the repetition frequency to match the scale and proportions of your model.
7. Optimize Performance
Repeating textures efficiently is especially important for real-time applications like games or VR.
Compress texture files: Use tools such as Substance Painter to reduce file size without sacrificing quality.
Streamline UV and node setups: Simplify your UV mapping and reduce complex node connections to improve render performance in larger scenes.
By following these steps, you can successfully repeat textures in Blender while ensuring your models look realistic and visually cohesive.
Repeating textures is a skill that not only enhances the visual impact of your work but also saves time during production. If you're looking for high-quality textures, SketchUp models, or 3ds Max assets for your projects, explore the extensive resources available on Relebook. It's a great platform to elevate your creations and achieve outstanding results in your 3D work!

