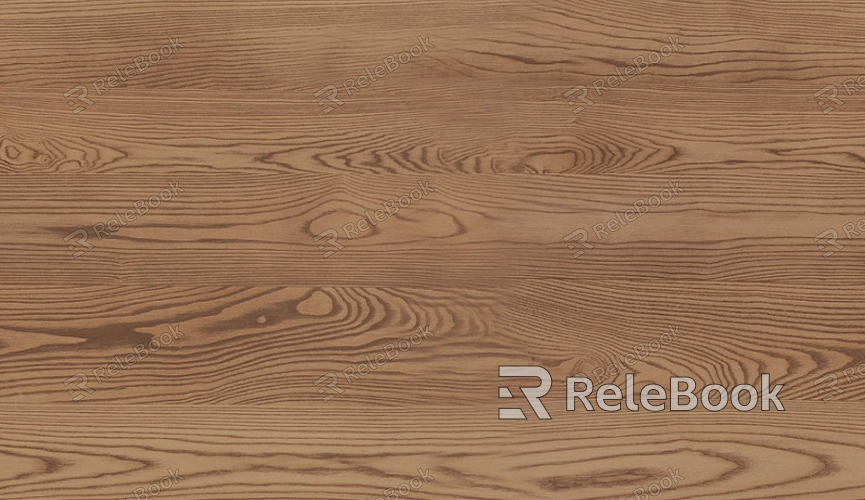
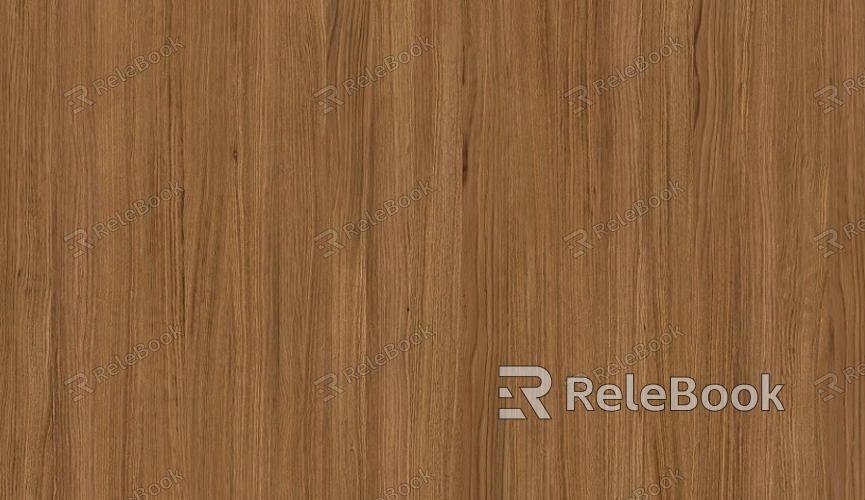
How to Create a Wood Texture in GIMP?
Creating a wood texture in GIMP is a valuable skill for various projects, from website designs to 3D visualizations. A well-made wood texture can enhance the realism of your design, bringing warmth and depth to your work. Whether you're looking to replicate the rich look of oak, pine, or another type of wood, GIMP offers all the tools needed to create high-quality textures. In this guide, we will take you step by step through crafting a realistic wood texture that you can use in your projects.

Choosing Your Canvas Settings
To start, open GIMP and create a new document. The canvas size will depend on your intended use for the wood texture. For most digital projects, a resolution of 1920x1080 pixels will be good enough, but you can adjust this based on your specific needs. Once your canvas is created, could you set the background layer to a neutral color that will serve as the base of your wood texture? A light beige or soft tan can mimic the natural color of wood, but this can be adjusted depending on the type of wood you want to create.
Creating the Wood Grain Pattern
Wood texture is defined by its grain, so replicating this is the next essential step. To do this, we will use the “Noise” filter in GIMP to create a random grain pattern. Begin by filling the canvas with a solid color or gradient that resembles the base tone of wood. Then, apply a “Noise” filter by selecting Filters > Noise > RGB Noise. Adjust the sliders to create a subtle, random pattern of color variations that resemble the streaks and lines found in wood grain. For a more natural look, reduce the intensity of the noise slightly.
Creating the Wood Lines and Texture Depth
Now, we need to add depth to the grain by incorporating lines that mimic the structure of real wood. You can do this using a combination of the “Motion Blur” and “Wave” filters. First, apply the "Motion Blur" effect to give the appearance of long, flowing grain lines. Then, add some variation with the “Wave” effect to introduce irregularities and imperfections, which are characteristic of natural wood. Play with the settings of both filters until you achieve the desired effect, ensuring the lines aren't too uniform, as real wood often has subtle variations in its grain.

Refining the Color and Tone
Wood textures are never a single flat color—they vary from light to dark, with rich tones and occasional darker streaks. To simulate this, we need to adjust the colors of your texture. One way to do this is by creating a new layer above the texture and filling it with a gradient that transitions from light to dark or from a golden tone to a deeper brown. Set this layer to a blending mode like “Overlay” or “Soft light” to allow the underlying texture to show through while adjusting the color balance. You can also use the “Hue-Saturation-Lightness” tool to fine-tune the color for a more realistic appearance.
Adding Knots and Imperfections
Knots and imperfections are key to making your wood texture look authentic. In real wood, these are irregularities in the grain that add character. To add knots, create a new layer and use a soft brush tool to paint irregular, circular shapes that resemble wood knots. Set this layer to a lower opacity to make the knots blend naturally into the texture. You can also use the “Smudge” tool to create subtle transitions between the knots and the surrounding grain. For additional realism, introduce small cracks or texture variations by painting light and dark areas on different layers.
Final Touches and Texturing
At this stage, you should have a solid base wood texture. However, to make it even more realistic, consider adding additional texture effects. The “Bump Map” filter in GIMP can simulate a three-dimensional feel by adding highlights and shadows to the texture. To use this, duplicate your texture layer, desaturate it, and adjust the contrast to create a high-contrast black-and-white image. Then, apply the Bump Map effect (Filters > Map > Bump Map) and adjust the depth and light direction until it gives the desired effect. This step helps bring the wood to life, giving it the illusion of actual texture and depth.
Tiling the Wood Texture
Once you’re satisfied with your wood texture, you may want to tile it so that it can be used seamlessly across large surfaces. To tile your texture in GIMP, select your entire texture and copy it to a new canvas. Use the "Offset" tool (Layer > Transform > Offset) to shift your texture horizontally or vertically by half of its size, then fill in any gaps or seams. The goal is to ensure the edges blend seamlessly with the rest of the texture, creating a continuous pattern. Once you’ve done this, your wood texture can be used for both small- and large-scale applications.
Saving and Exporting Your Wood Texture
Finally, save your work in GIMP’s native format (.XCF) so that you can always make adjustments later. Once you're ready to use the texture, export it as a .PNG or .JPEG file, depending on your project requirements. PNG is often preferred for textures because it supports transparency, which might be necessary if you're using the texture in a layered design or 3D environment.
By following the steps outlined in this guide, you can easily replicate the complex and beautiful patterns found in real wood. Whether you're designing a simple website background or a highly detailed interior visualization, these techniques can give your work the realism it needs. After mastering these steps, don't forget to visit the Relebook website to explore a range of high-quality 3D models and textures that can further elevate your designs.
FAQ
Can I create a realistic wood texture without using the Noise filter?
Yes, you can experiment with different techniques like hand-painting the grain or using pre-existing textures as a base. However, the noise filter helps in creating the random color patterns that are characteristic of natural wood grain.
How do I create a specific type of wood texture, like oak or pine?
For oak, use a deeper brown with subtle grain lines and occasional knots. For pine, use lighter, yellowish tones with finer, less pronounced grain patterns. Adjust the overall color and texture to match the specific wood type.
Can I use this texture in 3D modeling software?
Yes, after exporting the texture as a .PNG file, it can be imported into 3D modeling programs like Blender, Maya, or 3ds Max. Make sure to adjust the UV mapping in the 3D software to ensure the texture fits your model properly.
How can I make the wood texture look more aged?
To make the wood texture look aged, reduce the saturation and introduce more imperfections, such as cracks, discoloration, and faded patches. You can also apply a “Grain Merge” filter to add roughness to the surface.

