How to Make a Metal Texture in Blender 3D?
While metals in the real world are often characterized by their smooth surfaces, reflective qualities, and specific color hues, simulating these attributes in Blender requires an understanding of materials, shaders, and texture maps. In this article, we will explore how to create a metal texture in Blender, taking into account both the physical properties of metal and the tools available within the software. From setting up the right materials to adding fine details like scratches and imperfections, we will cover all the essential steps involved in crafting a believable metal texture.

Understanding Metal Properties
Before diving into Blender, it’s important to understand the characteristics of metal that make it distinct from other materials. Metal is typically shiny and highly reflective, which makes it stand out in most scenes. Unlike rough materials like wood or stone, metals reflect light in a way that’s often sharp and clean, depending on the surface. Additionally, metals tend to have a specific color range, often silvery, golden, or bronze, depending on the type of metal.
Metals are also affected by their environment, with subtle imperfections, fingerprints, and scratches contributing to their look. To replicate these features in Blender, you need to understand how to simulate reflectivity, roughness, and color. Fortunately, Blender provides powerful tools that can help mimic the natural qualities of metal, especially using the Principled BSDF shader, which combines multiple aspects of material creation into one node.

Setting Up the Material in Blender
The first step in creating a metal texture is setting up the basic material. In Blender, this is typically done in the Shader Editor using the Principled BSDF shader, which is capable of simulating metals, plastics, and other materials with ease.
Step 1: Create a New Material
To get started, select your object and navigate to the Material Properties tab. Click New to create a new material for the selected object. Once a new material is created, head over to the Shader Editor, where you will see the default Principled BSDF node connected to the Material Output node.
Step 2: Adjust the Metallic Property
To turn your material into metal, you need to adjust the Metallic slider in the Principled BSDF node. Set this value to 1.0, which will convert the material into a fully metallic surface. The Metallic property defines how much of the material reflects light like a metal, and a value of 1 means it will behave exactly like a metal.
Step 3: Set the Base Color
After adjusting the metallic setting, you should set the Base Color of the material. This defines the color of the metal. For example, you can set the base color to a silver tone for aluminum, a golden hue for brass, or a reddish tone for copper. The Base Color in combination with the metallic setting gives your material its distinctive appearance.
Step 4: Control the Roughness
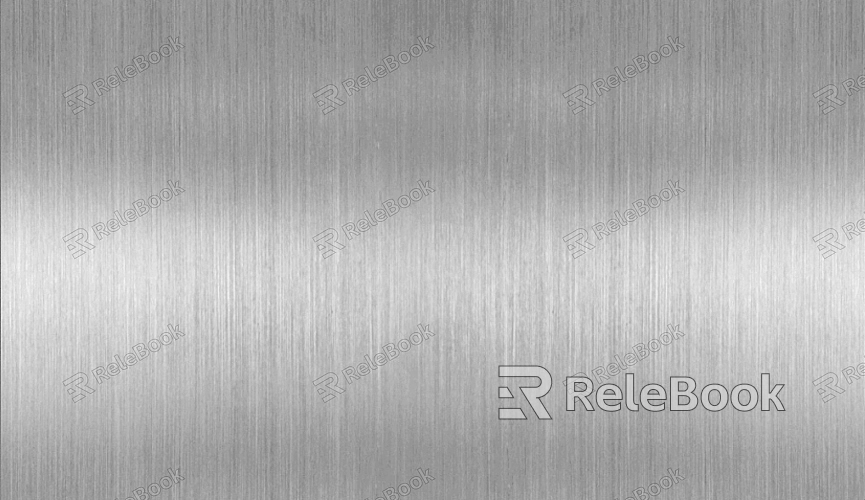
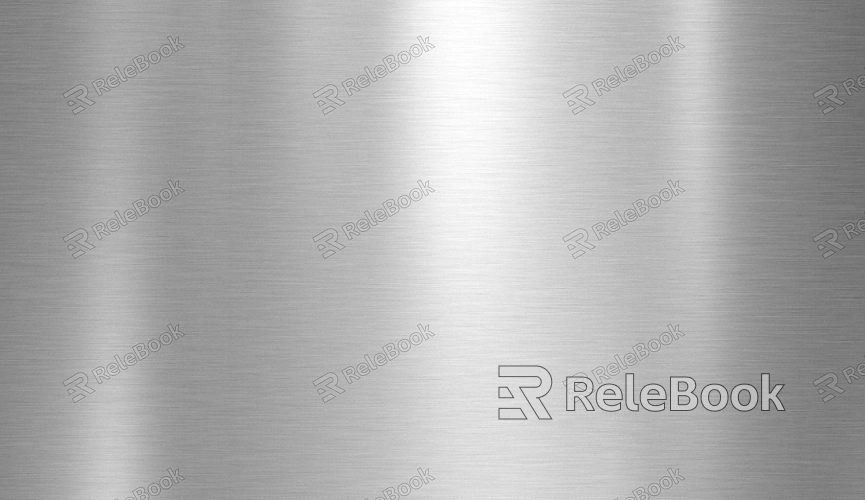
The next important aspect to control is the Roughness. Roughness determines how smooth or rough the surface is. A smooth, highly polished metal will have a low roughness value (around 0.1 to 0.2), while a matte or brushed metal will have a higher roughness value (around 0.5 to 0.7). Adjusting this value allows you to control how reflective the surface is. A low roughness value will give you a mirror-like reflection, while a higher roughness value will cause the reflections to scatter, making the metal appear duller.
Adding Texture and Details to the Metal
Once you have the basic metallic material set up, you can add textures to further enhance the realism of the metal surface. In the real world, metals often have imperfections such as scratches, fingerprints, rust, and dirt, which contribute to their authentic look. Blender provides several ways to incorporate these details into your metal texture.
Step 1: Adding a Roughness Map
To introduce more realistic variations in the roughness of your metal, you can use a roughness map. This is typically a grayscale texture where white areas represent rough, matte surfaces, and black areas represent smooth, shiny surfaces. By adding a roughness map to the Roughness input of the Principled BSDF node, you can introduce subtle variations in how light interacts with different parts of the surface, making the metal look more natural.
You can either create a roughness map in a texture painting program or use procedural textures available in Blender, such as Noise or Voronoi, to generate random imperfections. These textures can be modified with nodes like ColorRamp to fine-tune the contrast and intensity of the roughness effect.
Step 2: Adding Bump or Normal Maps
For additional surface detail, bump or normal maps can be added to simulate small bumps, dents, or scratches on the surface of the metal. A normal map is often used for more detailed surface textures, while a bump map creates the illusion of depth without actually altering the mesh. You can find or create bump and normal maps that represent common surface features of metals, such as scratches, fingerprints, or wear and tear.
To apply these maps, add a Normal Map node in the Shader Editor and connect it to the Normal input of the Principled BSDF shader. You can use an image texture or generate a procedural texture and map it to the object's surface. Make sure to adjust the strength of the normal map to avoid exaggerated surface details that could break the realism of the texture.
Step 3: Adding a Color Map or Dirt
If you want to make your metal surface look more weathered or aged, you can add a dirt map or grunge texture. This can be done by blending dirt or rust textures into your material’s base color or by using a mixed shader to combine two materials. This will give your metal a more organic, worn look, which is especially useful for creating aged or industrial assets.
To create the rust or dirt effect, use a texture with a brown or orange hue, and blend it with the base color of your metal material. The Mix RGB node can be used to mix the two textures based on the value of a mask or procedural noise. You can control the amount of dirt or rust by adjusting the influence of the mix.
Step 4: Using Reflection and Environment Maps
To make your metal material look even more realistic, you should use reflection and environment maps. These maps simulate the surrounding environment's light reflection on the surface of the metal. The most common method for adding reflections in Blender is through the use of HDR (High Dynamic Range) images, which are used in the World Properties tab to illuminate the scene and provide realistic reflections on the surface of the metal.
You can also use the Reflection node in combination with environment maps to create accurate reflections that correspond to the model's surroundings. This will improve the realism of the metal by making it interact with its environment.
Rendering the Metal Material
Once you’ve fine-tuned your metal texture with maps and shaders, it’s time to render it. Blender’s Cycles render engine is often the best choice for achieving realistic metal materials due to its ability to simulate complex lighting interactions. However, if you’re working in Eevee, make sure to enable the necessary settings such as Screen Space Reflections and Ambient Occlusion to get better reflection quality.
It’s important to note that metal materials are very sensitive to lighting. To achieve realistic results, use proper HDRIs (High Dynamic Range Images) or ensure your scene is lit with strong, well-positioned light sources. A good HDRI will help simulate the natural reflections and light bounce that metals typically exhibit in real life.
Creating a realistic metal texture in Blender requires a balance of understanding both the material properties of metals and the various tools available within Blender to simulate these properties. From adjusting the metallic and roughness settings in the Principled BSDF shader to adding imperfections such as scratches, dirt, and rust, the process allows for endless customization and creativity. By using appropriate texture maps, normal maps, and environment reflections, you can craft highly detailed and believable metal textures that enhance the realism of your 3D models.
With the knowledge gained from this article, you are now equipped to create your stunning metal textures in Blender, making your 3D projects stand out. Whether you’re working on machinery, architectural elements, or fine details, a well-crafted metal material can elevate the quality of your renderings. To take your projects further, you can download ready-made 3D models and textures from the Relebook website and enhance your creative workflow.
FAQ
Can I use a simple texture to create a metal look in Blender?
Yes, a simple metallic texture combined with the right shading can give the appearance of metal. However, adding roughness, normal maps, and environmental reflections can make the material look much more realistic.
How can I add wear and tear to my metal texture?
You can add wear and tear using roughness maps, dirt and rust textures, and normal maps to simulate scratches and imperfections. Mixing these textures with the base color can create an aged, worn look.
What is the best lighting setup for rendering metals in Blender?
The best lighting for rendering metals is a high-quality HDRI, as it provides accurate reflections and realistic lighting. Additionally, placing key light sources strategically around the model can highlight the metal’s reflective surface.
How can I make my metal look more polished?
To make your metal appear polished, decrease the roughness value in the Principled BSDF shader. A lower roughness value will result in sharp, clear reflections that give the appearance of a smooth, shiny surface.
How can I make my metal material rust?
You can simulate rust on metal by using a rust texture and blending it with the base color or adding it to the roughness map to create the appearance of oxidized areas.

