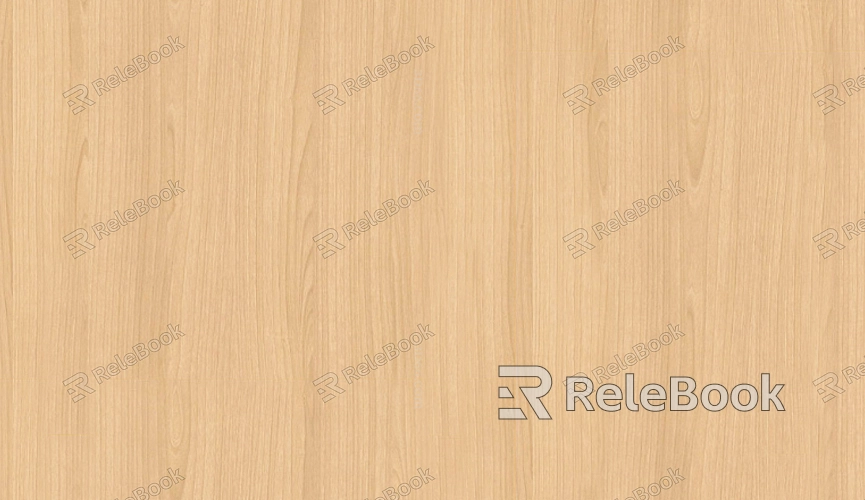
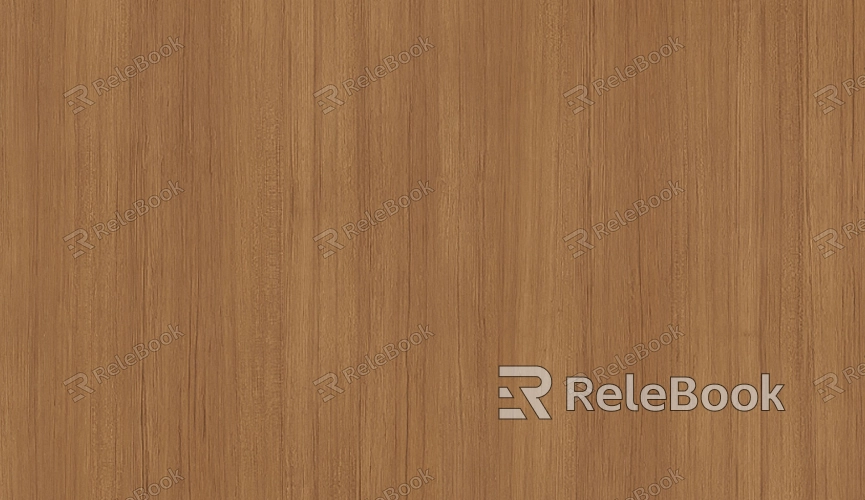
How to Draw Wood Texture in AutoCAD?
Drawing wood textures in AutoCAD can significantly enhance the realism and aesthetics of your designs. This article will guide you through creating wood textures in AutoCAD, covering various techniques, tools, and tips to ensure that the results are visually accurate and appealing. By the end of this guide, you will have the knowledge needed to implement realistic wood textures that fit seamlessly into your projects.

Preparing Your AutoCAD Workspace
Before you start drawing any textures, it's essential to prepare your AutoCAD workspace. Ensuring that your settings are optimized for texture creation will help you work more efficiently and produce better results. Begin by opening a new drawing file and adjusting the scale to fit the size of your project. It’s also helpful to customize your workspace with the appropriate tools, especially those related to layers, hatch patterns, and materials.
When drawing textures, using the correct layer management techniques will prevent clutter and make your design process smoother. Create separate layers for different elements of the texture, such as the base material, patterns, and additional details. This way, you can easily control visibility and modify parts of the texture independently.
Using Hatch Patterns for Basic Wood Texture
One of the simplest ways to create a wood texture in AutoCAD is by using hatch patterns. AutoCAD offers various predefined hatch patterns that mimic natural materials, including wood. To begin, select the hatch tool from the draw menu. In the hatch pattern properties, search for available patterns that resemble wood, such as "ANSI31" or "Wood." You can adjust the scale and angle of the hatch pattern to match the direction and appearance of the grain.
If the predefined patterns don't match your vision, AutoCAD allows you to modify existing patterns or even create custom ones. You can create a custom wood grain pattern by using lines and curves to simulate the natural look of wood grain. Be sure to test and refine the pattern to achieve a realistic appearance before applying it to your design.

Creating a More Detail Wood Texture with Custom Brushes
While hatch patterns can be effective for creating basic textures, they may lack the level of detail needed for more realistic designs. In such cases, custom brushes can be invaluable. Custom brushes in AutoCAD allow you to paint intricate wood grain details, giving your texture a more organic and realistic feel.
To create a custom wood grain brush, start by drawing the grain lines in the appropriate direction. These lines can be irregular and should vary in width and curvature to mimic natural wood. Once you’ve created a satisfactory line pattern, use the brush tool to paint over the surface. Adjust the opacity, size, and hardness of the brush to achieve the desired level of detail.
Adding Depth with 3D Modeling
For projects that require a more three-dimensional effect, using AutoCAD’s 3D modeling tools is the best approach. 3D modeling allows you to add depth to your wood textures, making them appear more lifelike and tangible. Start by creating the basic 3D object you wish to apply the wood texture to, such as a floor panel, wall, or furniture item.
Next, use the "Extrude" and "Revolve" commands to create a 3D shape, and then apply the wood texture to its surface. You can achieve a more realistic effect by adding lighting and shadows, which will highlight the details of the wood grain and enhance the overall look of your design. The use of bump maps or displacement maps will also give the texture a more tactile appearance, creating the illusion of raised or indented wood grain.
Fine-Tuning the Wood Texture for Realism
Once you’ve applied your wood texture, it’s important to refine it to ensure that it looks realistic. This involves adjusting the scale, direction, and repetition of the texture to match the natural characteristics of wood. In nature, no two pieces of wood are the same, so slight variations in the grain pattern can make a big difference in the final result.
You can fine-tune the texture by experimenting with different hatch scales or by using the "Match Properties" tool to apply texture settings from one part of your design to another. Pay attention to the subtle variations in color, grain direction, and lighting to ensure that your wood texture has the desired level of detail.
Applying Color and Finish
The appearance of wood can change dramatically depending on its finish. Whether the wood is raw, polished, or treated, adding color and finish details can further enhance the realism of the texture. Use AutoCAD’s material editor to assign colors and surface finishes to the wood texture.
To simulate a natural wood finish, apply shades of brown, tan, or reddish hues to the grain. You can also adjust the transparency and reflectivity settings to simulate the glossiness of varnished or polished wood surfaces. These adjustments will make your texture look more believable and better integrated into the overall design.
Troubleshooting Common Issues
Creating wood textures in AutoCAD isn’t always straightforward, and you may encounter some common issues during the process. One problem is texture repetition, where the pattern looks too uniform and artificial. To solve this, vary the scale or adjust the direction of the grain slightly to break up the repetition. Another issue might be misalignment or stretching of the hatch patterns. This can be fixed by adjusting the boundary or scaling settings to ensure that the texture fits seamlessly onto your model.
If your texture doesn’t look right in 3D, it could be due to improper mapping or lighting. Check the mapping settings and experiment with different lighting configurations to highlight the texture’s details. Be patient with the process, as achieving a realistic wood texture can take time and practice.
Incorporating Wood Textures in Your Projects
Once you’ve mastered drawing wood textures in AutoCAD, you can easily incorporate them into your architectural designs, interior layouts, or 3D models. Wood textures are particularly effective in adding warmth and a sense of natural beauty to your spaces. Whether you’re designing a cozy living room, a modern office, or a rustic cabin, the right wood texture can elevate the overall ambiance of the space.
You can apply your wood texture to floors, walls, furniture, and other surfaces to create a cohesive and visually pleasing design. Additionally, using high-quality textures can improve the realism of your 3D renders, making your presentations stand out.
Creating wood textures in AutoCAD is a valuable skill that can significantly enhance the realism of your designs. By following the techniques outlined in this article—such as using hatch patterns, custom brushes, 3D modeling, and color finishes—you can produce wood textures that look lifelike and seamlessly integrate into your projects. Don’t forget to refine your textures and troubleshoot common issues to ensure the best results. With practice, you’ll become proficient in creating detailed and convincing wood textures. If you’re looking for more resources, feel free to explore the extensive collection of 3D models and textures available for download at the Relebook website.
FAQ
Can I create a custom wood texture in AutoCAD?
Yes, AutoCAD allows you to create custom wood textures by modifying existing hatch patterns or drawing your wood grain lines. You can adjust scale, direction, and color to suit your design needs.
How can I make my wood texture look more realistic?
To make your wood texture more realistic, vary the grain direction and scale, apply appropriate colors and finishes, and use 3D modeling techniques to add depth and shadow.
What if my wood texture looks repetitive?
If the texture looks repetitive, adjust the scale of the hatch pattern or modify the grain direction to introduce variation. This will help break up the uniformity and create a more natural appearance.
How do I apply a wood texture to a 3D model?
To apply a wood texture to a 3D model, create the 3D shape, then use the material editor in AutoCAD to assign the texture. You can fine-tune the appearance with lighting and shadow effects.
Where can I find high-quality wood textures for AutoCAD?
You can find a wide selection of high-quality wood textures and 3D models on the Relebook website, offering resources to enhance your designs.

