How to Apply Metal Texture in Blender?
Blender has become one of the most popular 3D modeling and rendering software tools, offering a powerful platform for creating realistic materials. One of the most essential materials in 3D modeling is metal. Applying metal textures correctly can add realism and depth to a model. This article will walk you through the essential steps of applying metal textures in Blender.

The Basics of Metal in Blender
When it comes to creating metal textures in Blender, understanding how Blender handles different materials is essential. In 3D rendering, metal materials behave differently from non-metallic surfaces. The most significant difference is how they reflect light. Metal surfaces do not diffuse light; instead, they reflect the surrounding environment almost entirely, which creates their characteristic shiny, glossy look. Nonmetals, on the other hand, tend to scatter light, which gives them a duller appearance.
Blender uses a shader system known as Principled BSDF, which simplifies the process of creating complex materials by combining multiple shaders into a single node. The metallic property within this shader is what transforms the material into metal. By adjusting this setting, you can simulate a wide range of metallic surfaces, from polished chrome to rusty steel. The key to applying metal textures effectively lies in using the right settings for the Principled BSDF shader and combining it with texture maps for added realism.

Setting Up Your Model for Metal Textures
Before diving into the process of applying metal textures, it's important to ensure your model is ready. A clean model with proper UV unwrapping and applied transformations is critical for achieving the best results.
1. Check Model Geometry
Metal materials often require clean, precise geometry. Before texturing, make sure there are no overlapping faces, non-manifold edges, or other geometry issues. Blender’s Edit Mode allows you to inspect and fix these issues easily.
2. UV Unwrapping
To apply a metal texture, you need to have a well-unwrapped UV map for your model. This means the surface of the model is “unfolded” into a flat 2D plane. In Blender, you can use the UV Editing workspace to mark seams and unwrap your model. Once unwrapped, the model will be ready for texture application.
3. Apply Transforms
Blender’s transformation system allows for scaling, rotating, and translating objects. Before applying any textures, make sure to apply all transformations by pressing Ctrl+A and selecting Apply All Transforms. This prevents any unexpected scaling or stretching in your texture mapping.
With these preparations in place, you are ready to begin the process of applying metal textures.
Creating the Metal Material in Blender
Blender's Principled BSDF Shader is the easiest and most effective way to create realistic metal materials. This shader combines multiple functionalities, allowing you to create complex materials with just one node. Here’s how you can apply it to create a metal surface:
1. Add a Material
First, create a new material by navigating to the Material Properties tab in the Properties Panel. Click on New to create a new material, and you’ll be automatically taken to the Shading workspace.
2. Set Metallic Property
In the Principled BSDF shader, locate the Metallic slider and set it to 1.0 to fully turn the material into metal. This setting will automatically adjust how light reflects off the surface.
3. Adjust the Roughness
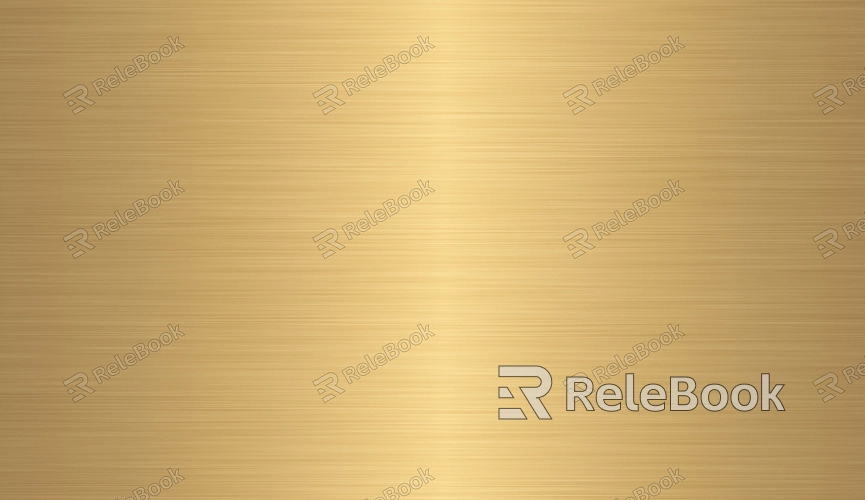
Metal surfaces can vary from highly polished to rough. To control this, adjust the Roughness slider. A lower roughness value (closer to 0) will create a highly reflective surface, similar to chrome or polished aluminum. A higher roughness value (closer to 1) will make the metal appear more matte, like brushed steel.
4. Set Base Color
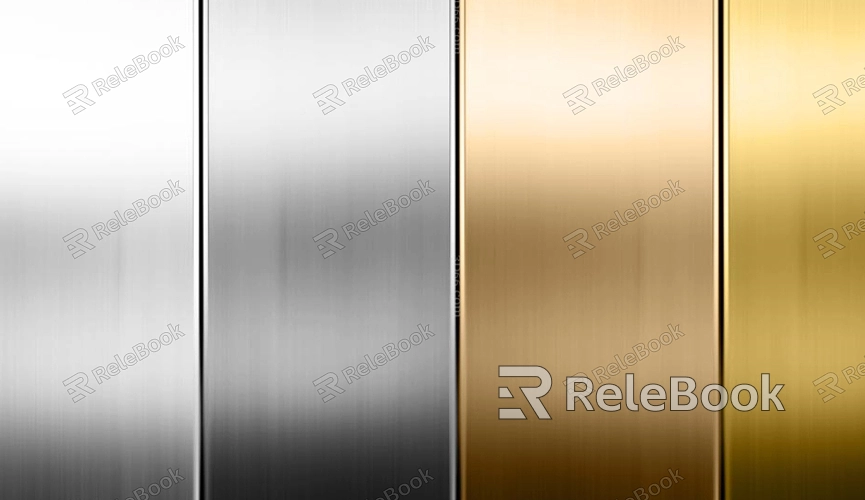
Although metals don’t have a diffuse color, their base color is still important. The Base Color input allows you to set the color of the metal. For example, you can set the base color to silver for chrome or gold for a brass look. However, remember that the color will be largely influenced by the environment's reflections.
5. Add Environment Reflection
Since metal reflects its surroundings, you can enhance the realism by adding an environment texture (HDRI). This will simulate reflections from the environment, such as the sky or nearby objects. An HDRI image is a high-dynamic-range image that provides realistic lighting and reflections for the scene.
Applying Metal Texture Maps
While the Principled BSDF Shader can create basic metallic materials, texture maps can add further complexity and realism to your model. There are several types of texture maps that you can use to refine your metal material:
1. Normal Maps
These maps simulate the tiny bumps and imperfections on a metal surface without changing the geometry. Normal maps are essential for creating realistic-looking metal surfaces with scratches, dents, and other details. To apply a normal map, simply connect the normal map image texture node to the normal input of the Principled BSDF Shader.
2. Roughness Maps
These maps define how smooth or rough the metal’s surface is. A roughness map adds more detail to how light interacts with the metal. Dark areas of the roughness map correspond to rougher, more matte parts, while lighter areas correspond to shiny, reflective regions.
3. Ambient Occlusion Maps
Ambient occlusion (AO) maps simulate the subtle shadows that occur in crevices and corners of a surface. For metal, this can help create a sense of depth and realism, especially in areas where light is blocked or occluded.
Fine-Tuning Your Metal Material
Once you've applied your metal textures, it’s important to fine-tune the material to match the look you're aiming for. Some metals have unique characteristics that you need to consider:
1. Polished Metals
Use a low roughness value and a high-quality environment texture for highly polished metals like chrome or silver. This will give the metal a reflective, mirror-like finish.
2. Rust and Corrosion
To create rusted or corroded metals, you'll need to blend different texture maps. A combination of roughness maps, displacement maps, and image textures can help you simulate the uneven, weathered surface of metal exposed to the elements.
3. Add Displacement for Detail
Consider using a displacement map to add small geometric details to your model’s surface for even more realism. This is especially useful for simulating larger imperfections or the effects of wear and tear on the metal surface.
By combining these techniques, you can create a variety of metal materials, from sleek, modern stainless steel to gritty, weathered iron.
Rendering the Metal Material
Once your metal texture is applied, it’s time to render your scene. Blender’s Cycles render engine provides the best results for rendering metal materials, as it supports ray tracing and handles reflections accurately.
1. Set the Render Engine
In the Render Properties tab, make sure you are using the Cycles engine for the best lighting and reflection accuracy.
2. Adjust Lighting
Metal materials are highly reflective, so the lighting in your scene will have a significant impact on how the metal looks. Use area lights, point lights, or HDRI images to create realistic reflections and shadows.
Use High Sampling: Metal surfaces often require higher sampling to reduce noise in reflections and achieve smooth results. Increase the sample rate in the Sampling section of the Render Properties tab for better-quality renders.
Applying metal textures in Blender requires an understanding of both the software’s shading system and the unique properties of metals. By following the steps outlined in this article—from preparing your model to fine-tuning the material settings—you can achieve realistic and stunning metallic surfaces in your 3D models. Remember that adding texture maps like normal maps, roughness maps, and ambient occlusion maps will greatly enhance the realism of your materials. With these techniques in mind, you're now equipped to create everything from polished chrome to weathered steel. For more textures and 3D models, visit Relebook and explore a wide range of options to complement your designs.
FAQ
What if my metal texture looks too dull in the render?
Ensure that your roughness value is set correctly and that you have an HDRI image for environmental reflections. Low roughness (close to 0) will produce a shiny surface, while high roughness (close to 1) will create a more matte finish.
How can I create a rusty metal texture in Blender?
To create rusted metal, use a combination of roughness, normal, and color maps. Additionally, blend textures for rust and corrosion to add the appearance of weathered metal. You can find rust textures online or create your own in a texture painting program.
Why are my reflections not showing up properly?
Make sure that you're using the Cycles render engine and that your model has an HDRI image for lighting. Reflections will not show up properly in Eevee unless you adjust reflection settings and enable ray tracing.

