How to Create a Metallic Texture in Photoshop?
Creating metallic textures in Photoshop can add a dynamic and polished look to your designs. Whether you're aiming to create shiny surfaces for product mockups, add depth to backgrounds, or simulate intricate metal finishes, mastering the art of metallic textures is a valuable skill. This guide will walk you through the process of crafting realistic metallic textures from scratch, using various Photoshop tools and techniques.

Understanding the Basics of Metallic Surfaces
Metallic textures are defined by their shiny, reflective surfaces, often displaying smooth gradients, highlights, and subtle imperfections. The reflective quality of metals comes from how they interact with light, which can be influenced by factors such as surface smoothness, oxidation, and the lighting environment. In design, creating a metallic effect is about simulating this interaction with light.
Different metals, such as gold, silver, and steel, have distinct appearances due to their color, reflectivity, and texture. Understanding these differences is key when working with metallic textures in Photoshop. Whether you're creating a polished chrome look or a weathered, rusty metal surface, you need to adjust your techniques to reflect the specific qualities of the metal you're mimicking.
Setting Up Your Photoshop Document
Before you dive into creating a metallic texture, you'll need to set up your Photoshop workspace. Start by opening Photoshop and creating a new document. The size and resolution of your canvas will depend on the project you’re working on, but a good starting point for texture work is 1500 x 1500 pixels with a resolution of 300 DPI.
Once your canvas is ready, choose the color mode. For metallic textures, RGB color mode works best as it offers the flexibility to manipulate colors and brightness effectively. You can also choose a transparent background to give your texture flexibility for future use.

Creating the Base Texture
The first step in creating a metallic texture is to build the base layer. This layer forms the foundation of your texture and will be manipulated to create a reflective surface.
Start by filling the background layer with a solid color, such as gray or black, using the Paint Bucket tool. This solid color acts as the base metal. To create a more metallic look, you’ll need to introduce gradients that simulate light and shadow on the metal surface. Select the Gradient Tool and choose a metallic gradient, or create your own by adjusting the gradient editor.
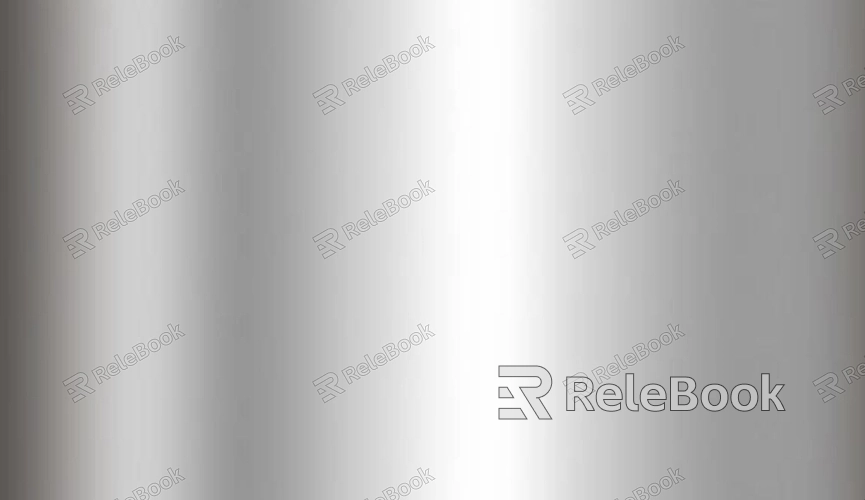
A good starting point for a basic metallic gradient would be a linear gradient that goes from light to dark, representing the way light interacts with a metal surface. Experiment with gradient angles to find the most realistic lighting effect. A gradient that transitions from dark to light horizontally or vertically can help establish depth and shine on the texture.
Adding Depth with Noise and Blurring
To simulate the subtle imperfections found in real metal, you’ll need to add some noise to the texture. This helps break up the smoothness of the gradient and gives the surface a more organic feel. Go to the “Filter” menu and choose “Noise” to add a layer of noise to your texture. Adjust the amount of noise to a subtle level, as too much will make the texture look rough rather than metallic.
Next, blur the noise to create a smoother transition between light and dark areas. Apply a Gaussian Blur to the layer, adjusting the radius until you achieve a soft, metallic effect. This step helps to simulate the smooth but imperfect surfaces of metal, which are often polished but never perfectly uniform.
Adding Reflections and Highlights
Reflective qualities are a key feature of metallic textures. In Photoshop, you can create reflections by using highlights that mimic the way light bounces off metal. Start by creating a new layer above your base texture layer.
Select the Brush Tool and choose a soft, round brush with low opacity. Using a white or light color, gently paint highlights along areas where you want light to reflect off the metal. Consider the light source in your scene—highlights should appear in areas that face the light and fall off as the surface curves away.
To make the reflections more realistic, use the Smudge Tool to soften the highlights and blend them into the rest of the texture. This creates a smooth transition that simulates the reflective properties of metal. For added realism, experiment with different brush sizes and opacity levels to create varied highlights and reflections.
Texturing for Different Metal Types
Different metals have distinct textural properties, and each type requires specific adjustments in Photoshop. For example, a polished chrome surface will have smooth gradients and sharp reflections, while an aged bronze surface will have rougher textures and discolorations. Here's how you can simulate a variety of metal finishes:
1. Chrome
For chrome, use a shiny gradient that transitions smoothly from light to dark. Add sharp highlights and reflections with a soft brush, keeping the surface as clean and smooth as possible.
2. Gold
Gold requires rich, warm tones. Start with a yellow or orange gradient and layer darker brown or red tones. Use subtle noise and texture to simulate the metal's intricate patterns and reflections.
3. Steel
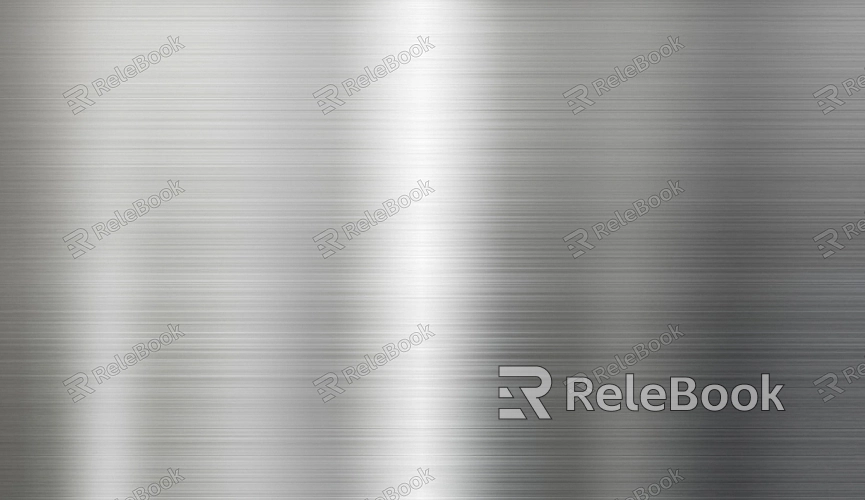
Steel textures often have a brushed appearance. To create this, use the Filter > Motion Blur to add streaks of light that mimic the grain of the steel. Adjust the intensity and direction of the blur to match the desired effect.
4. Rusty Metal
For rusted or weathered metals, start with a metallic base color, then add patches of darker, rust-colored textures. Use brushes with rough edges to simulate the pitted texture of oxidized metal.
Fine-Tuning the Texture with Layer Styles
Layer Styles in Photoshop allow you to add additional effects that enhance the metallic texture. To simulate the glossy, reflective properties of metal, you can use the “Bevel & Emboss” and “Outer Glow” effects.
1. Bevel & Emboss
This effect gives depth to the metallic surface by creating highlights and shadows along the edges of the texture. Experiment with the settings to find a subtle effect that doesn’t overpower the texture but adds dimension.
2. Outer Glow
For reflective or shiny metals, add an Outer Glow to emphasize the reflective quality. Set the color of the glow to white or a light shade, and adjust the size and spread to create a soft halo effect around the metallic surface.
Final Adjustments and Blending
Once your metallic texture has been created, it’s time to make final adjustments to ensure it integrates well with your design. Adjust the brightness and contrast using the “Levels” or “Curves” tools to fine-tune the depth of the texture.
If your texture is too harsh or sharp, consider using a subtle blur or softening the edges with the Smudge Tool to make it blend seamlessly with other elements in your design. Layer blending modes, such as “Overlay” or “Soft Light,” can also be used to merge your metallic texture with the underlying layers, giving it a more cohesive appearance.
Saving and Exporting Your Texture
Once you’re happy with your metallic texture, it’s time to save and export it. If you plan to use the texture in future projects, save it as a high-quality PNG or TIFF file to preserve transparency and quality. If the texture needs to be tiled or used as a background, save it as a JPEG for easier integration.
For 3D design work, you may want to save the texture in a format that can be used directly within 3D applications, such as a TIFF or PSD file. Make sure to check the resolution and size to ensure that the texture can be scaled without losing quality.
By following the steps outlined in this guide, you can craft realistic metallic textures for any project. With some practice and attention to detail, you'll be able to create a variety of metal types, from shiny chrome to aged bronze. To further enhance your design projects, explore Relebook for high-quality 3D models and textures that will take your work to the next level.
FAQ
How do I make my metallic texture look more realistic?
To make your metallic texture more realistic, focus on adding subtle imperfections like noise, reflections, and highlights. The key is in simulating the way light interacts with metal surfaces, which means adjusting the intensity and positioning of your light sources.
What Photoshop tools should I use for creating metallic textures?
Some of the most useful Photoshop tools for creating metallic textures include the Gradient Tool, Noise Filter, Smudge Tool, and Layer Styles like Bevel & Emboss. These tools allow you to manipulate the appearance of light, depth, and texture to create a convincing metallic effect.
How do I create different types of metallic textures, such as gold or chrome?
Each metal type requires different base colors and textural effects. For chrome, use shiny gradients with sharp highlights, while for gold, use warm tones and add subtle noise. Steel can be simulated using motion blur to create brushed patterns, and rusty metal requires texture brushes and earthy tones to create aged effects.
Can I create metallic textures for 3D models in Photoshop?
Yes, you can create metallic textures for 3D models in Photoshop. Use the same techniques for creating realistic highlights, reflections, and depth, and save the texture in formats compatible with 3D software, such as TIFF or PNG.
How do I adjust the lighting to make my metallic texture look more realistic?
Adjusting the light source is key to creating a convincing metallic texture. Use highlights and shadows to simulate how light reflects off a metal surface, and consider the angle of your light source. Layer styles like Bevel & Emboss can also help to add depth and dimension.

