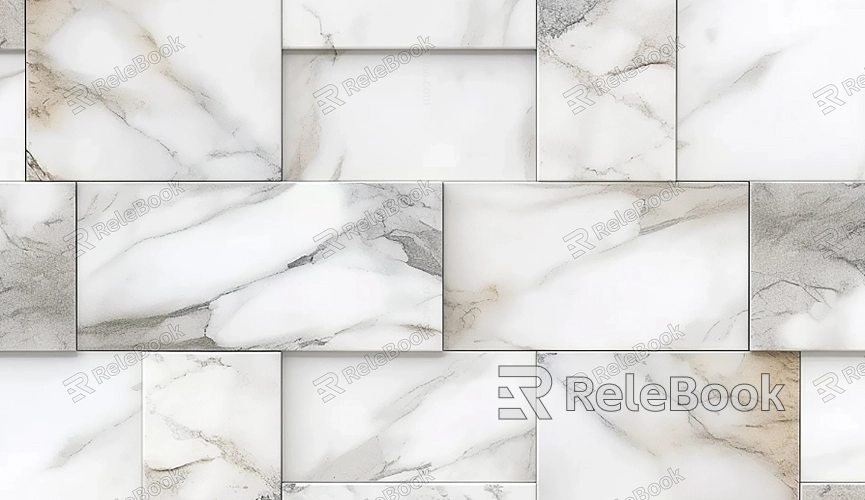
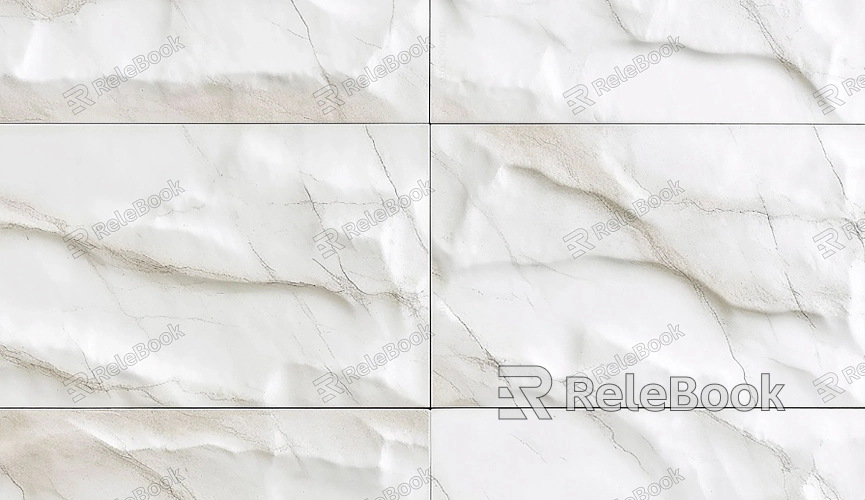
How to Make a Tile Texture Pattern in Photoshop?
Whether you’re designing for interiors, web backgrounds, or other creative projects, the ability to craft seamless tile textures can elevate your work. Tile textures are small, repeating designs that can cover large areas without visible seams or gaps, making them highly useful in various fields of design. In this article, we’ll guide you through the step-by-step process of creating a seamless tile texture pattern in Photoshop, from the initial setup to the final touches.

The output is:The output is:Setting Up Your Document
The first step in creating a tile texture pattern is to set up your Photoshop document. Open Photoshop and create a new file. To make sure your tile will be seamless when repeated, choose a square aspect ratio. Common dimensions for tile textures are 512x512 pixels or 1024x1024 pixels, but you can adjust the size based on your needs. Ensure the resolution is set to 72 or 300 pixels per inch (PPI) depending on whether the design is for screen or print use.
Creating the Base Texture
Once your document is ready, start designing the base texture. This could be anything from a simple pattern to a more complex, organic design. For a basic approach, begin with a neutral or solid color background. You can create a simple pattern by using tools like the Brush tool or the Shape tool to draw repeating elements. If you're looking to create something more intricate, consider using texture brushes or importing texture images such as fabric, stone, or wood.
The goal here is to create a visually interesting design while ensuring that the edges can seamlessly align when repeated. Keep in mind that you may want to use lighter shades or more subtle patterns for tiles that will cover larger areas.

Making It Seamless
The real challenge in creating tile textures lies in ensuring they can be tiled seamlessly. To do this, you need to align the edges of the image so that when the pattern repeats, no visible seams or lines appear.
One easy method is to use the Offset Filter. To do this, select your design layer and go to Filter > Other > Offset. In the Offset window, set the horizontal and vertical values to half of your image’s size (e.g., for a 512x512 pixel image, set both values to 256 pixels). This will shift the image and expose the seams along the edges.
At this point, you will see the center of your image, where the edges meet. To make the design seamless, use the Clone Stamp tool or the Healing Brush tool to fill in the exposed areas. You can also use the Brush tool to paint over these areas, ensuring smooth transitions between the edges of the design. Pay special attention to any repeating patterns, ensuring they flow naturally when the tile is repeated.
Adding Depth and Detail
Once the edges are blended, you can add depth and detail to the texture. Consider adding shading, highlights, or shadows to create a more three-dimensional effect. You can use the Dodge and Burn tools or add gradient layers to give the tile a more realistic appearance.
For natural textures, such as wood or stone, add variations in color and light. For more geometric patterns, you can play with gradients or even use the Gaussian Blur effect to soften any harsh lines. This stage allows you to refine your design and make it visually interesting while maintaining the seamless nature of the tile.
Testing the Tile
Once you’ve completed the design, it’s important to test how it tiles. Duplicate the layer and arrange the duplicate tiles in a grid pattern across the canvas. This will allow you to see if any seams are visible when the tiles repeat. If you notice any harsh lines or mismatches, go back to the Offset filter and refine the design until it’s perfect.
You can also zoom in and out of your document to make sure the pattern looks good both up close and from a distance. A successful tile texture should look equally appealing whether it’s seen from a small scale or as part of a larger surface.
Saving and Using Your Tile Texture
Once your tile texture is complete and seamless, it’s time to save your design. Save the document in Photoshop’s native PSD format to preserve the layers for future editing. You can also export the tile texture as a PNG or JPEG for easy use in web or print projects.
To use the tile texture in Photoshop, select the Define Pattern option from the Edit menu. This will save your design as a custom pattern that can be used across any future projects. You can now fill selections, create pattern fills, or apply your tile texture to 3D models, backgrounds, or surfaces in your designs.
Common Issues and How to Fix Them
When creating tile textures, there are a few common issues that you may encounter. Here are some tips on how to fix them:
Visible seams: If you notice seams after tiling, it usually means the edges of the design aren’t perfectly aligned. Use the Offset Filter and clone or heal the edges to blend them seamlessly.
Distorted patterns: Sometimes, patterns can look stretched or compressed when tiled. To avoid this, make sure the design elements are spaced evenly and not too close to the edges.
Bland designs: A tile pattern can sometimes feel repetitive or lack visual interest. Experiment with layering different textures, gradients, or noise to make the design more dynamic and unique.
Creating tile texture patterns in Photoshop is a straightforward process once you grasp the basic techniques and tools. By focusing on seamless edges, adding depth, and testing your design, you can produce professional-quality textures for various applications. Whether for backgrounds or interior design, mastering tile textures can significantly enhance your creative projects. For high-quality 3D models and textures, be sure to explore the Relebook website, where you can find a variety of assets to complement your design needs.
FAQ
How do I create more complex tile textures?
For more complex tile textures, try incorporating multiple layers, textures, or effects. You can use photographs, hand-drawn elements, or brush strokes to add variety. The key is to keep the design cohesive while ensuring that the edges still tile seamlessly.
Can I create tile textures for 3D models?
Yes, tile textures are widely used in 3D modeling and rendering. To use your texture on 3D models, ensure that the texture is seamless and that the scale is appropriate for the model’s surface.
How can I improve the realism of my tile textures?
To make your tile textures more realistic, add depth and shadows, use high-quality source images, and ensure that the lighting and shading are consistent. You can also experiment with adding details like scratches, stains, or imperfections to give the tile a more natural look.
What’s the best resolution for tile textures?
The resolution depends on the intended use. For designs or web use, a resolution of 72 PPI is usually sufficient. For print or high-resolution applications, 300 PPI is recommended. The image dimensions should also be considered based on the scale of the surface it will cover.
Can I use Photoshop’s patterns for tiling?
Yes, Photoshop allows you to create and save custom patterns, which can be applied as fills in various projects. This makes it easy to reuse your tile textures across different designs.

