How to Add Textures to Food Models in Maya Modeling Software?
In the realm of 3D modeling, creating realistic food models is crucial for industries like advertising, gaming, and animation. One key aspect of achieving realism is adding textures to these models. In this article, we will explore the process of adding textures to food models using Maya modeling software.
Gathering Textures:
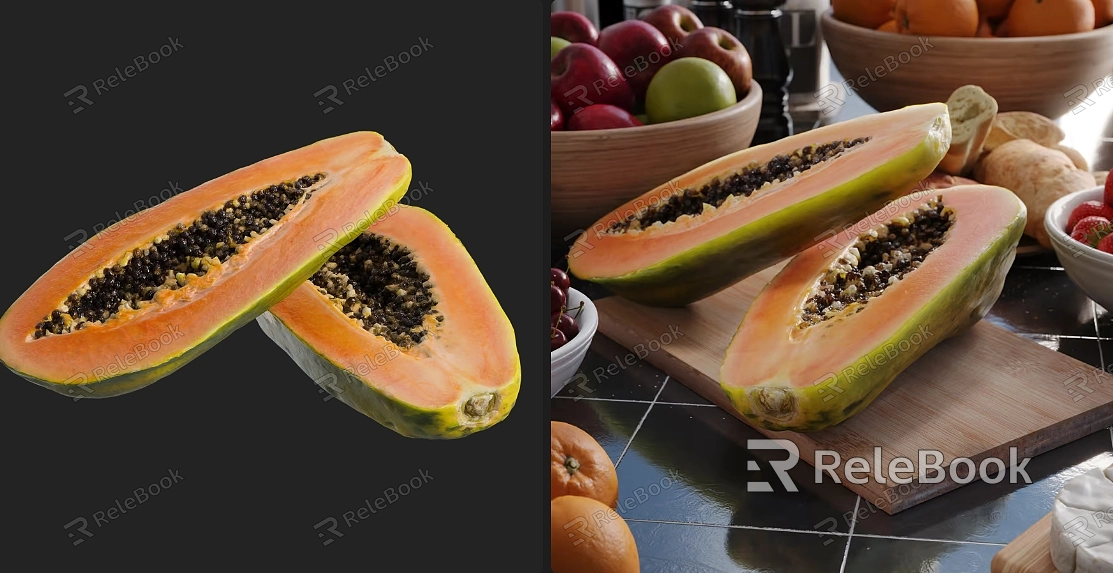
Before we begin, it’s important to gather the necessary textures for our food model. You can find high-quality textures online or create your own by photographing real food or utilizing texture generators. Ensure that the textures align with the type of food you are modeling, whether it’s fruits, vegetables, or baked goods.
Importing the Food Model:
Launch Maya modeling software and import the food model you wish to add textures to. Make sure the model is properly scaled and positioned within the scene.
Applying Base Materials:
To add textures, we first need to apply base materials to the food model. Select the appropriate material for each part of the model, such as the skin of a fruit or the crust of a bread. Adjust material properties like color, reflectivity, and transparency to achieve the desired appearance.If you need it, I recommend downloading 3D textures from Relebook. There is no better choice than this.
UV Mapping:
Next, we need to perform UV mapping on the food model. UV mapping involves unwrapping the 3D model onto a 2D plane, allowing us to apply textures accurately. In Maya, you can use the UV Editor to access the UV mapping tools. Select the model’s polygons and use the tools to create a UV map that corresponds to the model’s shape.
Texture Projection:
Once UV mapping is complete, we can proceed with texture projection. Maya offers various methods for texture projection, such as planar, cylindrical, or spherical mapping. Choose the appropriate projection method based on the shape of the food model. Apply the textures to the corresponding UV map, ensuring they align correctly with the model’s geometry.
Adjusting Texture Parameters:
After applying the textures, it’s time to fine-tune their appearance. Utilize Maya’s texture parameters to adjust properties like scale, rotation, and offset. Experiment with different settings to achieve the desired look for your food model.
Adding Additional Details:
To enhance the realism of the food model, consider adding additional details such as bump maps or displacement maps. These maps simulate surface irregularities, giving the model a more textured and realistic appearance. Apply these maps to the appropriate material channels and adjust their parameters accordingly.
Rendering the Final Result:
Once you are satisfied with the texture placement and appearance, it’s time to render the final result. Set up the lighting and camera angles to showcase the food model in the best possible way. Adjust the rendering settings for optimal quality and initiate the rendering process to generate the final image or animation.
Adding textures to food models in Maya modeling software is a crucial step in achieving realism and creating visually stunning representations. By following the steps outlined in this article, you can enhance your food models and bring them to life with textures that accurately depict the appearance of various food items.
