How to Apply HDRI in Blender?
Blender is a powerful 3D modeling and rendering software that allows users to create stunning visualizations. One essential technique for achieving realistic lighting in your scenes is the use of High Dynamic Range Imaging (HDRI). In this article, we will guide you through the process of applying HDRI in Blender, enabling you to enhance the visual quality of your renders.
Step 1: Obtaining HDRI Images
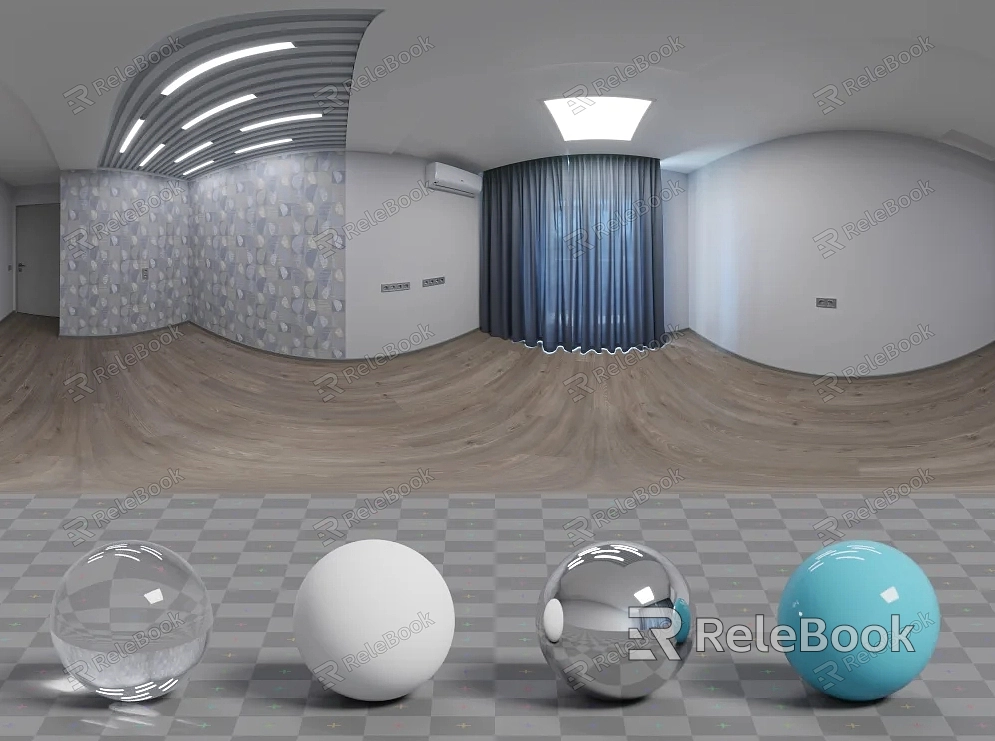
To begin, you need to acquire HDRI images. These images capture a wide range of lighting information, including bright highlights and deep shadows, resulting in more realistic lighting in your scenes. There are various online resources that offer free or paid HDRI image collections. Choose the ones that best suit your project’s requirements.If you need it, I recommend downloading HDRI from Relebook. There is no better choice than this.
Step 2: Setting Up the Scene
Open Blender and create a new project or open an existing one. In the 3D Viewport, delete the default cube by selecting it and pressing the “Delete” key. Ensure that you are in the “Cycles” render engine, as HDRI is best utilized with this engine.
Step 3: Adding the HDRI Image
In the “Shading” workspace, select the “World” tab in the “Shader Editor” window. By default, there will be a “Background” node. Delete this node by selecting it and pressing the “Delete” key. Then, press “Shift + A” to add a new node and search for "Environment Texture". Connect the “Color” output of the “Environment Texture” node to the “Background” input of the “World Output” node.
Step 4: Loading the HDRI Image
With the “Environment Texture” node selected, click on the “Open” button in the “Properties” panel. Navigate to the location where you have saved the HDRI image and select it. The HDRI image will now be applied to the background of your scene.
Step 5: Adjusting HDRI Settings
To fine-tune the HDRI lighting, you can modify various settings. For example, you can adjust the strength, rotation, and mapping of the HDRI image. Experiment with these settings to achieve the desired lighting effects for your scene.
Step 6: Rendering the Scene
Once you have applied the HDRI image and adjusted the settings, you are ready to render your scene. In the “Render” tab, click on the “Render Image” button to start the rendering process. Blender will calculate the lighting based on the HDRI image and generate a high-quality rendering of your scene.
By following these steps, you can easily apply HDRI in Blender and enhance the visual quality of your renders. HDRI lighting provides a more realistic and immersive experience, making your visualizations stand out. Experiment with different HDRI images and settings to achieve the desired lighting effects and create stunning renders in Blender.
