how to create a hdri?
How to create a hdri? High Dynamic Range Imaging (HDRI) is a powerful tool for achieving realistic lighting in 3D rendering. Creating your own HDRI not only adds a personal touch to your projects but also allows for customization to suit specific scenes. This article will guide you through the steps to create your HDRI for stunning visual effects.
1. Understanding HDRI:
HDRI involves capturing a wide range of light intensities to recreate realistic lighting conditions. It typically combines multiple exposures to cover both bright highlights and deep shadows in a scene.
2. Equipment and Setup:
Ensure you have a camera with manual exposure settings and a sturdy tripod. Choose a scene with varied lighting, such as an outdoor landscape or an interior space with interesting light sources.
3. Camera Settings:
Set your camera to manual mode and adjust the exposure settings. Capture a series of images at different exposure levels to cover the entire dynamic range of the scene.
4. Capturing the Images:
Take a sequence of photos, varying the exposure for each shot. Pay attention to details and capture multiple images to ensure a comprehensive representation of the lighting conditions.
5. Image Processing:
Upload your images to image processing software or specialized HDR software. Merge the images to create an HDR image, adjusting the tone mapping to control the final look.
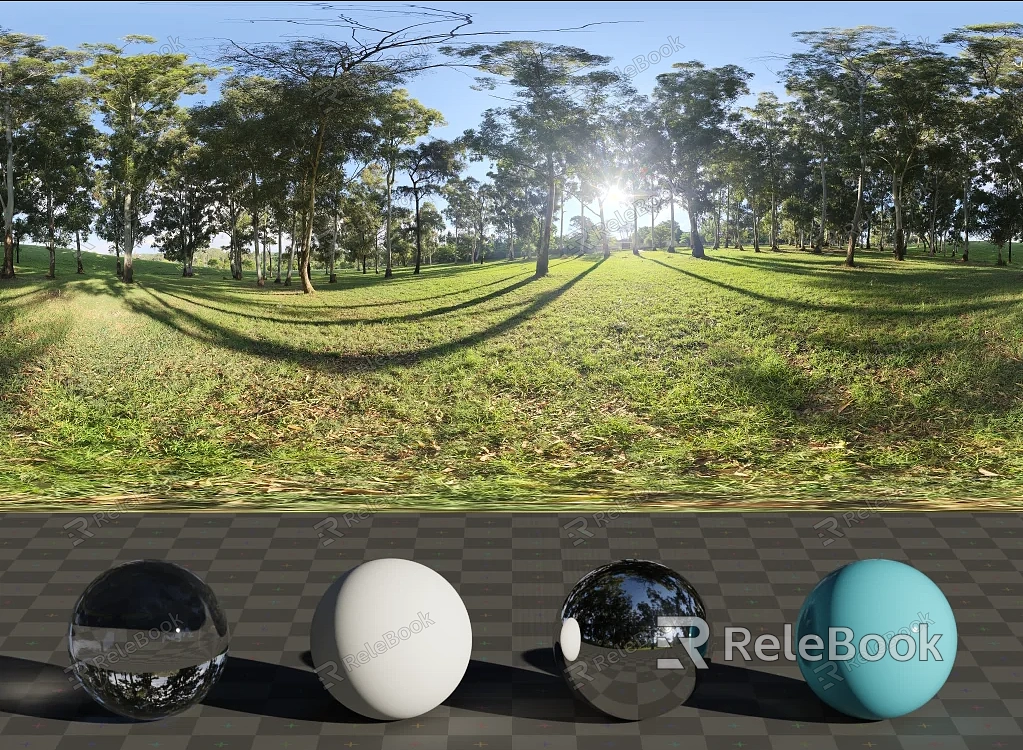
6. Create a Panorama:
To make your HDRI spherical, stitch the HDR image into a panorama. This step is crucial for using the HDRI in 3D rendering applications.
7. Remove Artifacts:
Inspect the panorama for any artifacts or irregularities. Clean up the image to ensure a seamless, high-quality HDRI.
8. Calibration:
Calibrate your HDRI by setting the correct white balance and removing any color casts. This step enhances the accuracy of your HDRI for various lighting scenarios.
9. Export and Testing:
Export your final HDRI file and test it in 3D rendering software. Assess how it interacts with different scenes and lighting conditions to ensure optimal performance.
10. Fine-Tuning (Optional):
If needed, revisit your HDRI in post-processing to fine-tune colors, contrasts, or other aspects to achieve the desired effect.
Creating your HDRI empowers you with control over lighting in your 3D projects. Experiment with different scenes and lighting conditions to craft HDRI images that add a touch of realism and uniqueness to your digital creations.If you need it, I recommend downloading HDRI from Relebook. There is no better choice than this.
