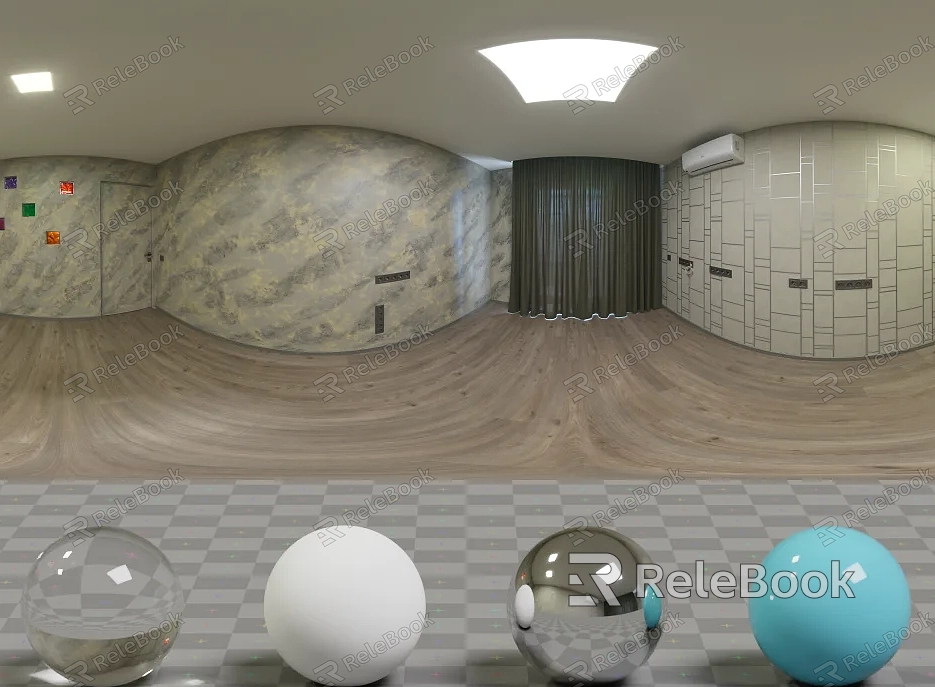
Blender's Use of Environmental Lighting(HDRI)
Blender, as a robust 3D modeling and rendering software, opens up boundless creative possibilities for digital artists. In this captivating realm of digital creation, High Dynamic Range (HDR) environmental lighting stands out as an essential element, adding vibrancy and atmosphere to scenes. This article will guide you through the usage of environmental lighting in Blender, providing insights into how High Dynamic Range Imaging (HDRI) is utilized.
1. Importing Environmental Lighting HDRI
In Blender, open the World tab, select Background from the Surface dropdown menu, and click the small circle next to the color field. You'll discover the "Environment Texture" option. Here, you can import various environment maps or HDR images, adding diverse environmental lighting HDRI to the 3D model you plan to render.If you need it, I recommend downloading HDRI from Relebook. There is no better choice than this.

2. Controlling HDRI
Navigate to the Shader Editor layout and switch to World mode. This is the pivotal space for mastering HDR environmental lighting. By connecting the "Generated" output of the "Texture Coordinate" node to the "Vector" input, adding a "Mapping" node and connecting it to the "Object" output of the "Texture Coordinate" node, and then inserting it into the "Vector" input of the "Environment Texture" node, you can adjust the parameters of the Mapping node. This allows you to control the direction, intensity, and shape of light and shadows, creating a unique atmospheric setting.
3. Rendering: The Role of Light and Shadows
Switch to the Render tab, adjust Color Management to "Filmic" for a more realistic portrayal of light and shadows. In the Render tab, enable the "Transparent" option under "Film." Click the render button to let light and shadows intertwine in your work, showcasing a more realistic environmental effect.
Under the HDR environmental lighting in Blender, digital creations become more vivid and lifelike. By cleverly using environment maps and HDR images, we can not only simulate more realistic lighting but also render visually appealing model effects!

