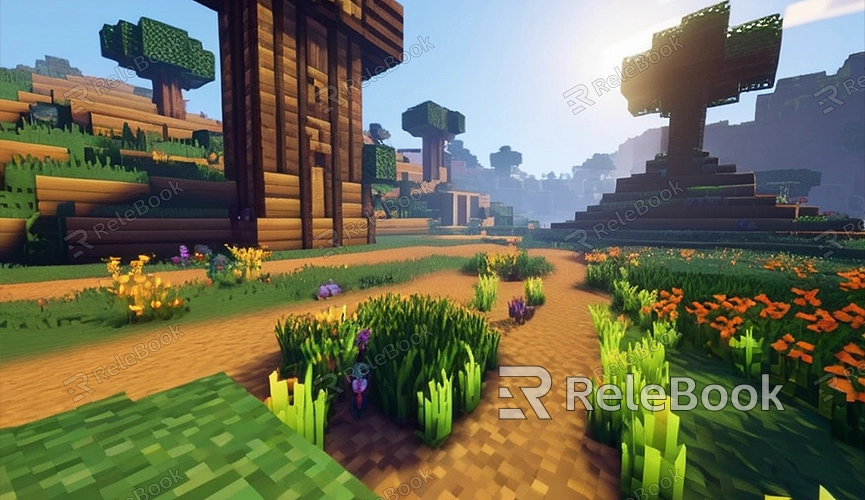
How do you install minecraft texture packs
Minecraft is a widely popular sandbox game known for its simple pixelated style, providing players with vast creative freedom. However, sometimes players may want to add new visual elements to enrich their gaming experience, and installing texture packs is one way to achieve this. In this article, we'll explain how to install texture packs in Minecraft, giving your game a fresh look.
1. Download the Texture Pack
First, you need to find and download the Minecraft texture pack you like. You can find plenty of free and paid texture packs on various websites such as the Minecraft official website, Planet Minecraft, CurseForge, etc. When choosing a texture pack, pay attention to version compatibility to ensure you select one suitable for your current version.

2. Open Minecraft Game
After downloading the texture pack, the next step is to open the Minecraft game to prepare for installing the texture pack. Select the appropriate version in the game launcher and click the "Play" button to start the game.
3. Access Game Settings
In the main menu of the game, click the "Options" button in the lower-right corner of the screen to access the game settings. In the settings menu, select the "Resource Packs" tab to manage and install texture packs.
4. Install the Texture Pack
In the "Resource Packs" tab, you'll see a list of the texture packs the game has already loaded. To install a new texture pack, simply click the "Open Resource Pack Folder" button at the bottom of the screen to open the game's texture pack folder.
5. Copy the Texture Pack Files into the Folder
In the opened texture pack folder, copy and paste the downloaded texture pack files into the folder. Ensure that you place the texture pack files in the correct location and that the file format is .zip. Once copied, close the folder window and return to the game settings.
6. Enable the Texture Pack
In the game settings menu, you'll find that the newly added texture pack is now displayed in the available resource pack list. To enable the texture pack, simply drag it from the "Available Resource Packs" list to the "Selected Resource Packs" list. Once installed, click the "Done" button to save the settings and return to the game interface.
7. Enjoy the New Gaming Experience
After installation, you can immediately experience the visual effects brought by the new texture pack in the game. Re-enter the game world, and you'll find that blocks, items, creatures, etc., all have a fresh look, presenting a brand-new visual experience.
8. Adjust Texture Pack Order
If you have installed multiple texture packs simultaneously and they overlap, you can control the priority by adjusting the order of the texture packs. In the "Resource Packs" tab of the game settings menu, you can adjust the order of the texture packs by dragging them up or down, ensuring that your preferred texture pack takes precedence.
By following these steps, you can easily install and enable your favorite texture packs in Minecraft, making your gaming experience more colorful and immersive. If you need high-quality 3D textures, HDRI, or 3D model downloads while creating models and virtual scenes, you can download them from Relebook. After downloading, you can directly import textures and 3D models into your project for use.

