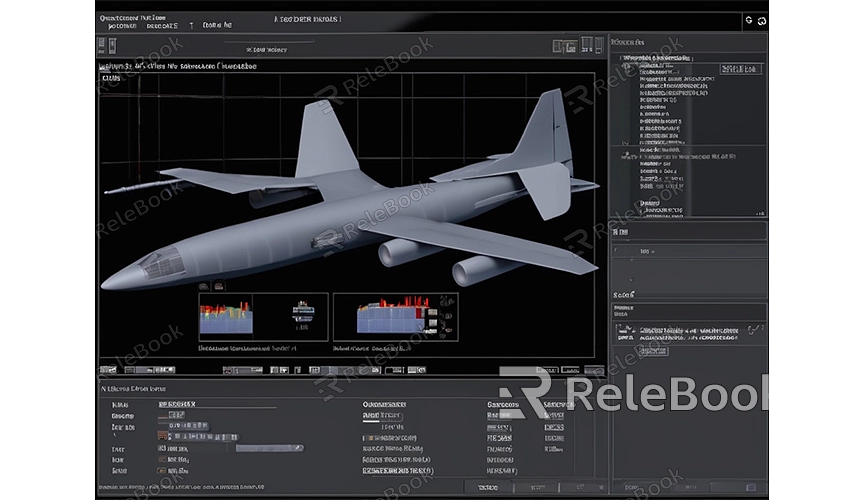
How to Design 3D Models for Printing
The advancement of 3D printing technology enables people to transform virtual designs into tangible objects, opening up new avenues for creativity and manufacturing. However, successfully printing a well-designed 3D model is not a simple task. This article will guide you on how to design 3D models suitable for printing, allowing your creative ideas to smoothly materialize.
1. Choose the Right 3D Modeling Software
Firstly, selecting suitable 3D modeling software is crucial. There are many different 3D modeling software options available, such as Blender, Autodesk Fusion 360, SketchUp, etc. Each software has its own characteristics and advantages, so choose the one that fits your needs and familiarity for modeling design.

2. Determine Design Requirements and Constraints
Before diving into 3D model design, it's essential to clarify the design requirements and constraints. Consider factors such as model dimensions, shapes, structures, materials, as well as the printing capabilities and limitations of the printer. For example, take into account the printer's resolution and support structure to avoid designing overly complex or small parts that may fail to print successfully or result in poor-quality models.
3. Use Accurate Dimensions and Proportions
Ensuring accurate dimensions and proportions are used in designing 3D models is crucial. Dimensions and proportions not only affect the appearance and shape of the model but also directly relate to its functionality and applicability. In modeling software, precise dimensions and proportions can be set to ensure the model's accuracy and prevent issues like mismatched dimensions or disproportionate scaling.
4. Design Stable Structures and Supports
When designing 3D models, consider the stability of the model's structure and supports. Avoid designing overly fragile or unstable structures to prevent collapsing or deformation during printing. It's possible to set up support structures and reinforcement components reasonably to ensure the model remains stable and intact during the printing process.
5. Simplify Geometric Shapes and Details
To improve printing efficiency and quality, consider simplifying the geometric shapes and details of the model appropriately. Avoid designing overly complex or detailed models to reduce printing time and material consumption. Techniques such as merging redundant components and simplifying curves and surfaces can be employed to streamline the model while ensuring its overall structure and appearance are maintained.
6. Check and Repair the Model
After completing the model design, thorough checking and repairing are necessary. Utilize the inspection and repair tools in 3D modeling software to identify any issues such as holes, non-manifold surfaces, or overlapping parts. Promptly address these issues to ensure the model can proceed smoothly to the printing stage.
7. Export the Model and Prepare for Printing
Finally, export the well-designed 3D model into common 3D printing formats such as STL or OBJ and prepare the necessary parameters and settings for printing. Depending on the printer's requirements and material characteristics, select appropriate printing parameters including layer height, infill density, support structures, etc., to achieve optimal printing results.
By following these steps, you can better design 3D models suitable for printing, allowing your creative ideas to smoothly materialize. During the design process, fully consider the capabilities and limitations of the printer to ensure the model can be successfully printed and maintain good quality. If you need high-quality 3D textures and HDRI or downloadable 3D models while creating models and virtual scenes, you can download them from Relebook and directly import textures and 3D models into your project.

