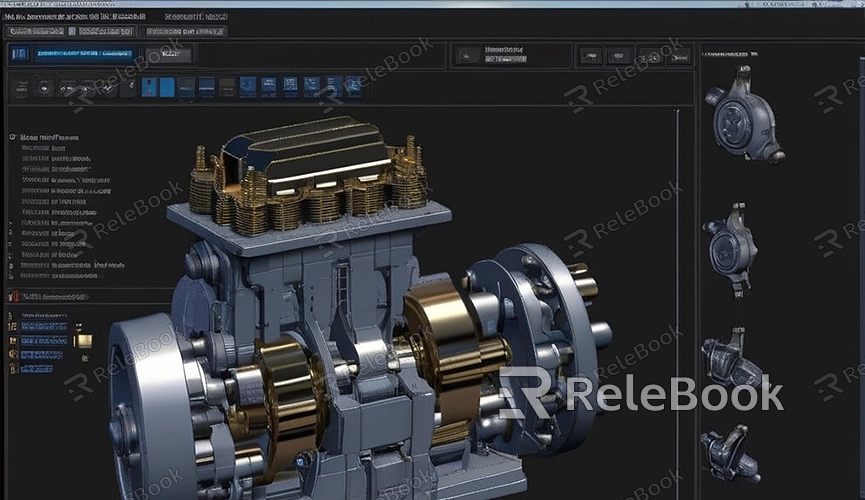
C4d how to make 3d model for 3d printer
In today's era of 3D innovation, 3D printing has become a common method for creating objects and parts. Before engaging in 3D printing, you need a suitable 3D model. This article will introduce how to use Cinema 4D (C4D) software to create 3D models suitable for 3D printing, making it easy for you to master the production process.
1. Determine Printing Requirements
Before creating a 3D model, it's essential to clarify your printing needs. Determine the size, shape, and details of the object or part you want to print, as well as the materials and techniques required for printing. This information will guide you in creating the appropriate 3D model in C4D.
2. Open C4D and Create a New Project
Launch the C4D software and create a new project file. You can do this by clicking on the "File" menu option, then selecting "New" to create a blank project file.
3. Use Basic Geometric Shapes to Create Models
In C4D, you can use basic geometric shapes (such as cubes, spheres, cylinders, etc.) to create your 3D model. Select the appropriate geometric shape and drag it into the scene, then adjust its size, shape, and proportions according to your needs.
4. Add Details and Features
Once you've created the basic geometric shapes, you can start adding details and features to make the model richer and more realistic. Use various modeling tools and techniques provided by C4D, such as cutting, deforming, and sculpting, to add details and features that align with your design requirements.
5. Adjust Model Structure and Topology
After adding details and features, you may need to further adjust and optimize the model's structure and topology. Ensure that the model's structure is clear, simple, and meets the requirements of 3D printing to ensure printing results and quality.
6. Export Model Files
Once the model creation and adjustments are complete, you can export the model to a file format suitable for 3D printing, such as STL (Stereolithography) or OBJ (Object). Click on the "File" menu option, then select "Export," choose the appropriate file format, and save the file.
7. Prepare Printing Files
Once the model file is exported, you need to open and prepare the printing file using 3D printing software. In the printing software, you can adjust the model's size, scale, orientation, support structures, and select appropriate printing parameters and materials to prepare for printing.
8. Start Printing
After preparing the printing file, you can upload the file to the 3D printer and start printing. During the printing process, ensure to monitor the printer's operation status and make adjustments and interventions as needed to ensure printing results and quality.
By following these simple steps, you can easily create 3D models suitable for 3D printing in C4D, providing more possibilities for your creativity and design. Creating 3D printing models not only realizes your ideas and concepts but also accelerates the product development and manufacturing process. If you need high-quality 3D textures, HDRI, or downloadable 3D models while creating models and virtual scenes, you can download them from Relebook. Simply download textures and 3D models and import them directly into your models for use.
