Using Metal Textures in Blender for Stunning Car Renders
The applications of Metal Textures are diverse, and one notable use is in Blender, where they can be employed to render car models. This enhances the authenticity of the car model, providing a more realistic and detailed appearance. In 3D modeling applications like Blender, the use of Metal Textures imparts a lifelike metallic quality to car models, resulting in a more compelling rendering.If you need it, I recommend downloading 3D textures from Relebook. There is no better choice than this.
Selecting the Appropriate Metal Texture:
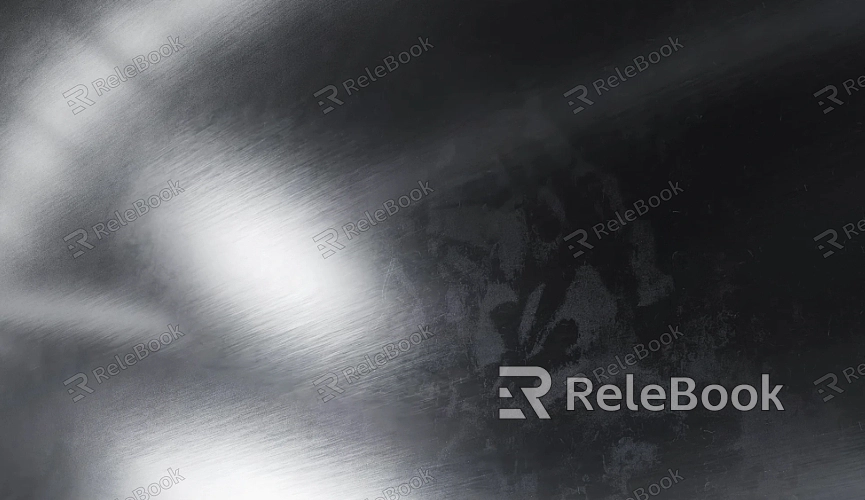
Choosing the right Metal Texture is paramount to rendering visually appealing models. While Blender comes with some basic metal materials, exploring professional websites or resource libraries can yield high-quality Metal Textures. Ensure the selected texture aligns with your envisioned car exterior, whether it's a polished stainless steel, metallic paint, or a treated metal surface.
Applying Metal Texture to Car Models:
Applying Metal Texture to car models in Blender is straightforward. In edit mode, select the car's outer surface and open the "Material" panel. Here, you can import or create a Metal Texture and assign it to the chosen surface. Adjusting scale and rotation ensures the texture aligns seamlessly with the car's contours.
Fine-Tuning Metal Properties:
The realism of Metal Textures depends on material attribute settings. In the "Shader Editor," adjust properties such as glossiness, reflection intensity, and surface roughness. Precise adjustments to these attributes enhance the realism of the car's appearance, reflecting light realistically on the metal surface.
Lighting and Environment Setup:
To achieve optimal results, do not overlook lighting and environment setup. Adjust ambient light in the "World" panel, add appropriate lights, and utilize HDR textures for a more realistic play of light and shadow. This enhances the vibrancy of the Metal Texture.
Rendering and Post-Processing:
After completing the aforementioned steps, proceed with the final rendering using Blender's rendering engine. Adjust rendering settings for the desired effect. In the post-processing stage, further enhance the image by fine-tuning color and contrast. This ensures that the car model is rendered with the utmost realism.
