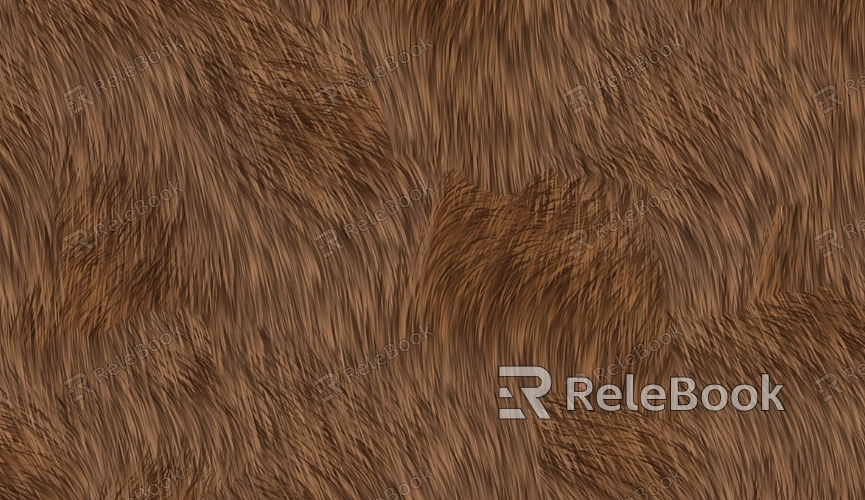
How to Mix 3D Texture Pack with Another
In 3D modeling and rendering, combining multiple texture packs is a common practice that can significantly enhance the realism and detail of a scene. Whether you're working on game development, virtual reality environments, or film animation, the ability to mix different texture packs allows you to achieve more complex visual effects. In my years of experience, I've often had to combine multiple textures to create richer, more detailed materials. In this article, I'll share how you can effectively mix 3D texture packs to improve the expressiveness and complexity of your texture design.

Common Use Cases for Texture Mixing
In professional 3D work, texture mixing is often used to create more complex material effects. For example, blending different types of materials on the same surface, such as the transition between dirt and stone, or the combination of metal with wear marks. Mixing multiple texture packs helps you create these transitions, adding more detail and realism to your scene.
Game Development: In game environments, it's common to blend various ground textures, wall textures, and surface textures to create a visually rich experience.
Visual Effects in Films: Texture mixing is used not only to create surface materials but also to introduce gradual transitions that make the visuals look smoother and more natural.
Virtual Reality: In VR environments, texture blending makes objects appear more tangible and avoids the monotony that single textures might cause.
Understanding the scenarios where texture blending is useful will help you better utilize this technique to enhance the detail and realism of your projects.
Preparing Two Texture Packs for Mixing
Before you start mixing textures, it's essential to prepare two texture packs that are suitable for blending. The selection and handling of the texture packs are crucial to ensuring a successful blend.
Choosing Texture Packs: Typically, you'll want to select two texture packs with similar foundational properties. For example, combining two ground textures—such as sand and stone—can create a smooth, natural transition.
Matching Resolutions: Make sure the resolutions of both texture packs match. If they don't, mixing them might result in unnatural edges or mismatched details. If the resolutions are different, you can use image editing software to adjust them.
UV Mapping: Ensure the model's UV mapping is done properly so that the textures fit seamlessly. If the UV layout is incorrect, mixing the textures may result in seams or stretching.
Once the preparation is complete, the process of mixing textures will be much smoother.
Basic Steps for Mixing Textures
To mix textures in 3D software, you mainly rely on the material editor's masking and blending modes. Here’s a step-by-step guide using Blender as an example:
Importing Textures: First, import both texture packs into the material editor and apply them to your model. Ensure the UV mapping is correctly set up so that the textures are applied to the model properly.
Creating a Mask: Use a mask to control the blending area between the two textures. A mask is often a grayscale image that defines the blending intensity. In the mask image, white represents the full visibility of the first texture, black indicates full visibility of the second texture, and gray areas show a blend of both textures.
Choosing a Blending Mode: In the material editor, select the appropriate blending mode. Common modes include additive blending, linear interpolation (lerp), and others. The choice of blending mode will depend on the effect you want to achieve.
By following these steps, you'll have full control over the blend and transition of the two textures.

Advanced Techniques: Adding Detail to Enhance the Effect
Texture mixing isn't just about stacking two textures on top of each other. Managing the detail level can significantly improve the realism of the result.
Adding Detail Layers: When blending, you can add more layers of detail to enhance the complexity of the textures. For instance, in a dirt-to-stone transition, using noise textures or painting over the area can make the transition appear more organic.
Using Normal Maps: Besides color textures, normal maps and specular maps play an essential role in mixing. Adjusting the normal map can simulate tiny surface details, making the mixed area feel richer and more detailed.
Gradient and Transparency Controls: Adjusting gradients and transparency can help smooth the transition between textures. Gradients can be controlled through masks, and adjusting transparency can make the depth of the blend clearer.
Real-Time Preview and Adjustments
After mixing the textures, it’s crucial to preview the result in real-time. Lighting conditions, viewing angles, and material properties all affect how the textures appear. Adjusting the details and checking the final output allows you to refine and optimize the blend.
Real-Time Rendering: Use rendering engines like Unreal Engine or Unity to see how the textures blend in real-time. This helps ensure the transition and details appear as expected.
Adjusting Material Properties: Based on the rendered output, tweak material properties like roughness and reflectivity to make the textures look more realistic.
Exporting and Applying the Mixed Textures
Once the texture mixing is complete, the final step is exporting and applying the textures to your project.
Exporting the Mixed Textures: After blending, export the textures in a high-quality image format, such as PNG or TIFF, ensuring they are compatible across different platforms.
Applying to Game Engines: Import the mixed textures into a game engine for further material adjustments and optimization. This ensures that the textures display correctly in various environments.
By following these steps, you can successfully mix two texture packs and achieve the desired visual result.
In this article, we’ve covered the process of mixing 3D texture packs, from selecting textures to advanced blending techniques and final adjustments. Each step is designed to help you create richer, more detailed textures for your 3D projects. If you need high-quality texture resources for your projects, Relebook offers a wide variety of 3D texture packs and models, providing everything you need to elevate your work to the next level.

