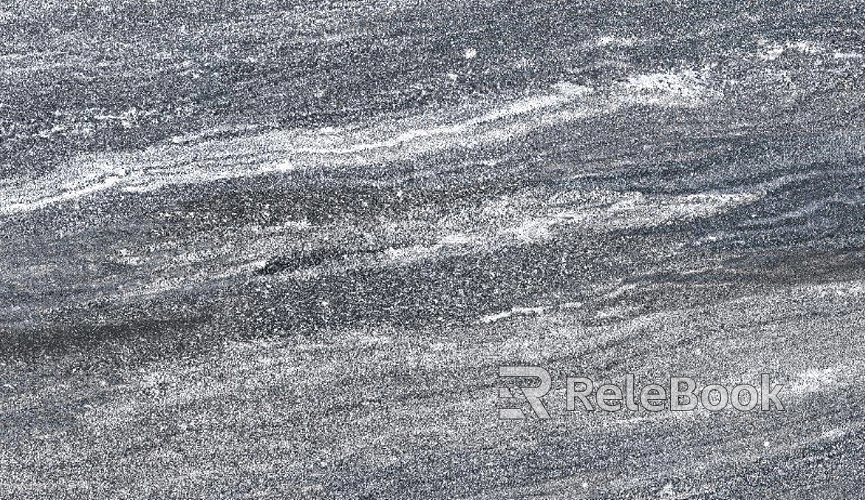
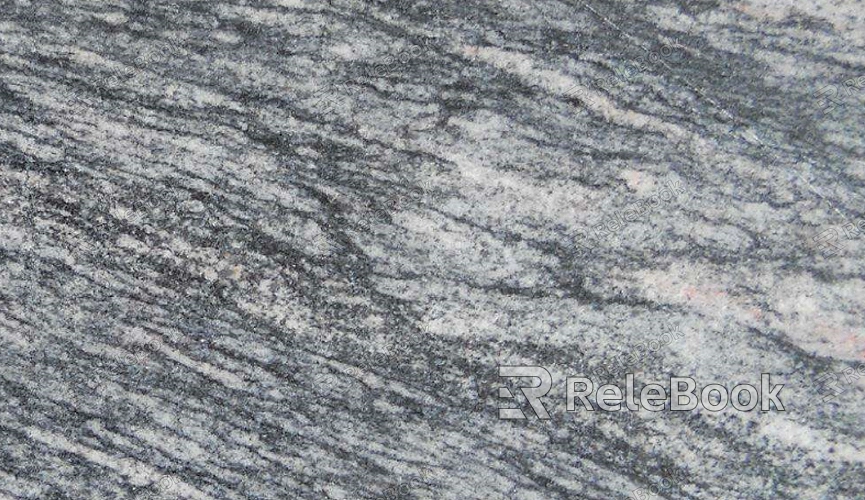
How to Create Scratched Stone Texture in Photoshop?
Creating a scratched stone texture in Photoshop is a useful skill for designers who want to add realism and character to their work. Whether you're working on architectural projects, landscape designs, or any project that requires detailed stone surfaces, understanding how to generate a convincing scratched stone texture can elevate the visual quality of your designs. In this article, we will guide you through the process of crafting a scratched stone texture from scratch in Photoshop, focusing on the key techniques needed to achieve a realistic, weathered effect.

Preparing the Canvas
The first step in creating a scratched stone texture is to prepare your workspace. Start by opening Photoshop and creating a new document. It's recommended to set the canvas size to 2000px by 2000px with a resolution of 300 pixels per inch (PPI). This ensures the texture is high-quality and suitable for various design applications. Once your canvas is set, choose a neutral gray or stone-like color for the background, as this will serve as the base for your stone texture.
You may want to use the Paint Bucket Tool or the Fill command (Shift + F5) to quickly fill the canvas with your chosen color. This will be the foundation from which you'll build the scratched surface. Ensure that your background layer is locked so that no unintentional changes are made to it as you proceed.
Creating the Base Stone Texture
Stone has a unique texture that is rough and irregular, often with small variations in color and pattern. To replicate this, we can use Photoshop’s noise filters to create the initial base texture.
Start by creating a new layer above your background. Select Filter > Noise > Add Noise. Set the amount of noise to around 15-20% with Gaussian distribution and ensure that the ‘Monochromatic’ option is selected. This will give the surface a rough, grainy look, which mimics the uneven surface of stone.
Next, apply a Gaussian Blur (Filter > Blur > Gaussian Blur) to the noise layer to soften the rough edges, but don’t overdo it—just a slight blur will help create a more organic look. This will allow the stone texture to feel less synthetic and more natural.

Adding Scratches with Texture Overlay
Now that the base stone texture is in place, it's time to introduce the scratches that will give the stone a weathered and worn appearance. To do this, you can overlay another texture that features linear or random scratches.
Start by finding or creating a scratch texture. You can either scan a physical piece of scratched stone or create a scratch pattern digitally. If you're creating the scratch texture manually, you can use a combination of the Brush Tool and texture overlays. To do this, first select a hard, thin brush with a low opacity, and gently paint some scratches on a new layer. Vary the length, direction, and intensity of the scratches to mimic the random way scratches appear on real stone surfaces.
Alternatively, you can use a pre-made scratch texture. Place this texture over the base stone texture, and change its blending mode to "Overlay" or "Soft Light." This will allow the underlying stone texture to show through, while the scratches will appear more naturally embedded into the surface. Adjust the opacity of this layer to make the scratches more subtle or intense depending on your desired effect.
Refining the Scratches
To make the scratches more realistic, you'll need to add some depth and variation. You can achieve this by applying layer styles like Bevel and Emboss to the scratches layer. This will give the appearance of depth, making the scratches appear as though they have physically worn into the stone surface.
Go to Layer > Layer Style > Bevel and Emboss. In the Bevel and Emboss settings, adjust the depth, and size, and soften the edges of the bevel until the scratches have a more three-dimensional appearance. You can also experiment with different Gloss Contour settings to further enhance the depth and light reflection around the scratches.
Additionally, consider adding shadows and highlights to the scratches to emphasize depth and realism. You can use a soft round brush with a low opacity to paint shadows beneath the scratches or use the Dodge Tool to add highlights to the edges of the scratches where light would naturally catch.
Adding Variation with Colors and Textures
Stone surfaces are rarely uniform, so it’s important to add some color variation and texture to give the scratched stone a more organic feel. You can use the Hue/Saturation adjustment layer to subtly alter the color tones of your base stone layer. This could involve adding slight variations of gray, brown, or even a hint of green or yellow, depending on the type of stone you’re trying to replicate.
Additionally, consider adding another layer of texture. Use a subtle rock or gravel texture overlay that you can blend into the surface. Change the layer’s blending mode to “Overlay” or “Soft Light,” and adjust the opacity to control how prominent this new texture becomes. This can simulate the small imperfections and fine details that exist in natural stone surfaces.
If you want to further enhance the realism, you can also add dirt, moss, or lichen to your scratched stone texture. Use a soft brush with low opacity to gently paint these details in areas where dirt or organic matter would naturally accumulate.
Simulating Depth and Light Interactions
To make your scratched stone texture look even more realistic, you need to simulate how light interacts with the surface. One way to do this is by using the Dodge and Burn tools. The Dodge Tool can lighten areas where the light hits, while the Burn Tool can darken areas where shadows would naturally fall.
Gently use these tools to emphasize the edges of the scratches, as well as any natural cracks or indentations in the stone. This will help add dimension and make the scratches feel more integrated into the stone surface rather than being just a flat effect. It also helps mimic the way light interacts with irregular stone surfaces in real life.
Final Adjustments
After refining the texture and adding depth, it’s time to make final adjustments. Evaluate the texture from a distance to ensure that the scratches are not too harsh or unrealistic. If necessary, lower the opacity of the scratch layer or soften the scratches by applying a slight blur. You can also adjust the overall contrast or brightness to suit the desired look of your stone.
To ensure that your scratched stone texture is seamless, you may want to check for any noticeable edges or tiling issues if you plan to use the texture as a repeating pattern. If there are seams, use the Clone Stamp tool or the Healing Brush tool to blend the edges and create a smooth, continuous surface.
Creating a scratched stone texture in Photoshop involves a combination of noise filters, texture overlays, and layer styles to simulate the irregularities, scratches, and depth that make real stone surfaces so distinctive. By following the steps outlined in this article, you can create a highly detailed and realistic scratched stone texture that can be applied to a variety of design projects, from architectural visualizations to nature-inspired artwork.
To take your projects to the next level, explore the wide selection of 3D models and textures available on the Relebook website, where you can download high-quality resources to further enhance your design work.
FAQ
How do I make the scratches on the stone texture more prominent?
To make the scratches stand out, you can increase the contrast between the scratch layer and the base stone layer. Additionally, using the Bevel and Emboss effect will give depth to the scratches, making them more noticeable.
My scratches look too sharp and unnatural. How can I fix this?
To soften the scratches, reduce the opacity of the scratch layer or apply a slight Gaussian Blur. You can also use a low-opacity brush to gently paint over the scratches and create more subtle, worn effects.
Can I apply this scratched stone texture to 3D objects?
Yes, this texture can be applied to 3D models. After creating the texture, you can save it as a high-resolution image file (like PNG or TIFF) and apply it as a texture map in your 3D modeling software.
How do I create a more weathered look for the stone?
You can enhance the weathered look by adding additional layers of grime, moss, or dirt. These can be painted with a soft brush or applied using a texture overlay and set to a low opacity to create a natural, aged effect.
Can I use this technique for other materials, like metal or wood?
Yes, the same general technique can be adapted for other materials. You would simply adjust the base texture to match the material you are working with (e.g., using a metal or wood texture instead of stone) and follow similar steps for adding scratches and imperfections.

