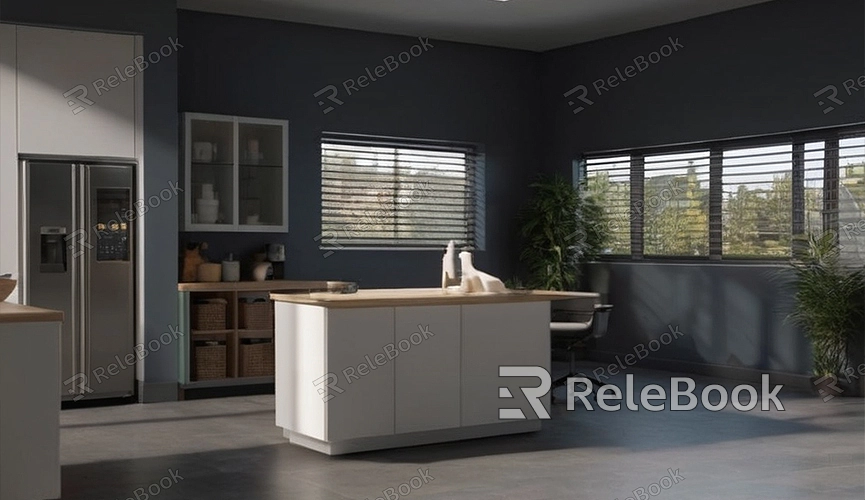
How to change to cycles render in blender
Interested in switching to the Cycles render engine in Blender? No problem! This article will provide you with a detailed step-by-step guide to effortlessly switch to the Cycles render engine in Blender and enjoy its powerful rendering capabilities. Whether you're a beginner or have some experience, follow these steps, and you'll easily master the technique of switching to the Cycles render engine in Blender.
1. Open Blender Software
First, make sure you have installed the latest version of Blender software. Then open the Blender software and enter the scene or project you want to render.
2. Switch to the "Render" Tab
In the top menu bar of the Blender interface, find and click on the "Render" tab. This will display rendering settings and rendering engine options.

3. Select the Cycles Render Engine
In the rendering settings, you will see a "Render Engine" option. Click on this option to display a dropdown menu. From the dropdown menu, select "Cycles" as the rendering engine.
4. Configure Cycles Render Parameters
After switching to the Cycles render engine, you can configure rendering parameters as needed. Click on the "Render" tab in the rendering settings, where you can set parameters such as resolution and sampling. Click on the "Ray Tracing" tab to set ray tracing parameters such as maximum reflection and refraction bounces.
5. Configure Materials and Lighting
In the Cycles render engine, material and lighting settings have a significant impact on rendering effects. You can edit materials in Blender's node editor to adjust properties such as color, texture, and reflection. You can also add light sources and adjust parameters such as intensity, color, and position to achieve the desired rendering effect.
6. Preview Rendering Effects
After configuration, you can click the "Render" button at the bottom of the Blender interface to preview rendering effects. Blender will render based on the parameters you've set, displaying in the render view. You can adjust parameters such as perspective, materials, and lighting in real-time to preview rendering effects until satisfactory.
7. Start Rendering
When you are satisfied with the preview rendering effects, you can click the "Start Rendering" button in the rendering settings to begin the formal rendering process. Blender will render the entire scene or project frame by frame according to the parameters you've set and generate the final rendering results.
8. Export Rendering Results
After rendering is complete, you can export the rendering results to common image formats such as PNG, JPEG, etc. In the rendering settings, click on the "Output" option to set the save path and filename for the rendering results, then click the "Save Image" button to save the rendering results locally.
9. Share Your Work
Once you've completed rendering, you can share the rendering results on social media platforms such as Instagram, ArtStation, etc., to share your work with others. You can also upload the rendering results to online platforms such as Sketchfab, TurboSquid, etc., to communicate and showcase your work to other users.
10. Continue Learning and Practicing
Switching to the Cycles render engine is just part of the Blender rendering process. There are many other rendering techniques and methods waiting for you to explore and learn. Through continuous learning and practice, you can improve your rendering skills and create more wonderful and vivid works.
Through these simple steps, I believe you have learned how to switch to the Cycles render engine in Blender. The Cycles render engine provides powerful rendering capabilities and flexible parameter settings. I hope you can create more beautiful rendering works with it! If you need high-quality 3D textures, HDRI, or downloadable 3D models while creating models and virtual scenes, you can download them from Relebook and directly import textures and 3D models into your projects for immediate use.

