How to Render YouTube Videos in Blender
Blender is a powerful 3D creation tool that can be used not only for modeling, animation, and rendering but also for handling and rendering video content. If you want to render YouTube videos in Blender—whether for post-production, adding effects, or format conversion—this guide will detail each step of the process. By following these steps, you can easily import and render YouTube videos in Blender.
1. Importing YouTube Videos into Blender
Download the Video
First, you'll need to download the YouTube video. You can use various online downloading tools or software to save the video to your computer. Make sure the video you download complies with copyright regulations to avoid infringing on others' rights.
Import into Blender
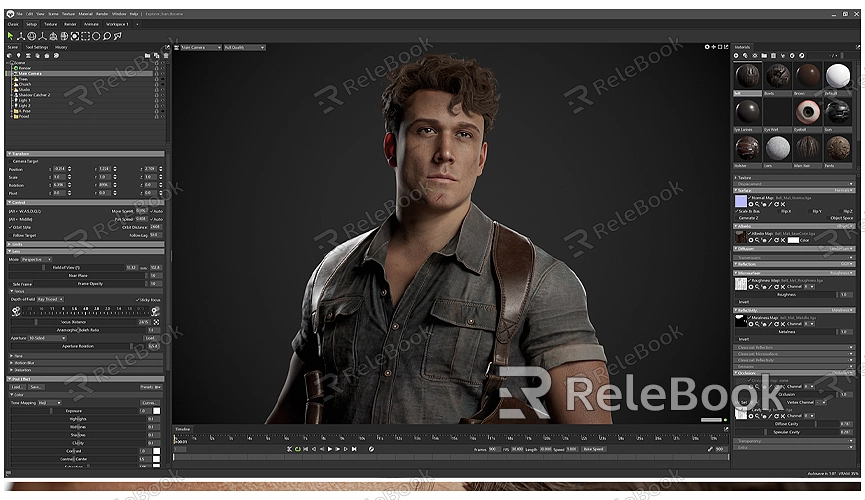
1. Launch Blender: Open Blender and create a new project.
2. Switch to Video Editing Mode:
- In the top workspace menu of Blender, select "Video Editing."
3. Add the Video File:
- In the Video Sequence Editor, click the "Add" button and select "Movie."
- Browse to the location of your downloaded video file, select it, and click "Add Video."
4. Preview the Video:
- Drag the video on the timeline to preview it, ensuring it has been imported correctly.
2. Editing Video Content
Cutting and Trimming
1. Select the Cutting Tool:
- In the Video Sequence Editor, select the video clips you want to cut.
2. Use the Knife Tool:
- Press `K` (or select the knife tool from the toolbar) to cut the video on the timeline.
- Select and delete any unwanted sections, adjusting the clip positions as necessary.
Adding Effects
1. Add Transition Effects:
- In the "Effects Strip," choose your desired transition effect, like fade or slide.
- Drag the effect to the junction of the video clips and adjust its duration.
2. Add Text and Titles:
- Use the "Text" tool to add a text box for your title or description.
- Adjust the text's position, size, and font style to match your video’s aesthetic.
Adjusting Color and Brightness
1. Apply Color Correction:
- In the properties panel, select the "Color Grading" tool.
- Adjust the video's contrast, brightness, and hue to enhance its appearance.
2. Use LUTs:
- If you have existing LUTs (Look-Up Tables), apply them in the "Color" tab to quickly adjust the video's color style.
3. Rendering the Video
Set Rendering Parameters
1. Choose a Rendering Engine:
- In the right properties panel, select the "Render" tab.
- For video rendering, choose either the "Eevee" or "Cycles" rendering engine; typically, "Eevee" is faster and suitable for most scenes.
2. Set Output Format:
- In the "Output" panel, select your desired video format, such as `.mp4` or `.avi`.
- Adjust the resolution and frame rate settings to meet your video needs.
Rendering Settings
1. Select Output Path:
- In the "Output" panel, set the save location for the rendered video file.
2. Render the Video:
- Click the "Render" menu and select "Render Animation." Blender will start rendering your entire video sequence.
- The rendering process may take some time, depending on your video's length and rendering settings.
4. Exporting and Uploading
Export the Video
1. Check Render Results:
- Once rendering is complete, browse the output directory to review the exported video file, ensuring the quality and effects meet your expectations.
2. Make Necessary Adjustments:
- If you find any issues, return to Blender to make adjustments, then re-render and export.
Upload to YouTube
1. Log into YouTube:
- Open the YouTube website and sign in to your account.
2. Upload the Video:
- Click the "Upload" button in the top right corner and select your rendered video file.
- Enter the video title, description, and tags, and choose the privacy settings for the video.
Rendering YouTube videos in Blender involves several steps, including importing the video, editing, rendering, and final exporting. By mastering these steps, you can leverage Blender's powerful features to add various effects and adjustments to your YouTube videos. If you need high-quality 3D textures and HDRIs for creating models and virtual scenes, you can download them for free from [Relebook](https://textures.relebook.com/). For beautiful 3D models, visit [Relebook](https://3dmodels.relebook.com/) for a wide selection of premium resources to support your creative projects.
